To glue or not to glue: the different install methods of Luxury Vinyl Flooring
If you have been shopping for new flooring recently or are enjoying pictures of new properties chances are you have already admired this product. Luxury Vinyl flooring (referred to as LVT or LVP) has taken over the hard surface flooring industry. But not all LVT and LVP is created equal. There is a range of products being offered that are each designed to be installed a different way. Here’s everything I think you need to know about the installs from my own experience as the DIY installer!
When I was just 19 years old I got my start in outside sales selling flooring for Sears. The options at that time were mainly sheet vinyl or laminate. Sheet vinyl was glued down and laminate was floating and grooved together. As vinyl re branded itself as “luxury” it took on the traits of these other two products that proceeded it.
What started as individual planks (that visually looked like the laminate) and glue down installation (that vinyl was known for) evolved into various options. Now you can find glue down, with or without grout and types of click together/floating, with or without pad. I have installed a handful of different types right here in my own house, so here’s my rundown.
Glue down
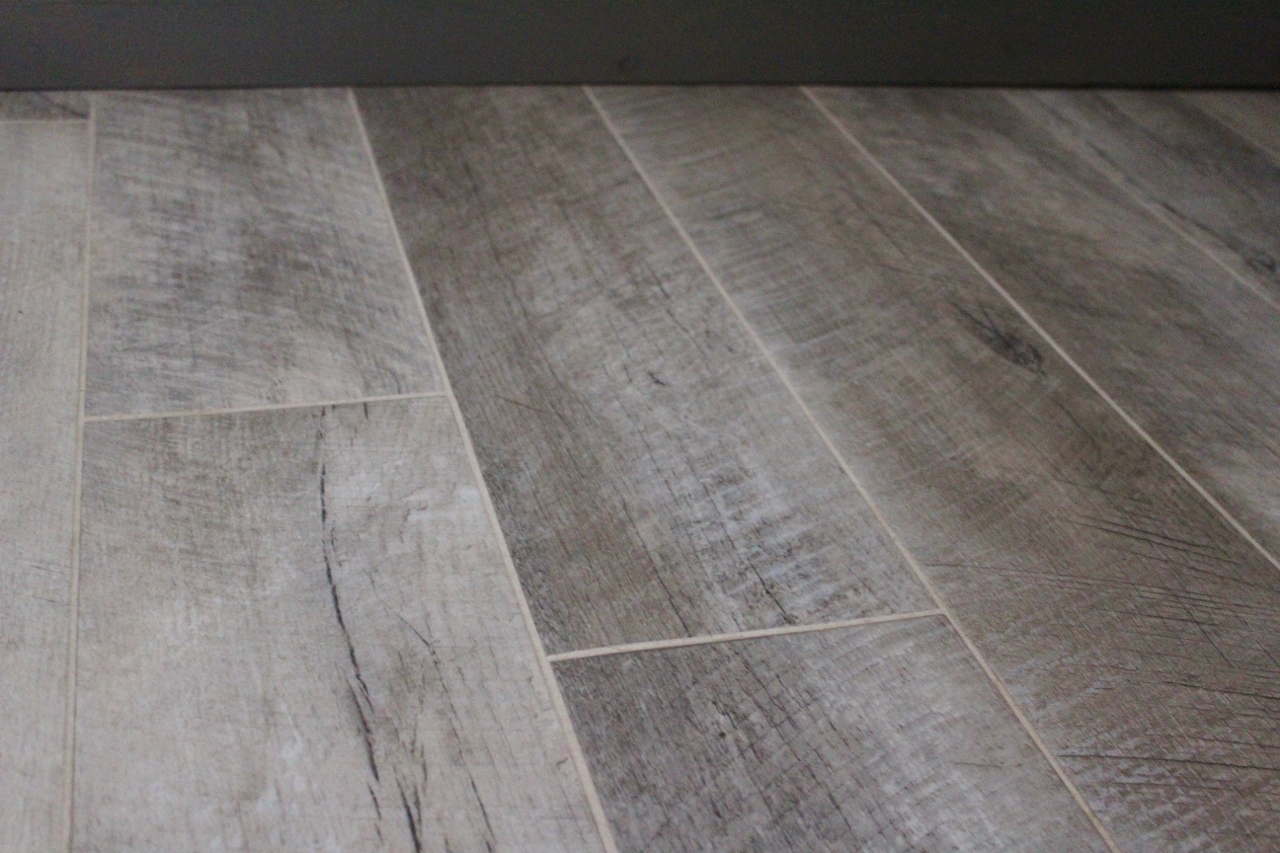
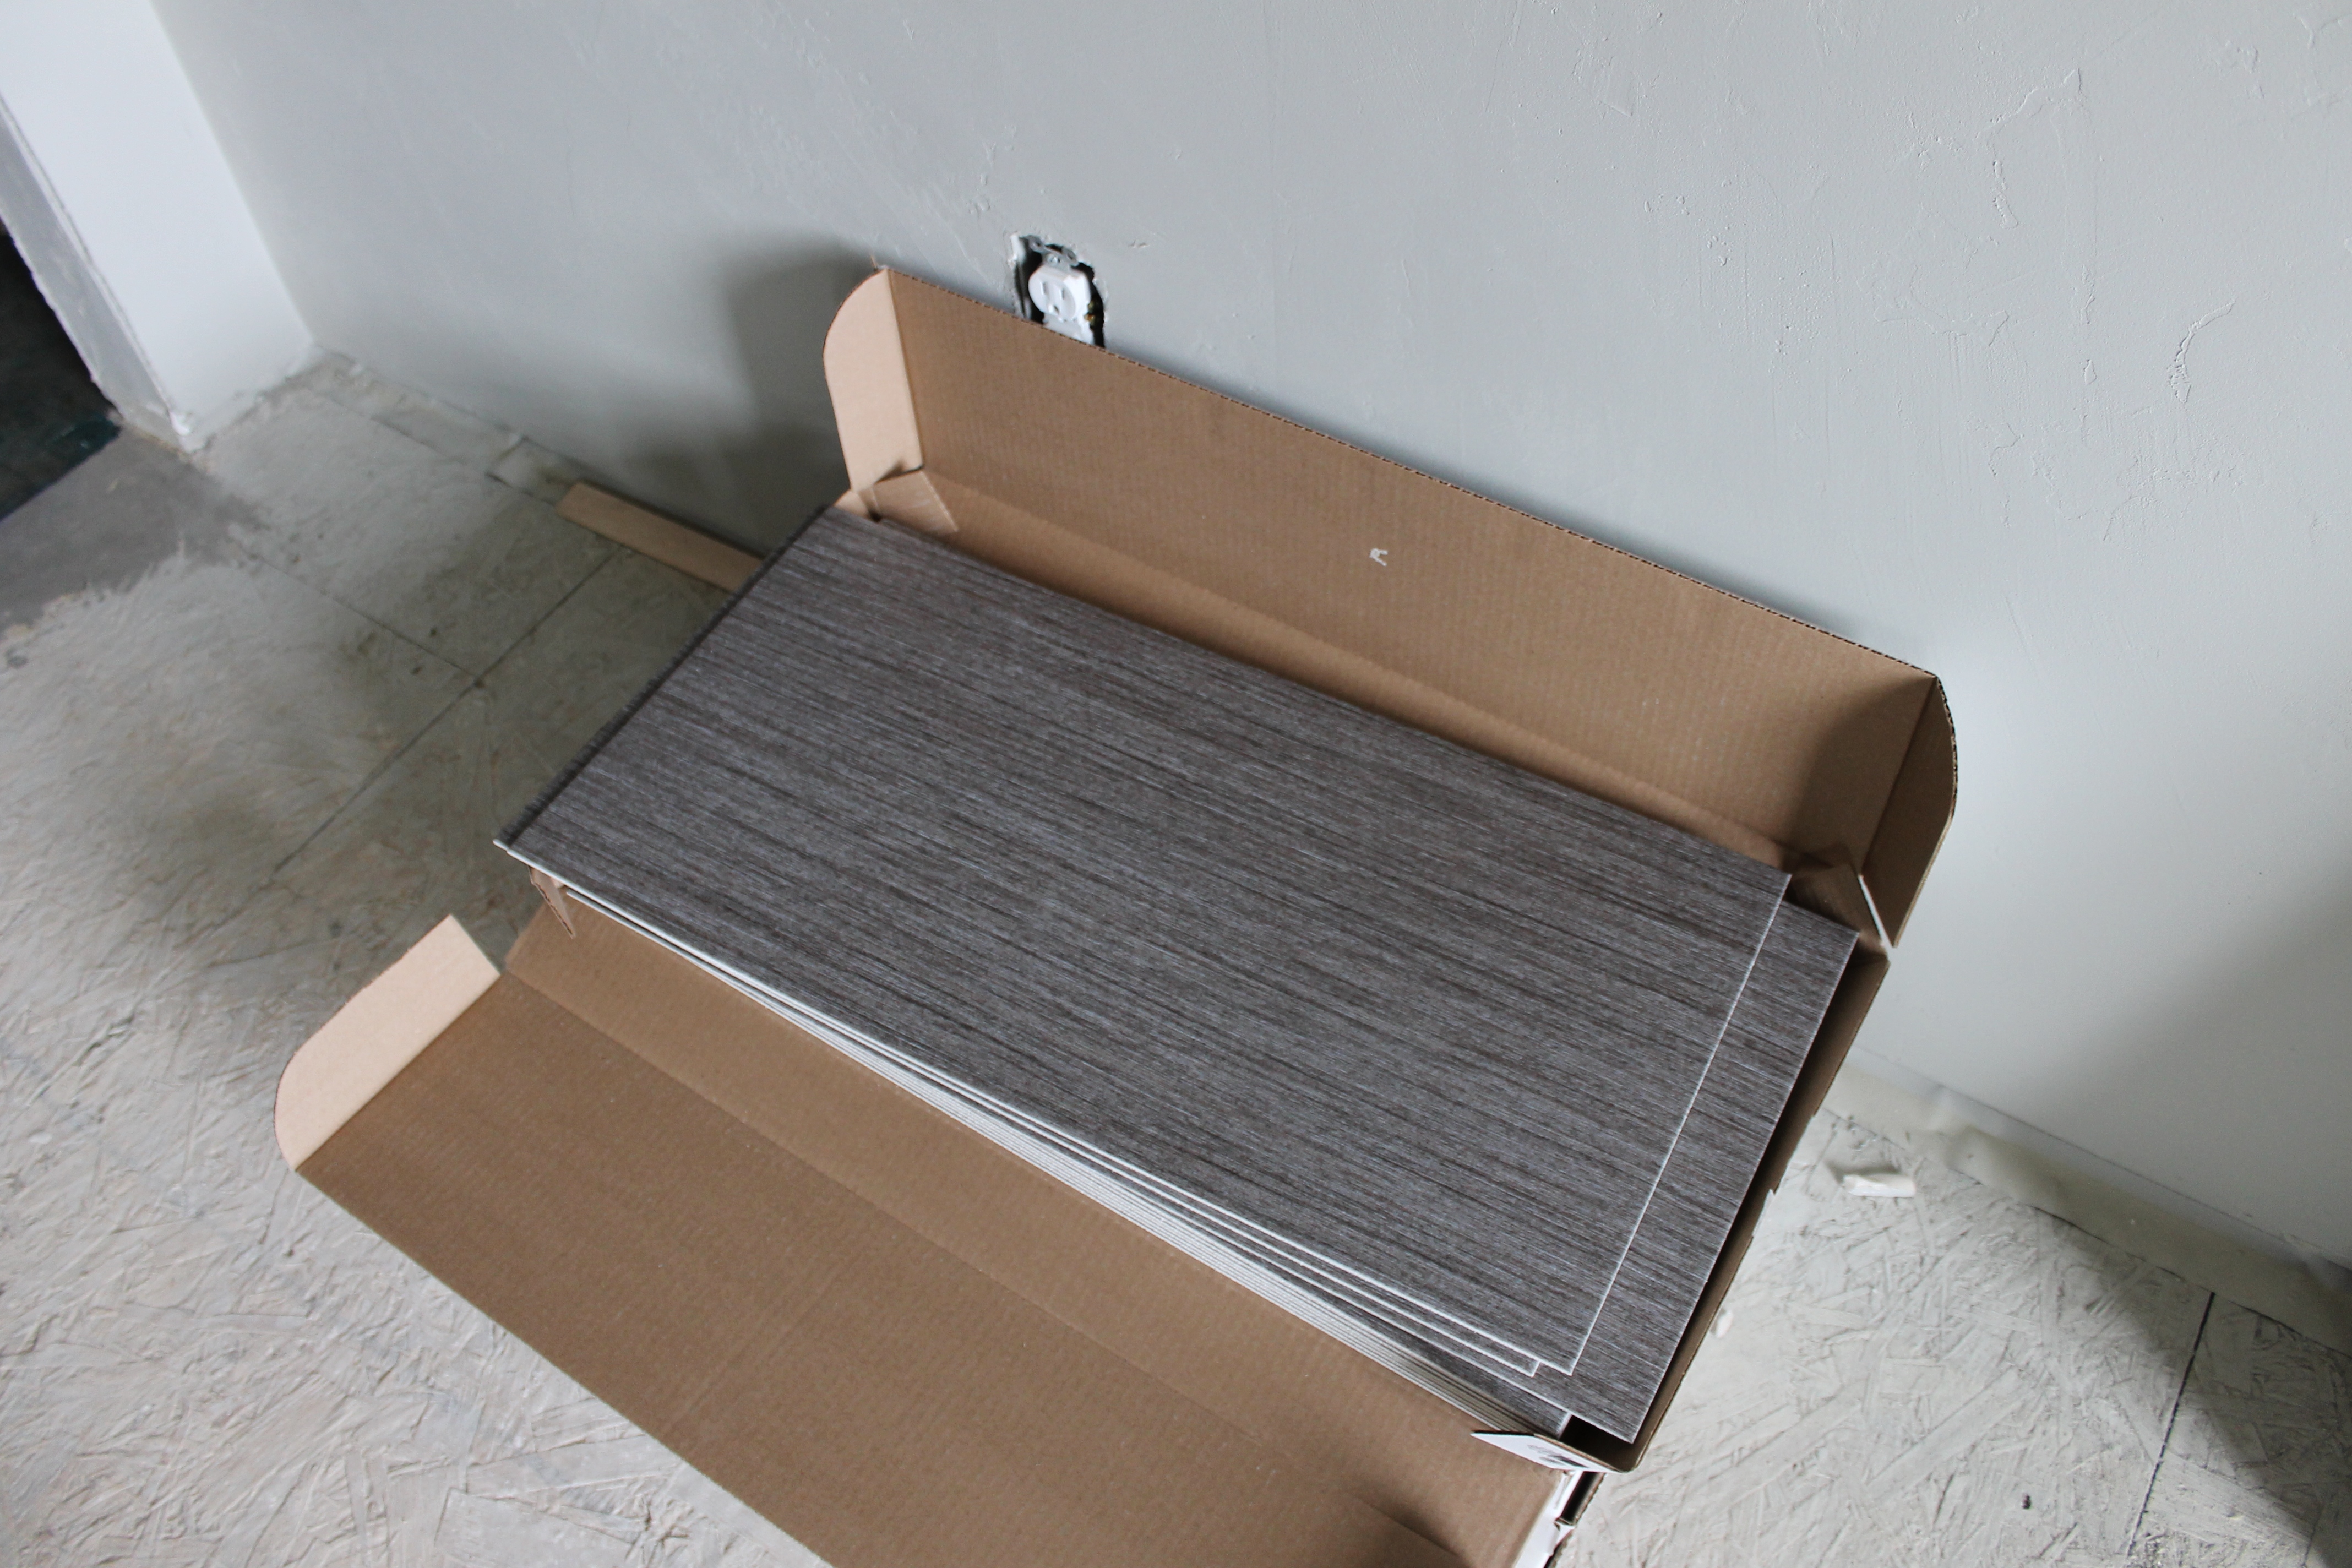
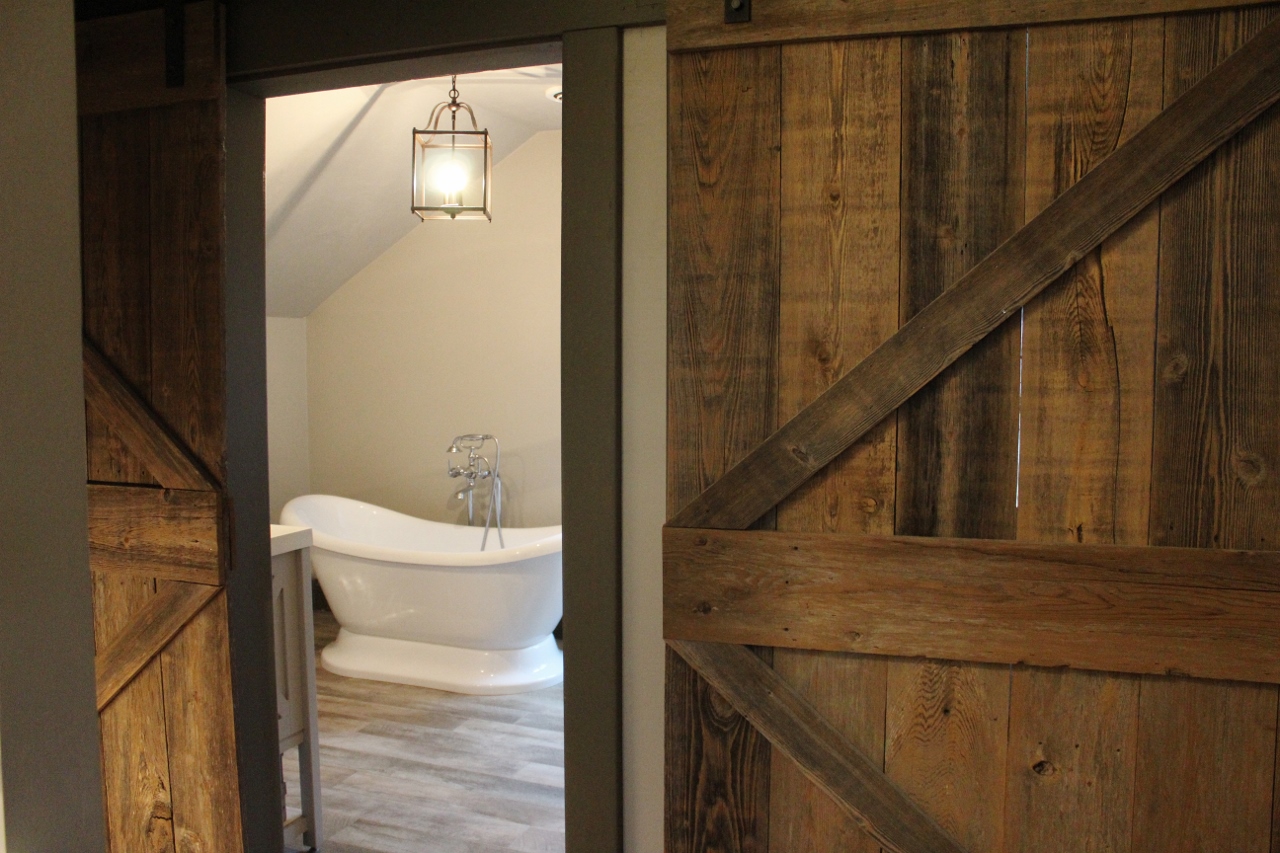
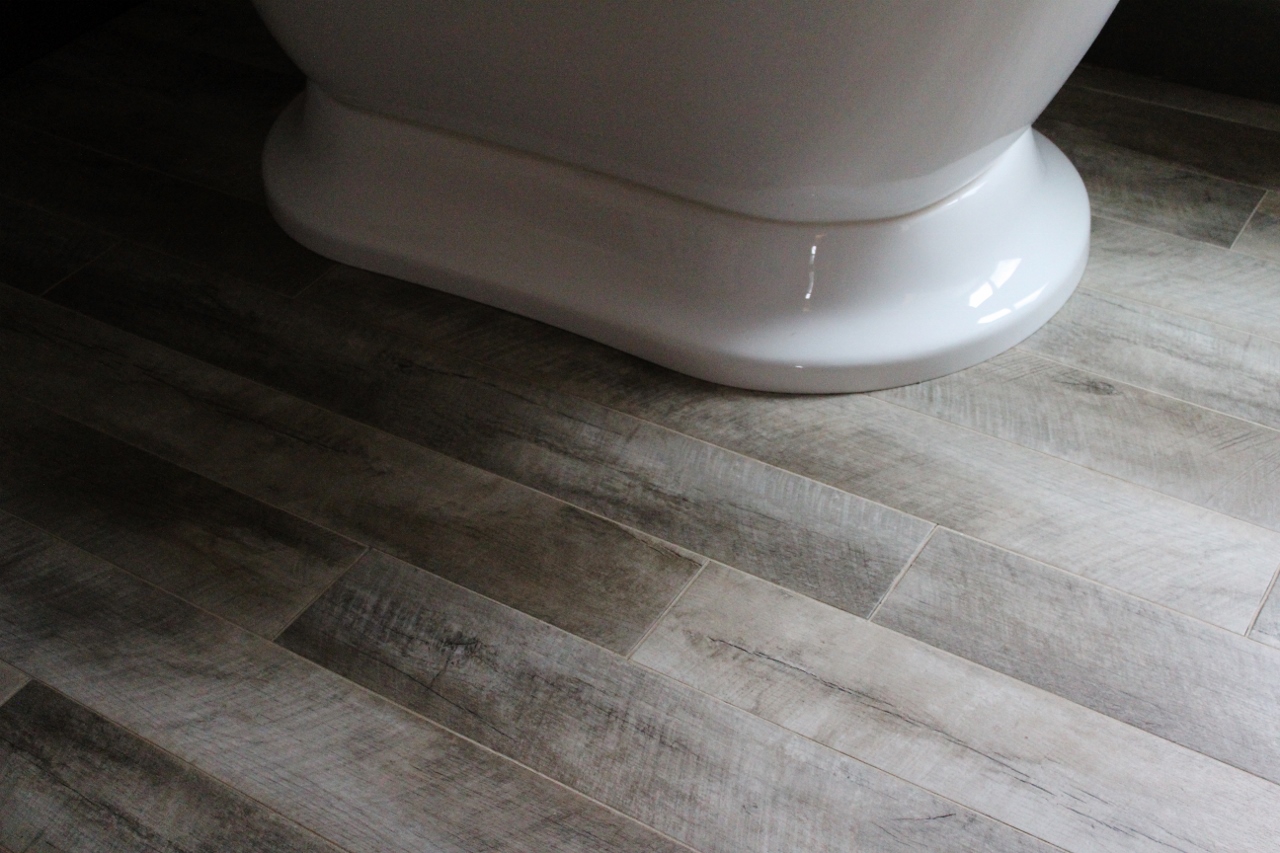
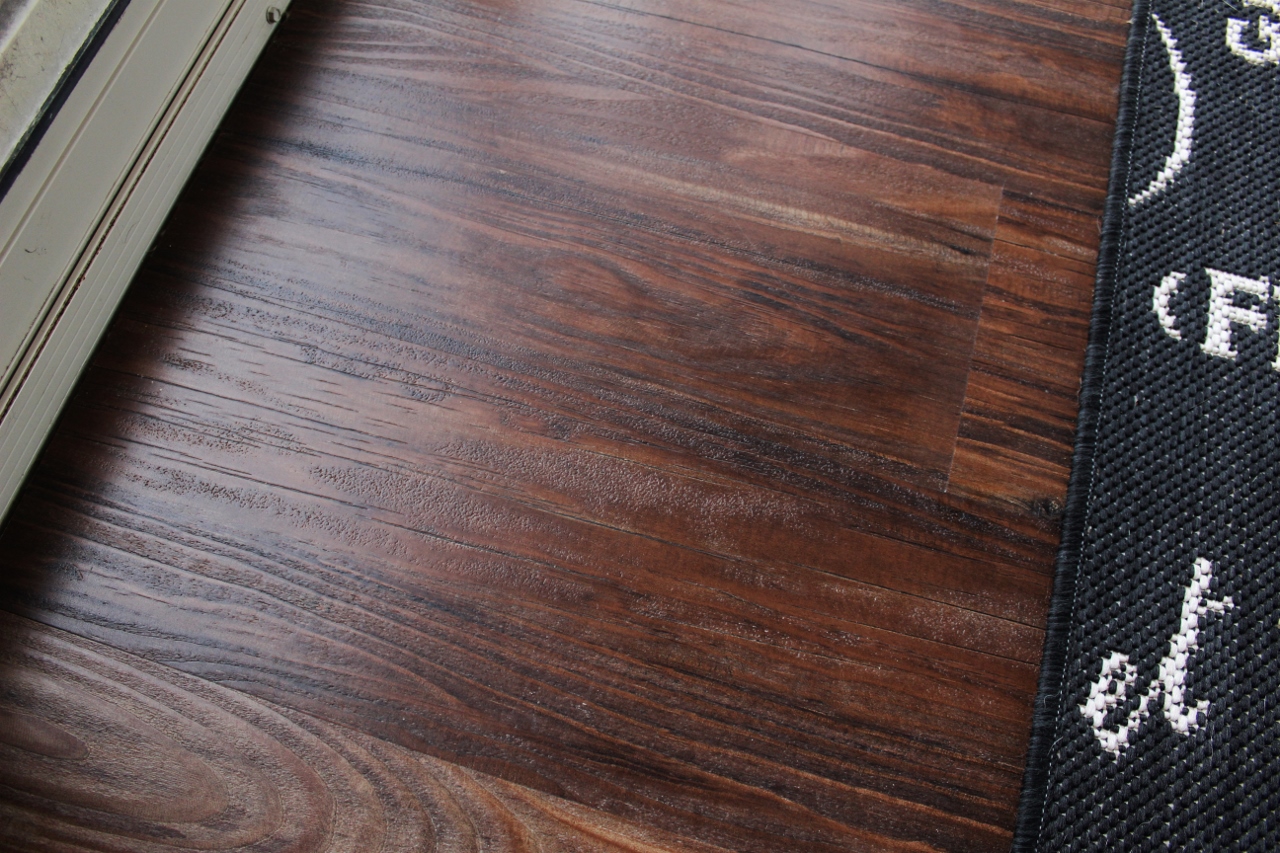
I have the most traditional glue down in one of my bathrooms. This is a Mannington Adura wood look product and I chose to install it with grout. I didn’t install the entire floor myself but I had to remove a portion and cut for the tub plumbing and re install the planks.
Advantage: Re-install
Being able to re install planks is the biggest advantage. I used a heat gun and the the already installed planks pulled right up. It is also a thin material so it cuts with a razor blade.

Disadvantage: Initial install
There are extra steps to the prep work. It’s a thin material so it required a very smooth quarter inch under layment, otherwise the grooves or imperfections of the sub floor underneath can transfer through. You also have a more limited window for install, as you spread the glue across the entire surface and then wait for it to get tacky before laying the flooring.
Floating, but with some glue
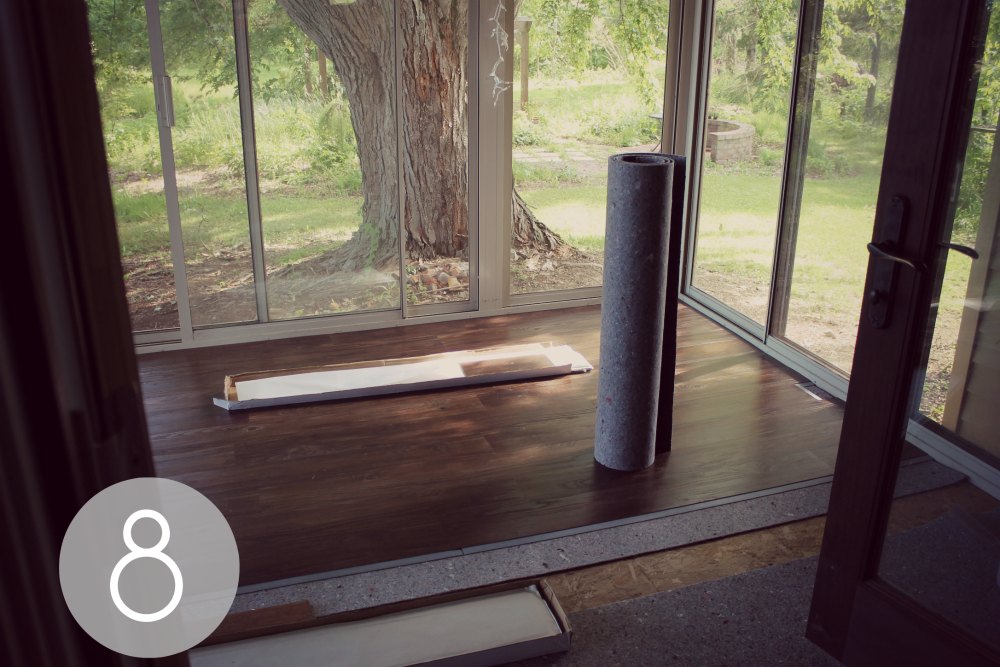
This was an predecessor for the floating and click together vinyls we know today. I purchased this early on in my remodel for a sun room with floor to ceiling screens. I wanted to be able to leave the glass doors open in the summer without fear the rain would ruin the floors. The color perfectly matched my hardwood in the adjoining room.
Advantage: Tight seams, no drama.
The install was pretty easy. I did it myself when I was still green at flooring installation. This product was like an interlocking floor but instead of a click or tongue and groove there was a sticker backing to ensure each piece held tight together at the seams. Kind of like a peel and stick only the whole piece wasn’t sticky and it doesn’t get stuck to the floor under it, it just adheres to a lip on the piece next to it.
Disadvantage: No longer available
These types of floors have been replaced by the stick-free click together method. Since the click together floors are thicker (more like laminate) and the thinner floors require the entire floor to be glued first before install, this was a nice hybrid product while it lasted.
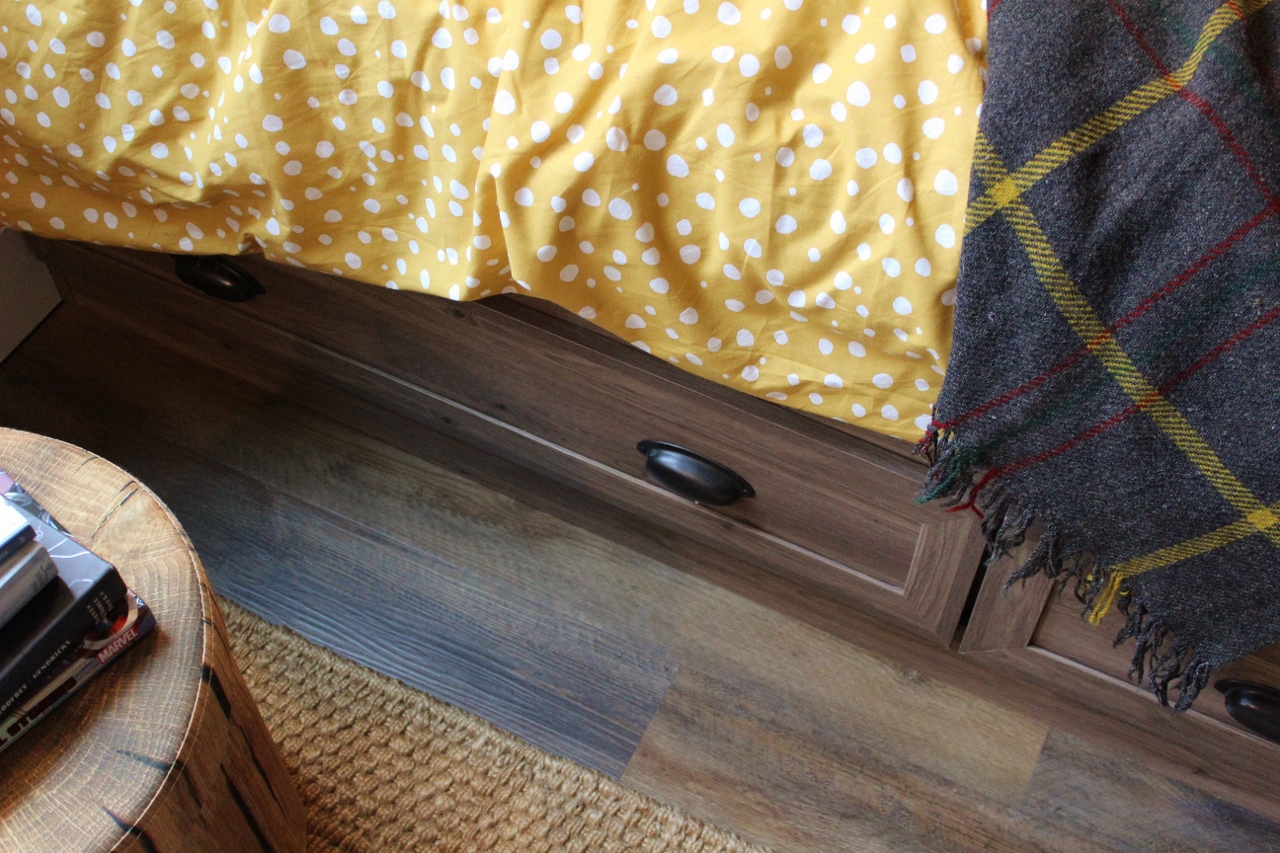
Click together with attached pad
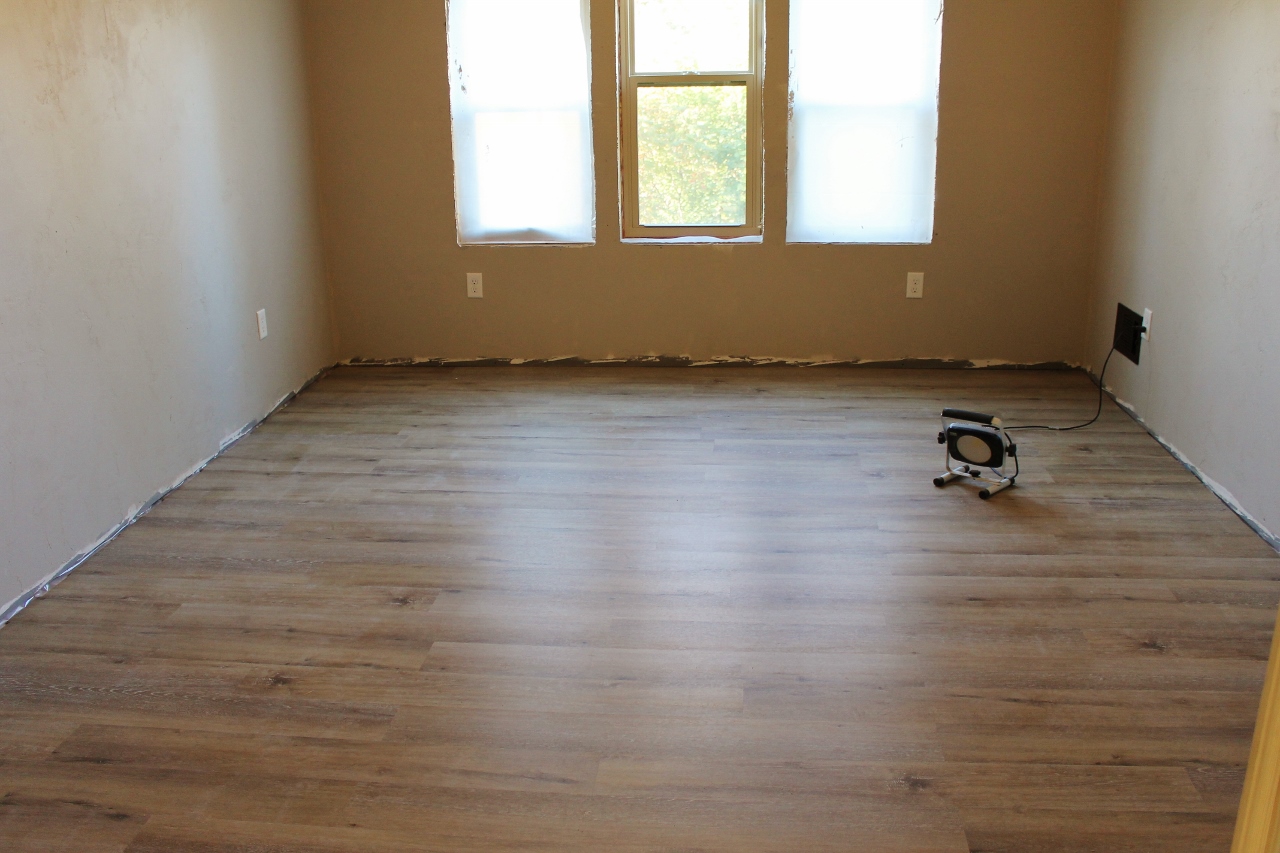
The bedroom over the garage in the bonus room got a light and airy LVP flooring. This product came with a pad built into the bottom of it and was installed by sealing the seams horizontally. I did this with a block of wood and a mallet that I tapped against each row to get the seams to close. The product also hooked together end to end but they gently fit into place. What really made it “click” together was the added pressure on the side seams.
Advantage: Less steps, cost efficient
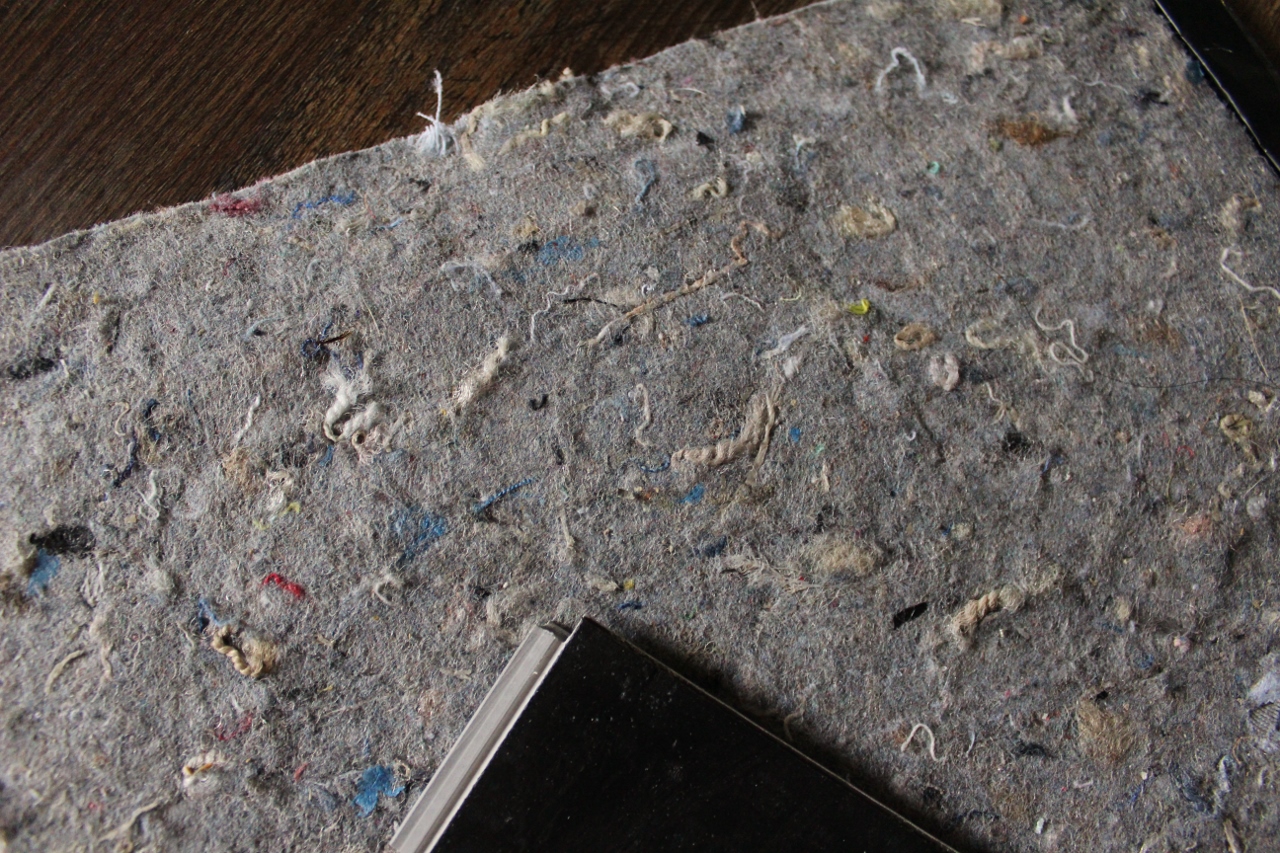
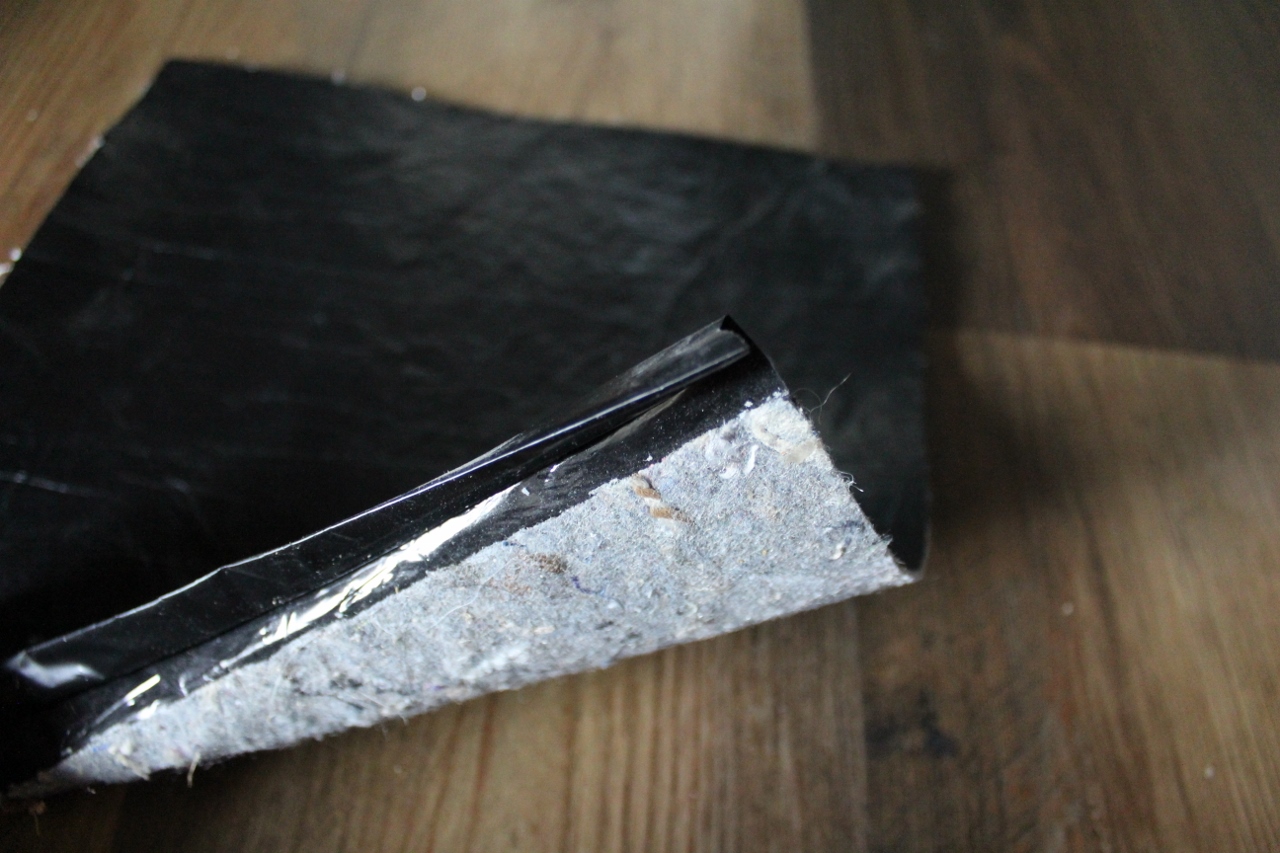
What I liked most about this flooring was the ease of buying one product. The grey felt pad pictured above was needed for the other LVP install and required the extra step of rolling it out, cutting it and taping the seams together. The simple black backing on the flooring for this room was much easier and allowed me to price it by the square foot without additional material costs.
Disadvantage: Getting the seams perfect
For a first timer installing click together I assumed all click together was installed like this. You have to be mindful about not cracking or breaking the lip of the product for the next row when you are tapping the previous one tight with the block of wood and mallet. I really got the hang of it about a third of the way through. However, I have one plank from the first part of the install where the seams are a hair apart, nothing major, I can fit the edge of my fingernail in it. It bothers me, but the only way to fix it now would be to remove all the planks I installed after it and the risk of damaging the flooring to do this is too great.
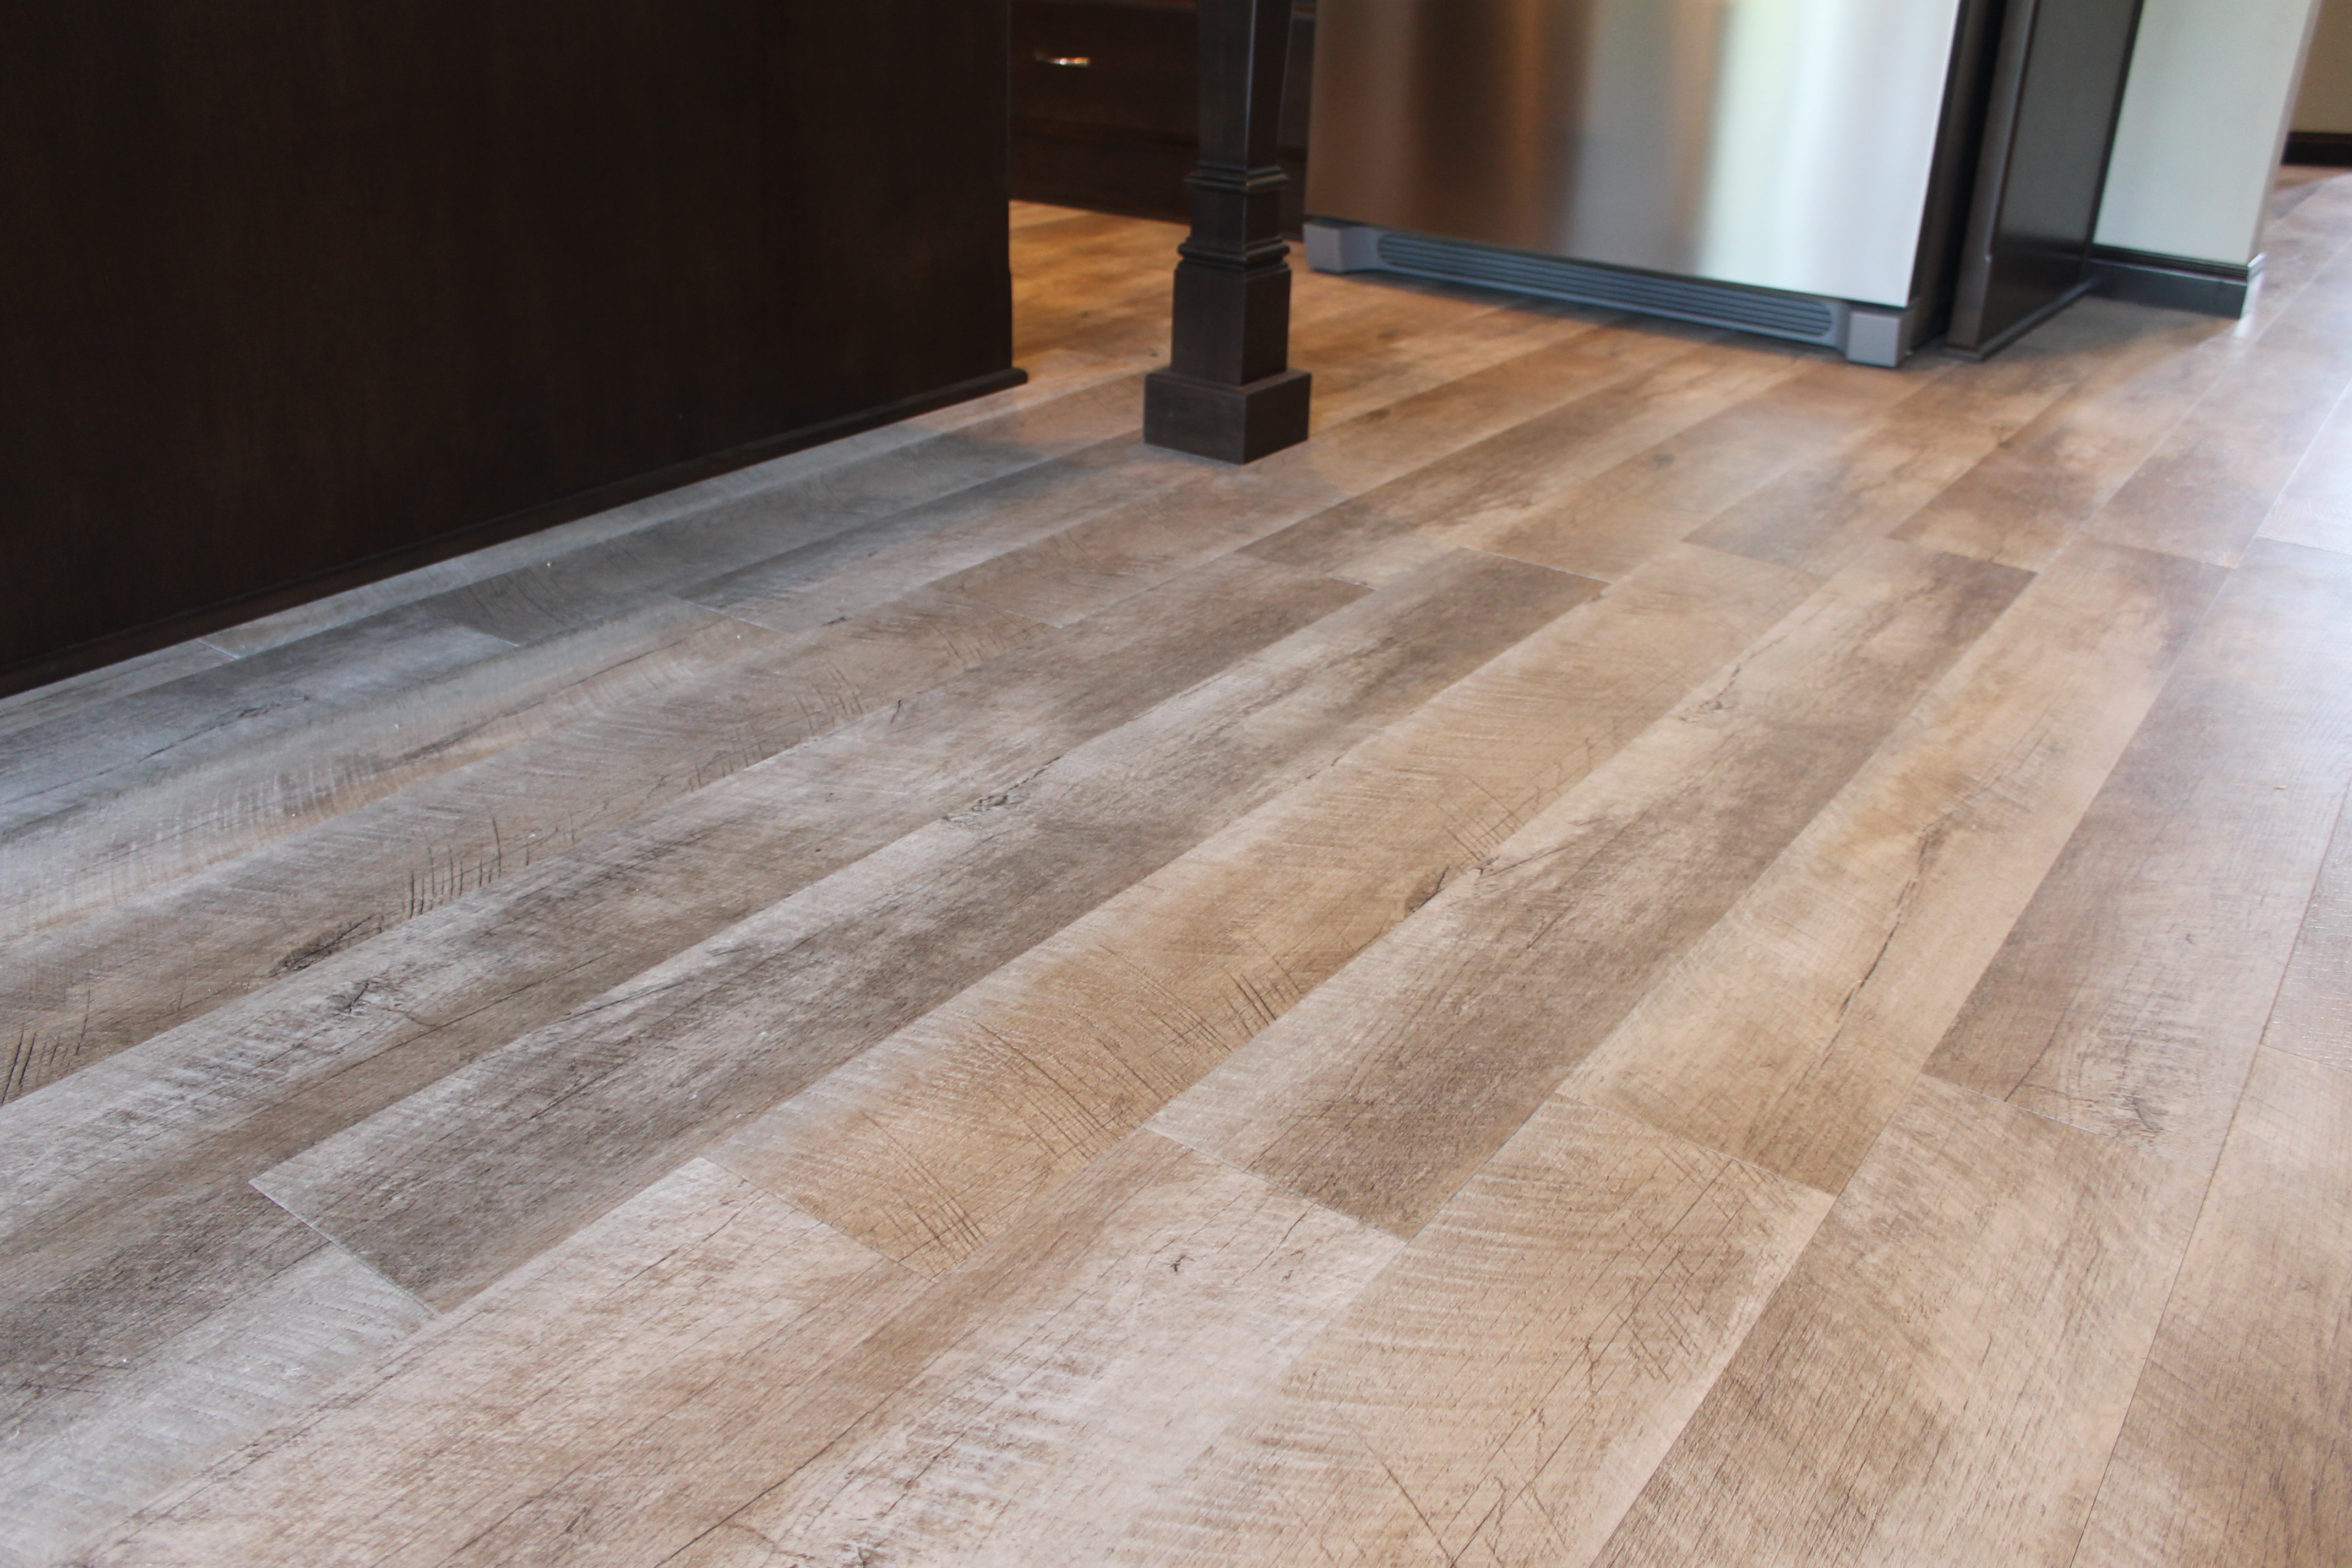
Click together without an attached pad
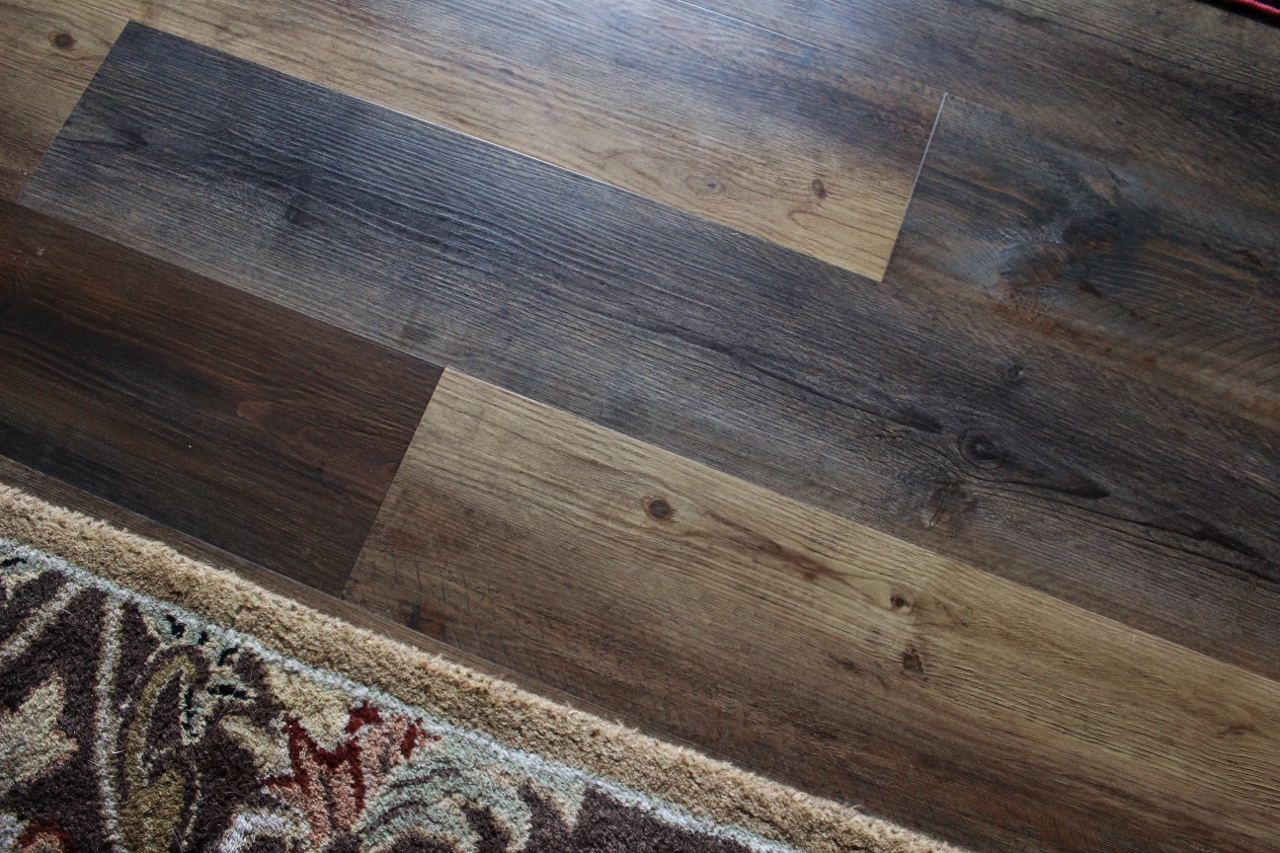
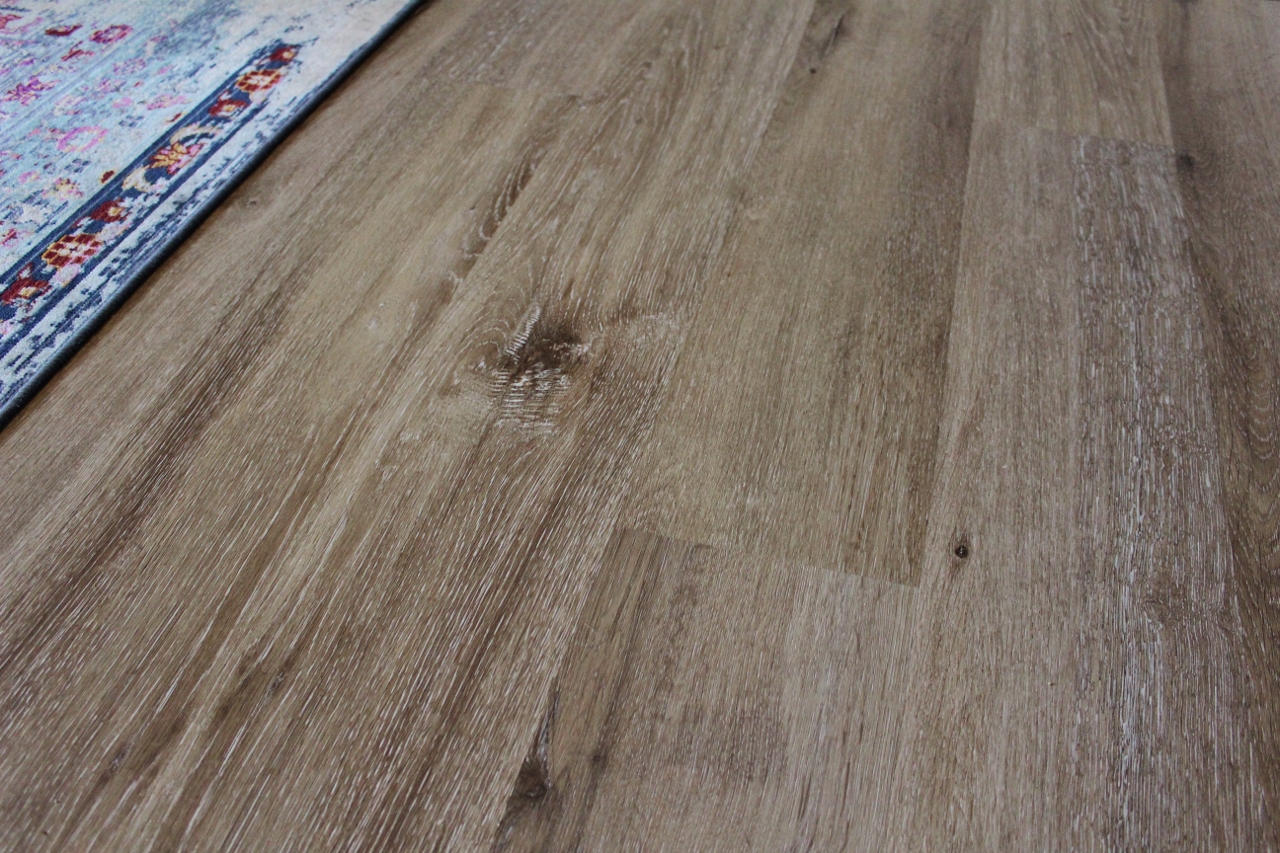
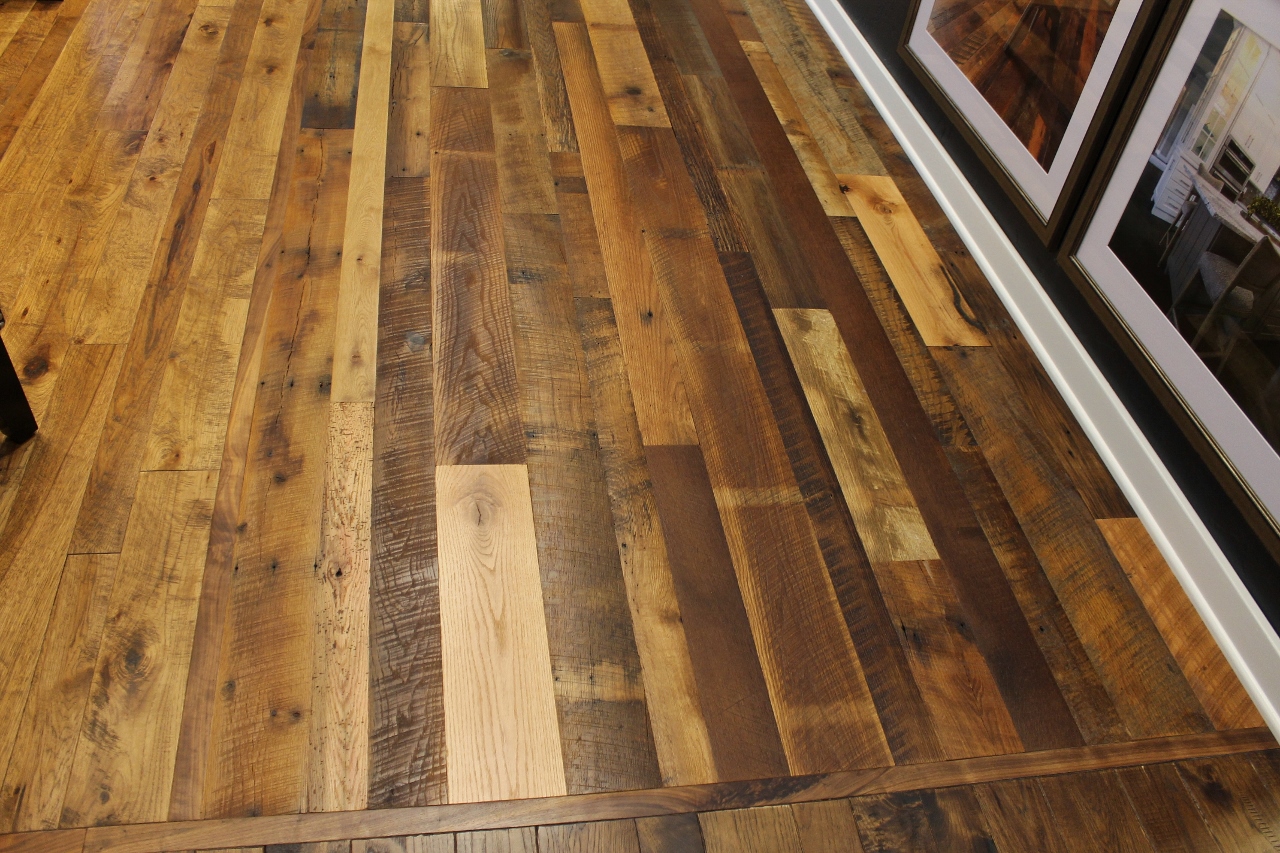
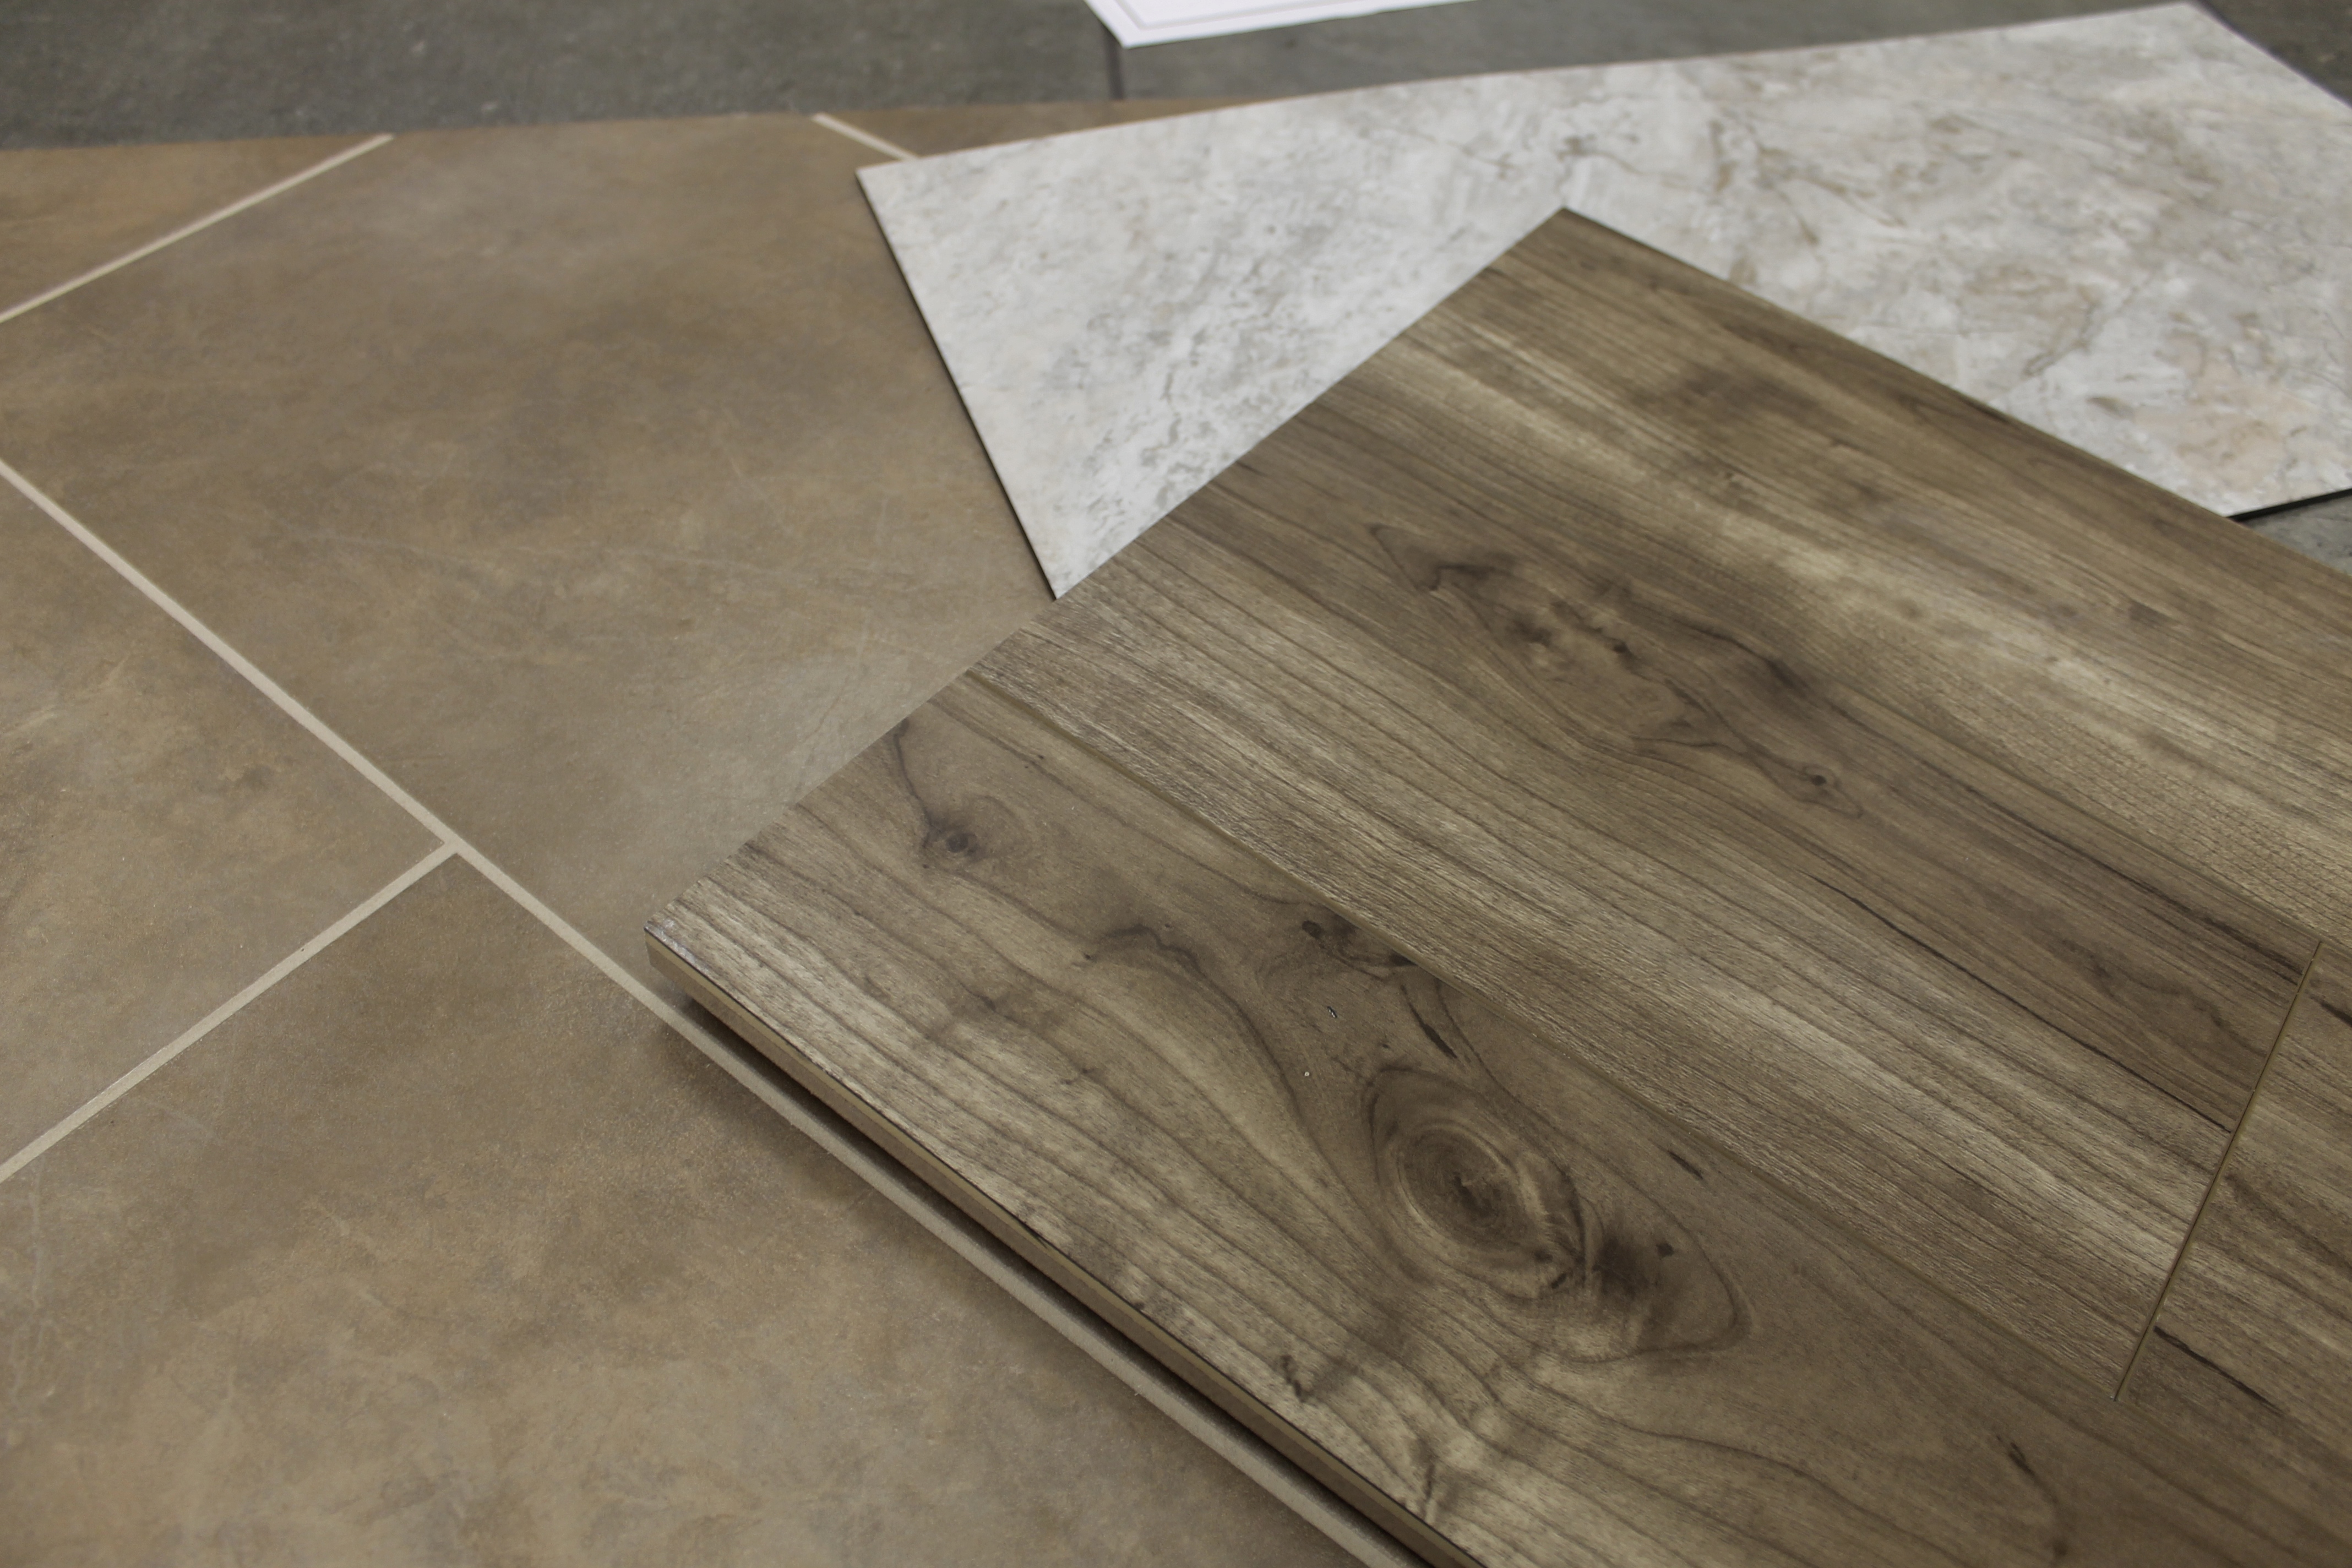
I picked this flooring for it’s amazing color variation. It was initially purchased for the little bonus room bedroom that became a time sensitive project if you read last month’s story about it. The options for flooring is so overwhelming that when I went into Lumber Liquidators I had the following criteria: it needed to be price friendly, it needed to have enough product in stock that I could walk out the door with it and it needed to be a color I could use with any stain. If price and time where not factors I probably would have put in a real hardwood flooring similar to this one I fell in love with at Ralph’s Hardwood:
Advantage: It was 3 for 3. Price friendly, in stock and good looking.
I would say this LVP was a pretty good version of the look I would have chosen with real hardwood. The nice thing about it for a kid’s space is the durability of it and the price point. It wouldn’t have me in tears if something got wrecked. Because I was willing to do the install myself the cost for this flooring was as reasonable as the more budget friendly alternative of carpet.
Disadvantage: Not really able to be re-installed
This click together was a different install than the light colored flooring. You fit the seams together and then sort of bang the top of each plank with a mallet to get them to click. I was timid at first to attempt this because I was worried it would crack the grooves at the seams if they weren’t placed just right. It did this on a piece for the little room before I got in the groove. Once I had half the floor done I realized I preferred this install over the previous click together. They really did snap together easily and I didn’t have to worry about the hairline cracks I might have if they weren’t lined up perfectly. However, there is no way I would attempt to take them apart to reuse the flooring or replace a damaged piece. I feel like trying to unclick them would only lead to further damage.
Other Notes on attached pad vs not attached pad:
When considering the two types of pads under the flooring I will say the disadvantage to the attached is the thickness. Make sure your sub floor is very clean and level because the pad doesn’t really absorb any imperfections. However, the disadvantage to the pad you have to roll out under the floor is that it is another step to consider. When you are installing the next row of flooring you have to kneel on top of the already laid down pad so i had to keep myself clean and free of the sawdust and debris I kept tracking back into the room when I went to make cuts. The pad is also going to come in certain widths so you will have waste and areas that you have to seam together.
Other Notes on glue down vs click together:
An odd complaint I once heard from an installer who was against floating LVT floors was that they are “noisy.” It was said that they will make crackling sounds from the pad when you walk on them. Having installed three types now (and one not being in a temperature controlled environment) I can honestly say I don’t understand this objection. On occasion a seam will make a slight popping sound as I walk over it but it is very rare. I think someone had an experience where the sub floor was not properly cleaned before install and the sound is that of specs of plaster debris left underneath. The nice advantage to the floating/click together over the glue down is the reality that houses shift and floors move over time. The floating install is more forgiving and moves with your house. A glue down has a much higher likelihood of separating at the seams, even with a properly installed under layment.
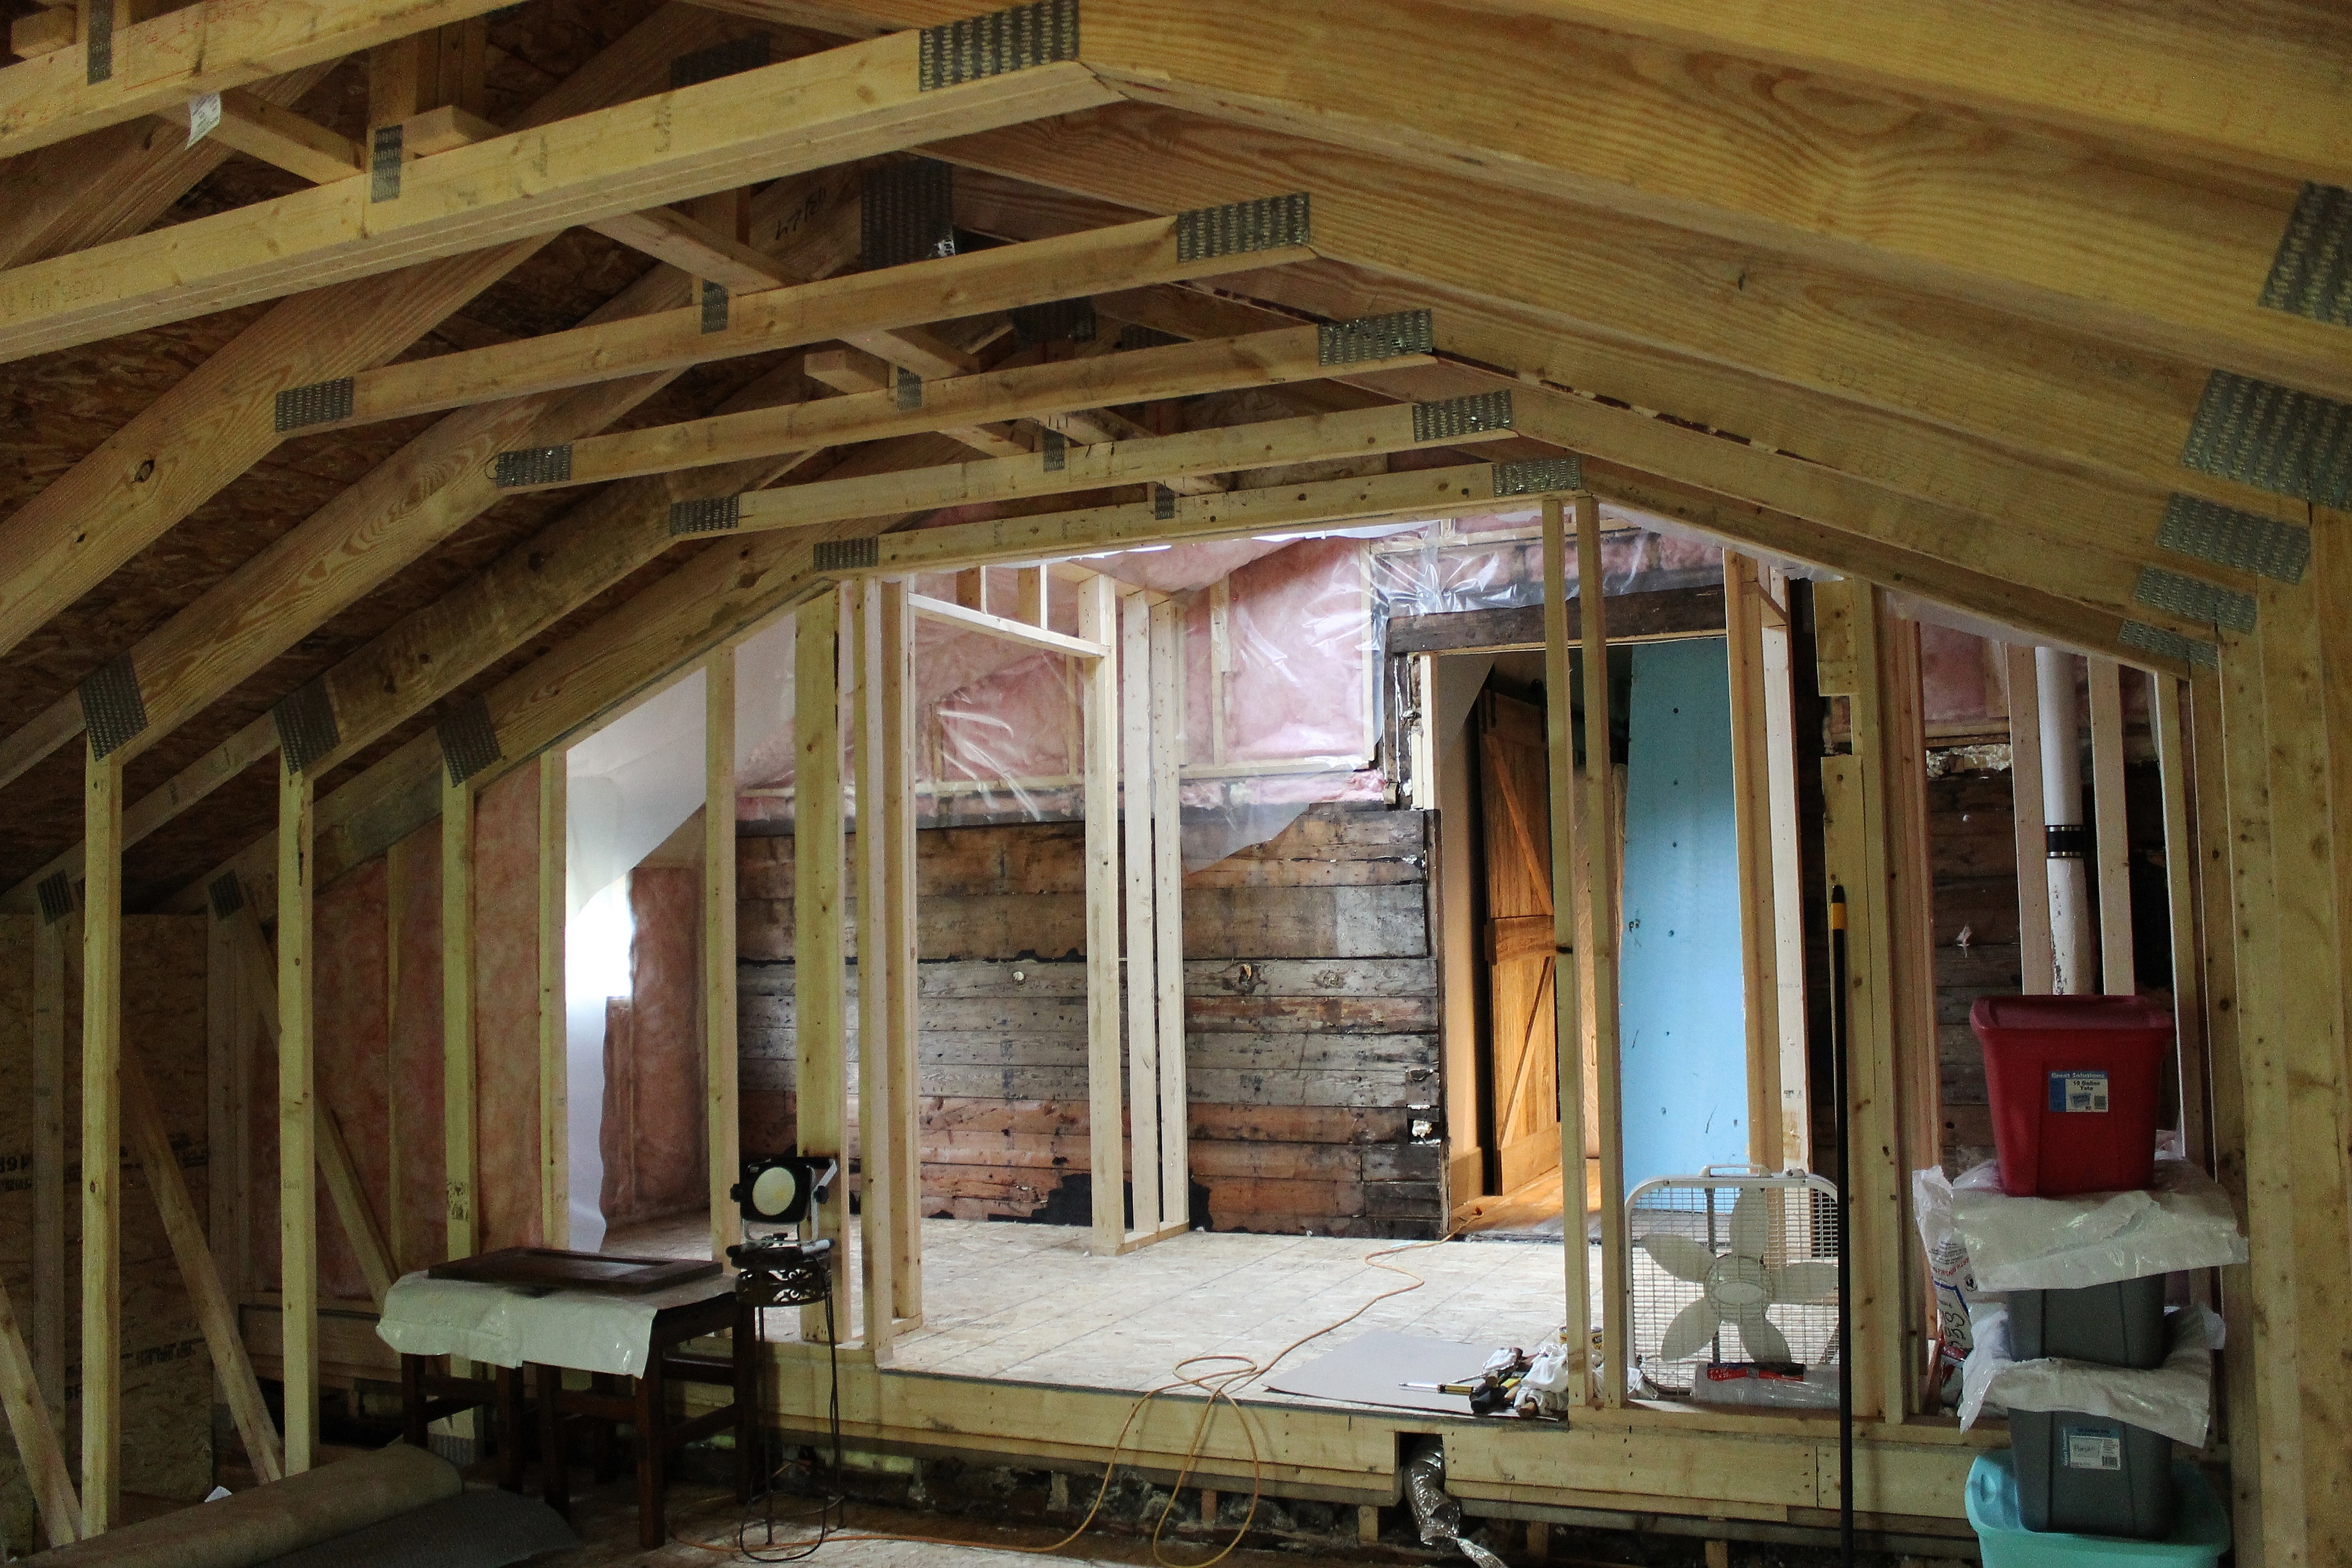
I like having the experience to discuss the different install methods of this popular flooring and my varying opinions of each. It took me about a month to finish the install of the bonus room floor as I worked on it one row at a time each night before the kid’s bedtime. Not ideal, but I’m glad I can say I did it. I have one more LVT floor to install in our house and it’s already off to a rocky start. I had used a leveling agent to smooth out the surface of the osb sub floor since it is a traditional glue down but some stress cracks still appeared. Had I already installed the LVT these cracks would be showing as creases in the surface of the floor. I am grateful I now have time to adjust this application. It will be for the “attic” area off the bonus room of my house (shown in the construction phase below).
I’ll be sure to let you know how it goes!
An Oldie but a Goodie- more about LVT flooring!
Leave a Reply