The story of how our bonus room got a “bonus” room
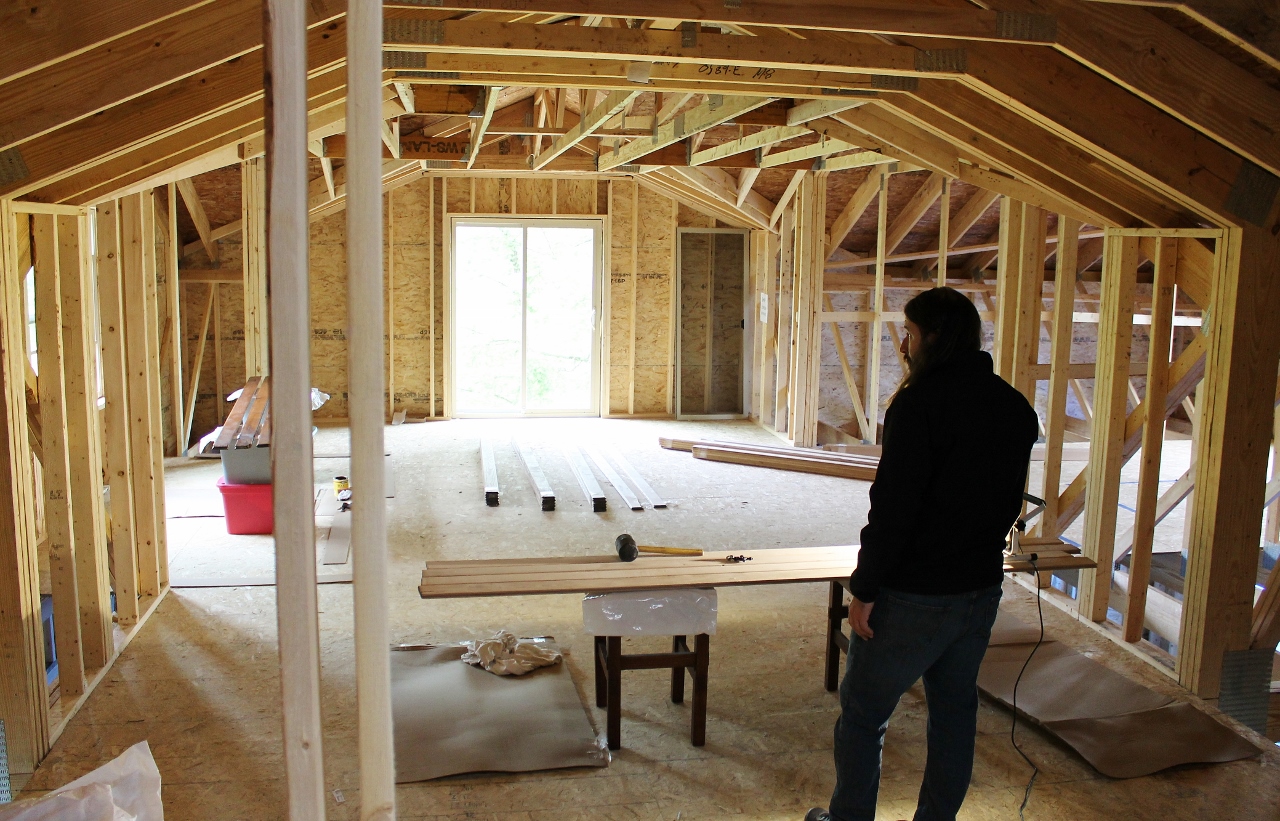
Years ago when we first became licensed foster parents a call came in to take a sibling group that felt like a fit for us. Although we had constructed the entire bonus area upstairs to give us the option to add bedrooms, we hadn’t quite finished the space yet. What was complete had felt like enough for the time being, or so we thought.
The bedroom over the garage was large enough for two beds, which means we could take two sisters or two brothers. We also had a small bedroom in the original part of the upstairs by our room, large enough for one, so either way were were good to go for two or three children. However-this happened to turn into a sibling group of four: two boys and two girls.
That combination meant we needed another room.
Unfortunately we had really grown accustomed to the open feel of the bonus room and all the light coming in. Unwilling to block the patio door or create an awkward hallway, there was really only one way to compromise: make a small cozy bedroom of bare minimum size requirements and build the beds right in. We went to work adding walls-
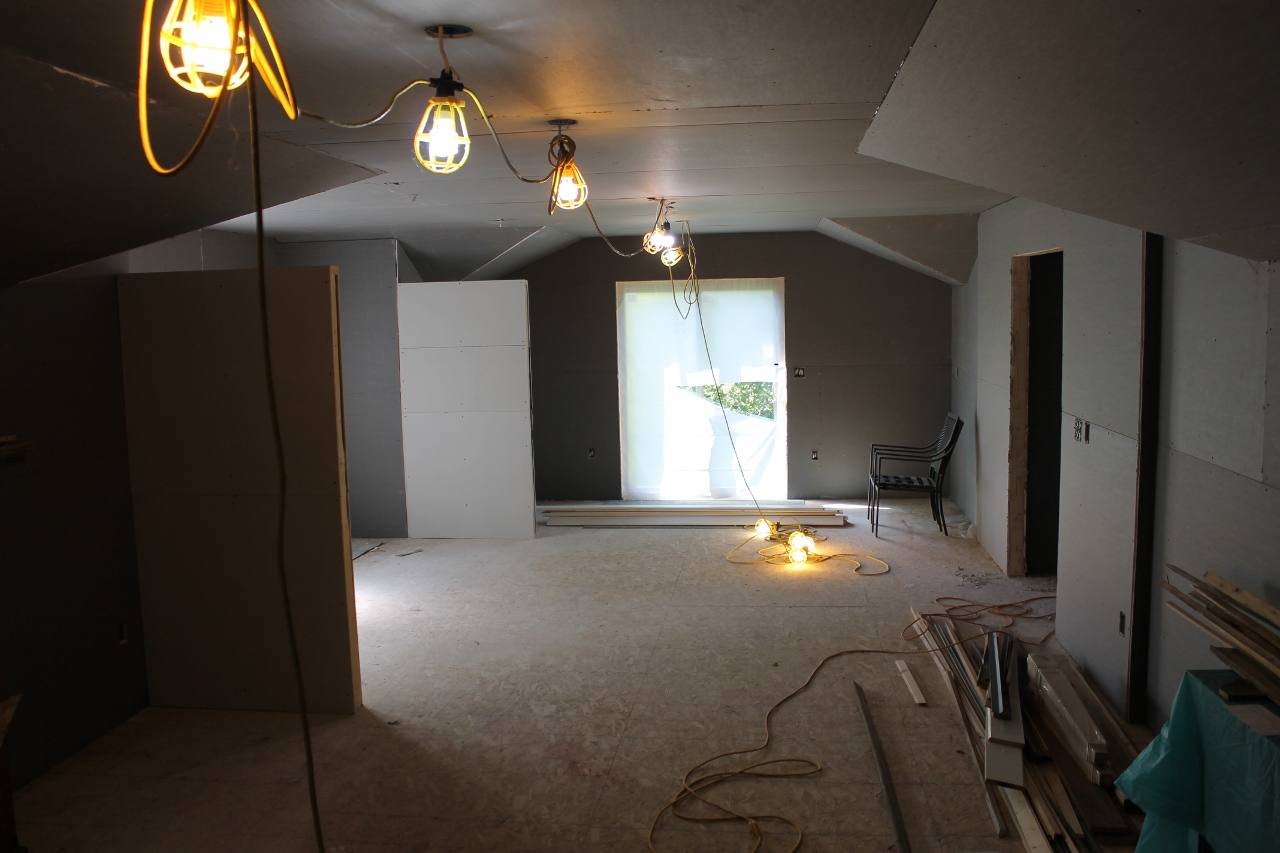
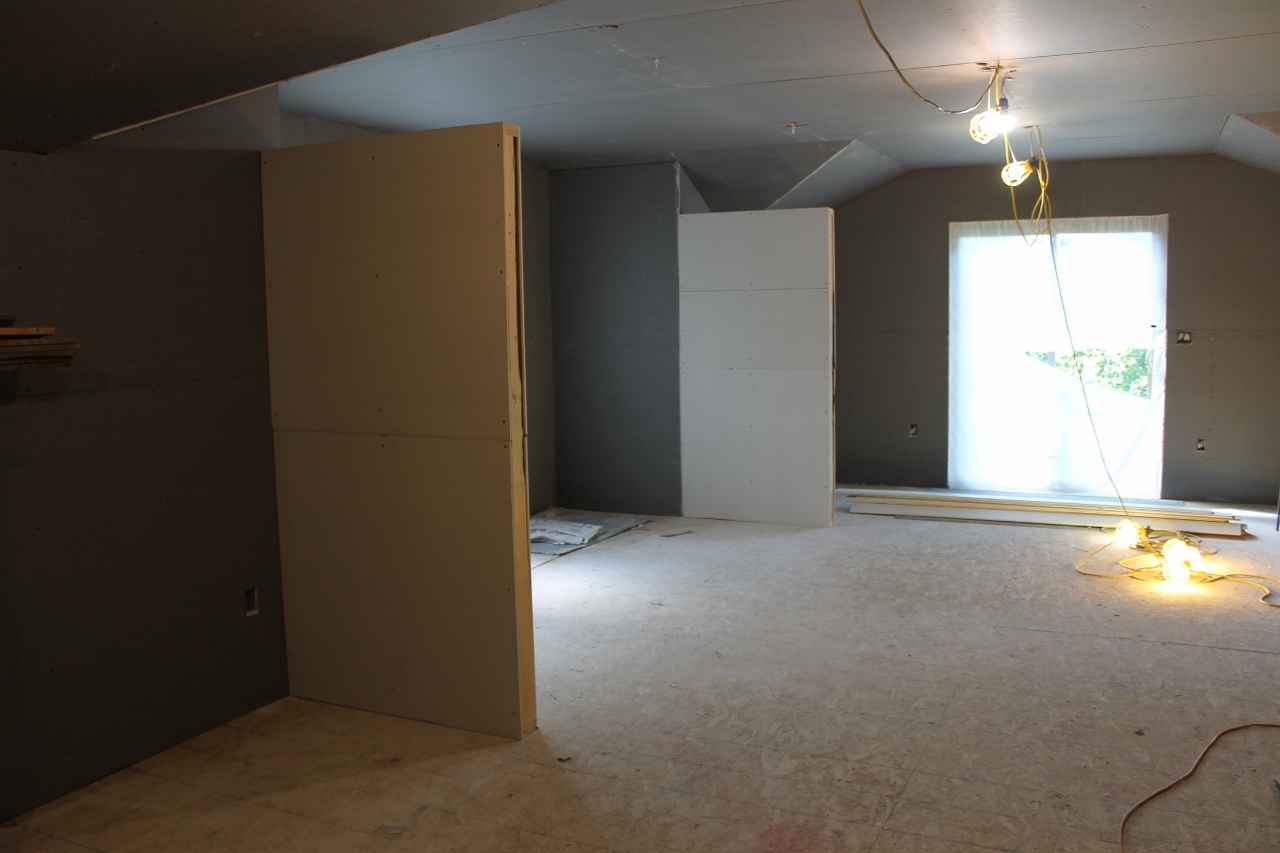
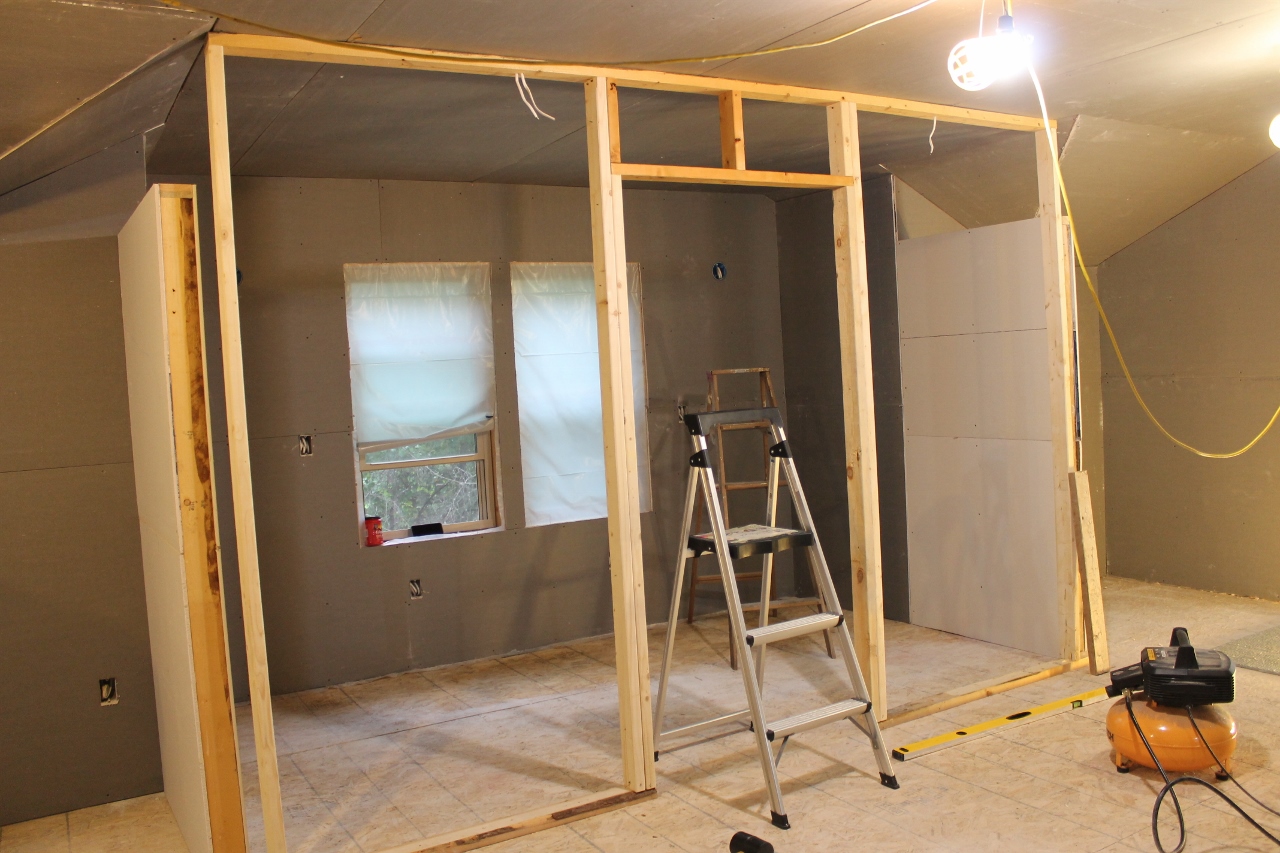
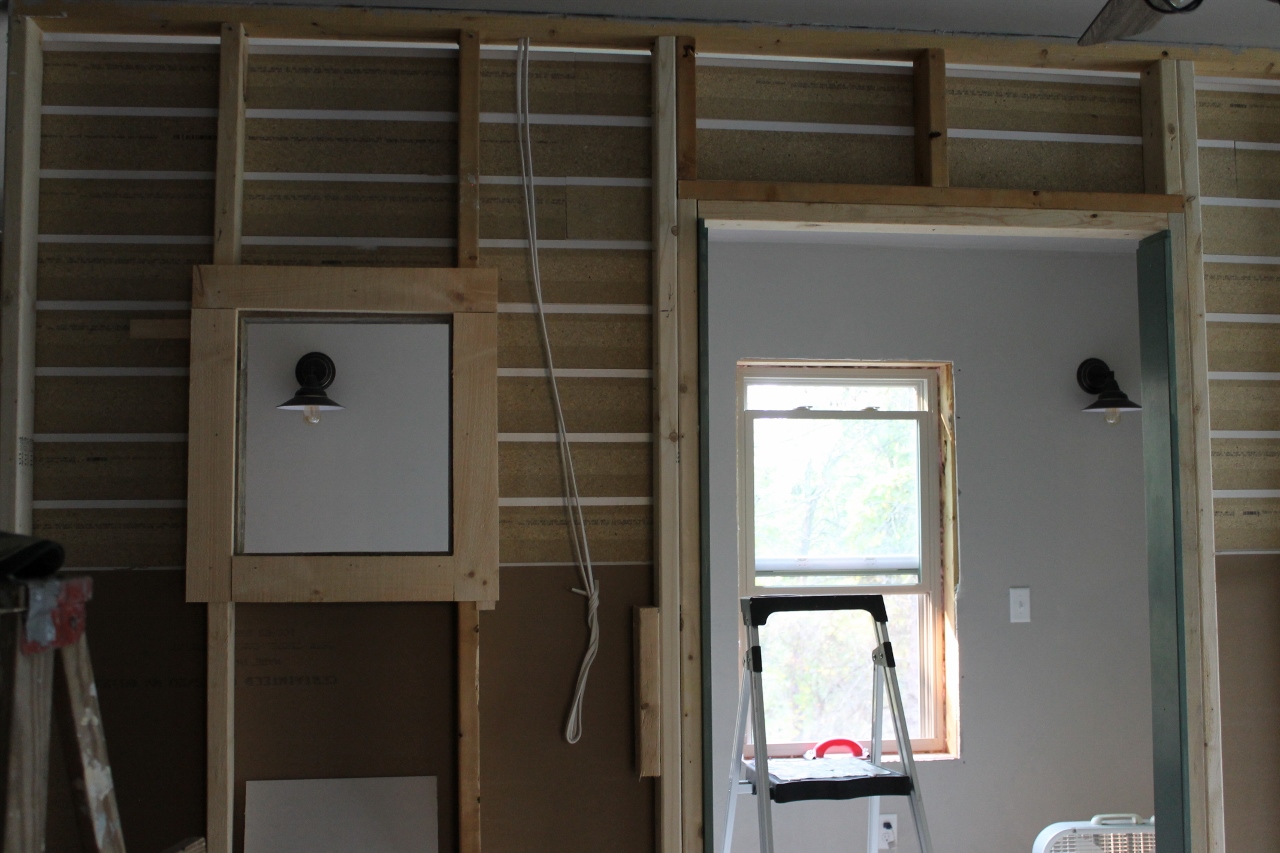
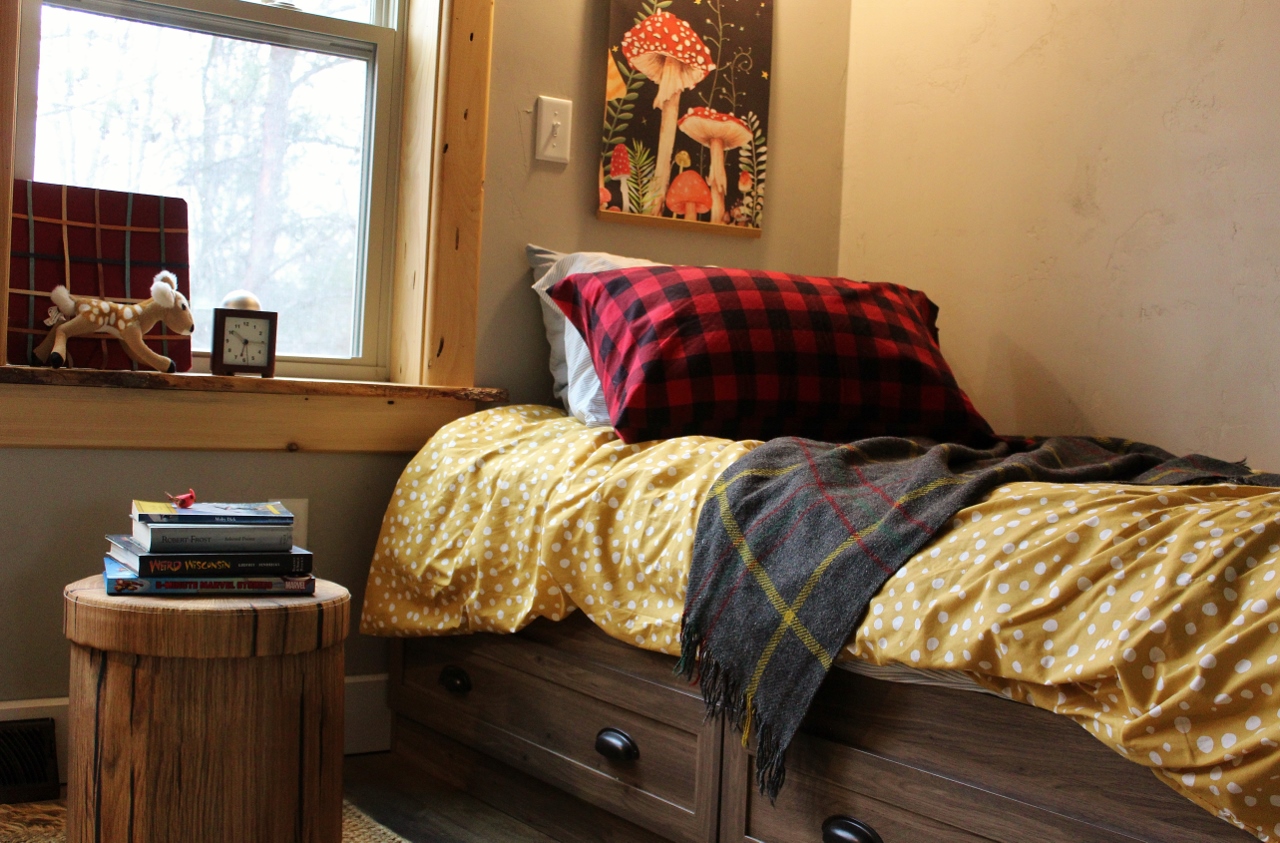
I had actually secretly dreamed of having a sort of kids “bunk room.” As you can see the area for the room already had a pair of windows and wall sconces that would now sit directly over each bed. The room was framed close to the length of a twin mattress so there wouldn’t be space for items to fall between the bed and the wall.
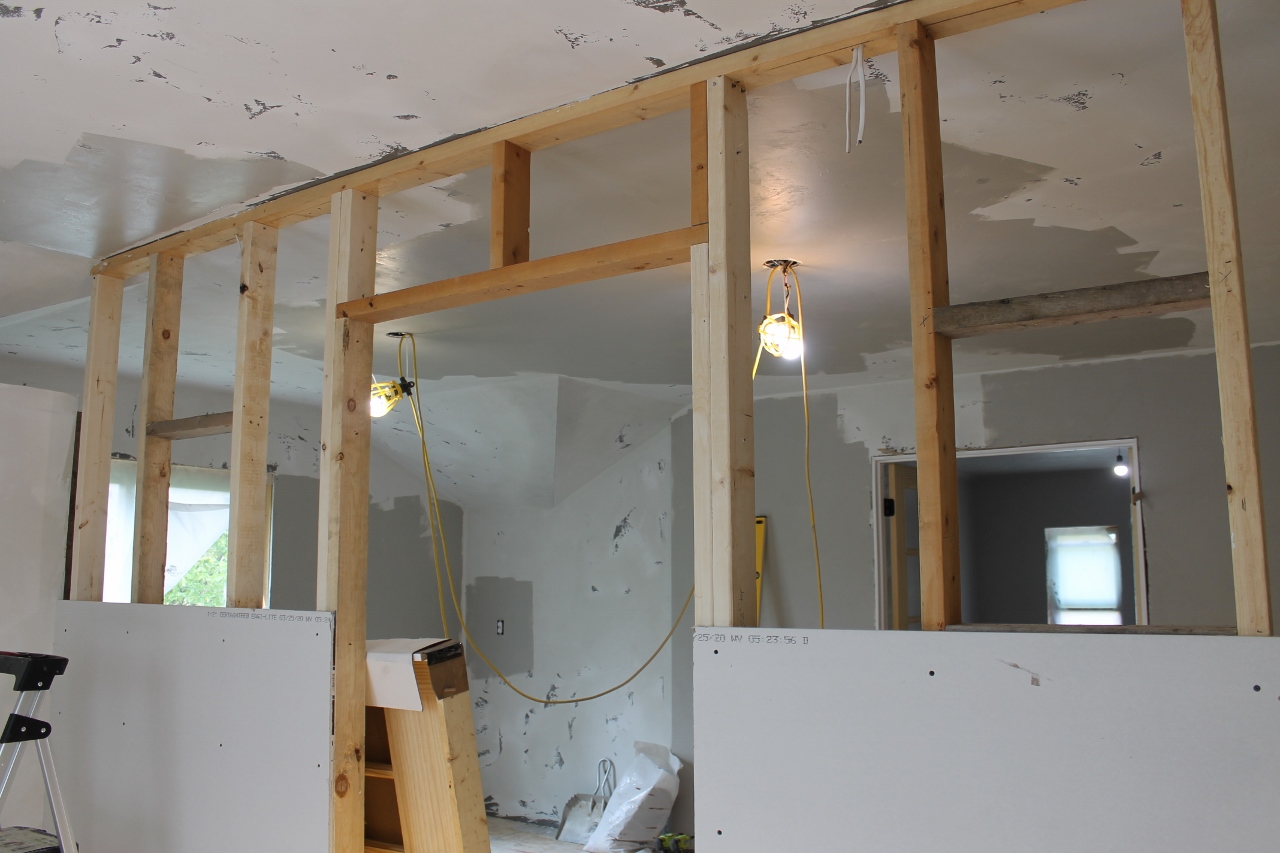
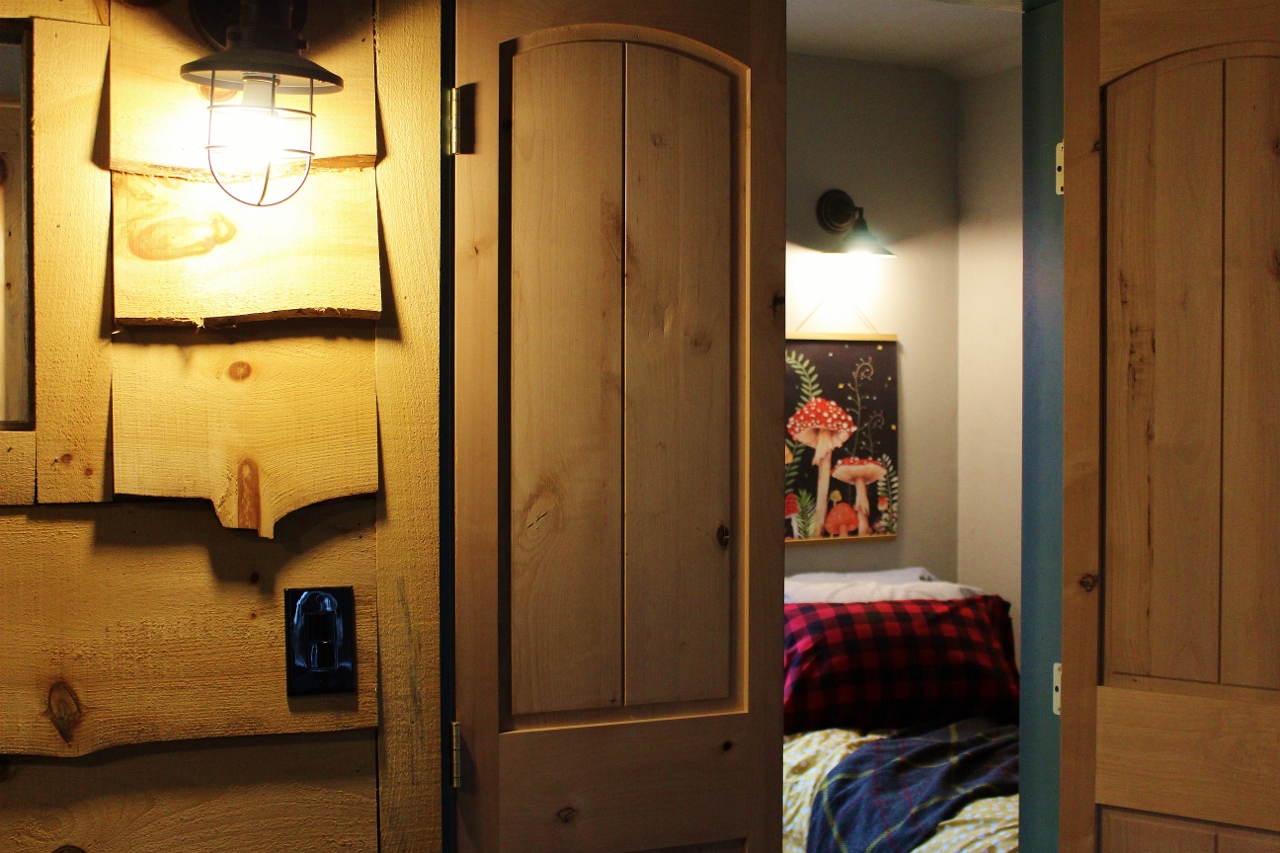
Determined to add character to the new walls as it infringed upon the symmetry of the overall bonus room space, I designed the room to have double doors, little square windows and a unique wall treatment. Inside we used up some white cladding we had.
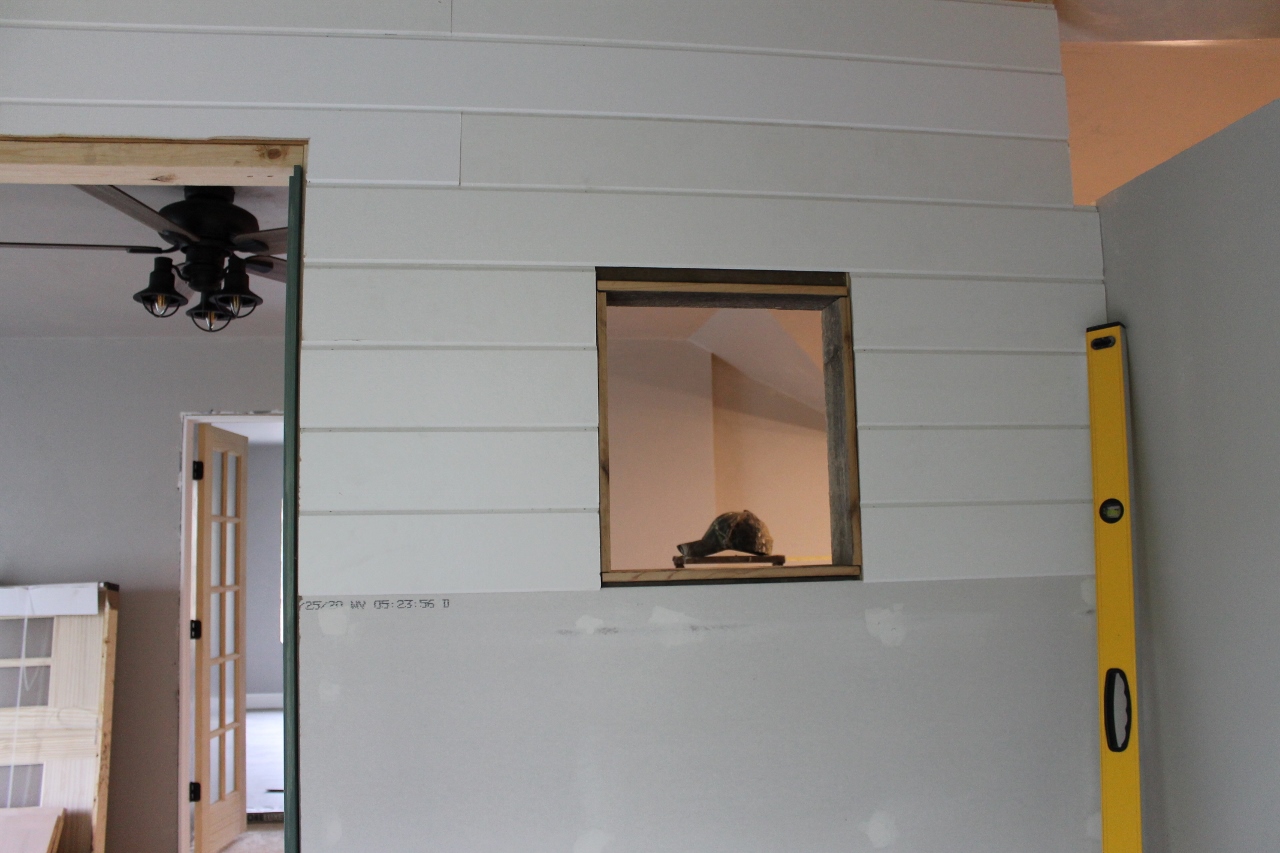
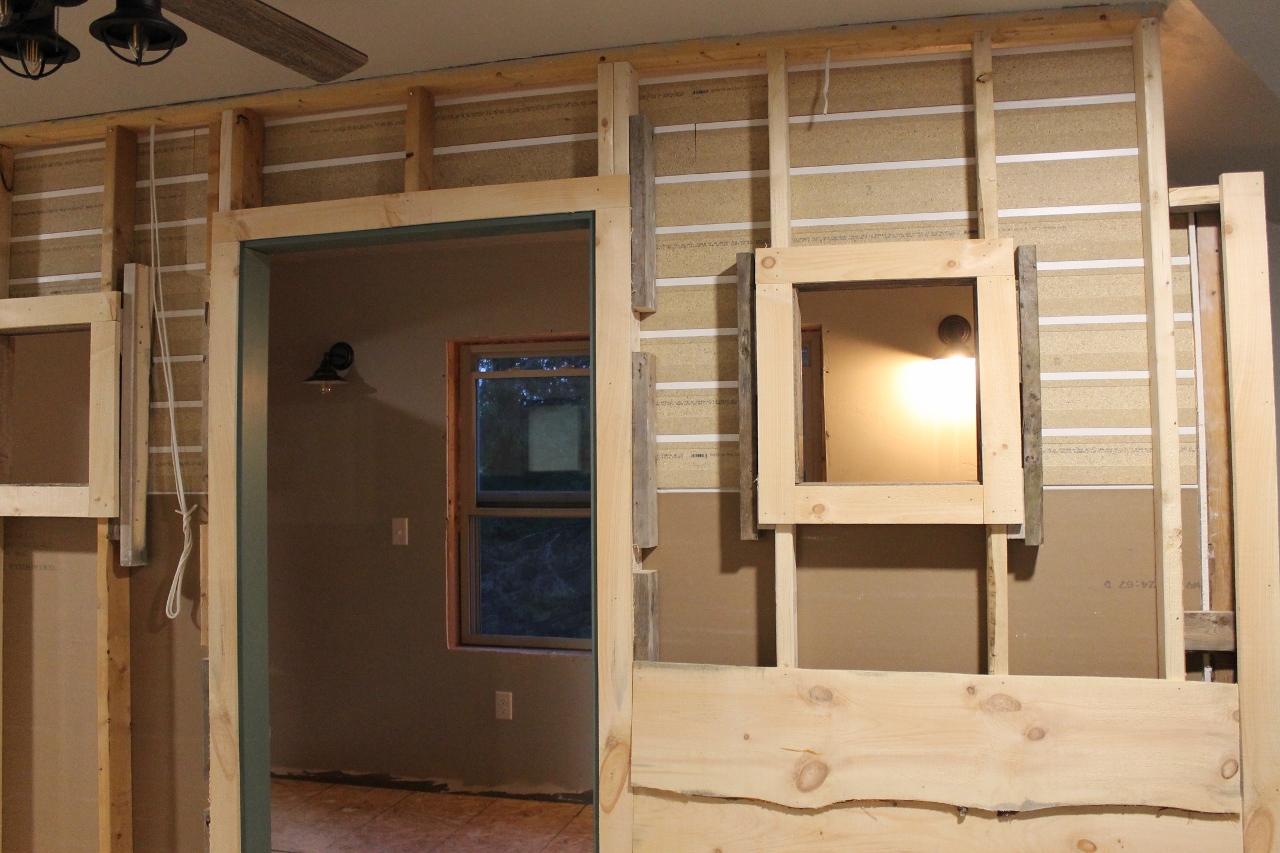
Outside we installed a wood siding a friend milled for us. The “wiggly wood,” as we refer to it, was actually more of a solution to the dilemma of needing the electrician’s schedule to work with the sheet rock and plaster install. We did the install on these walls ourselves to expedite things.
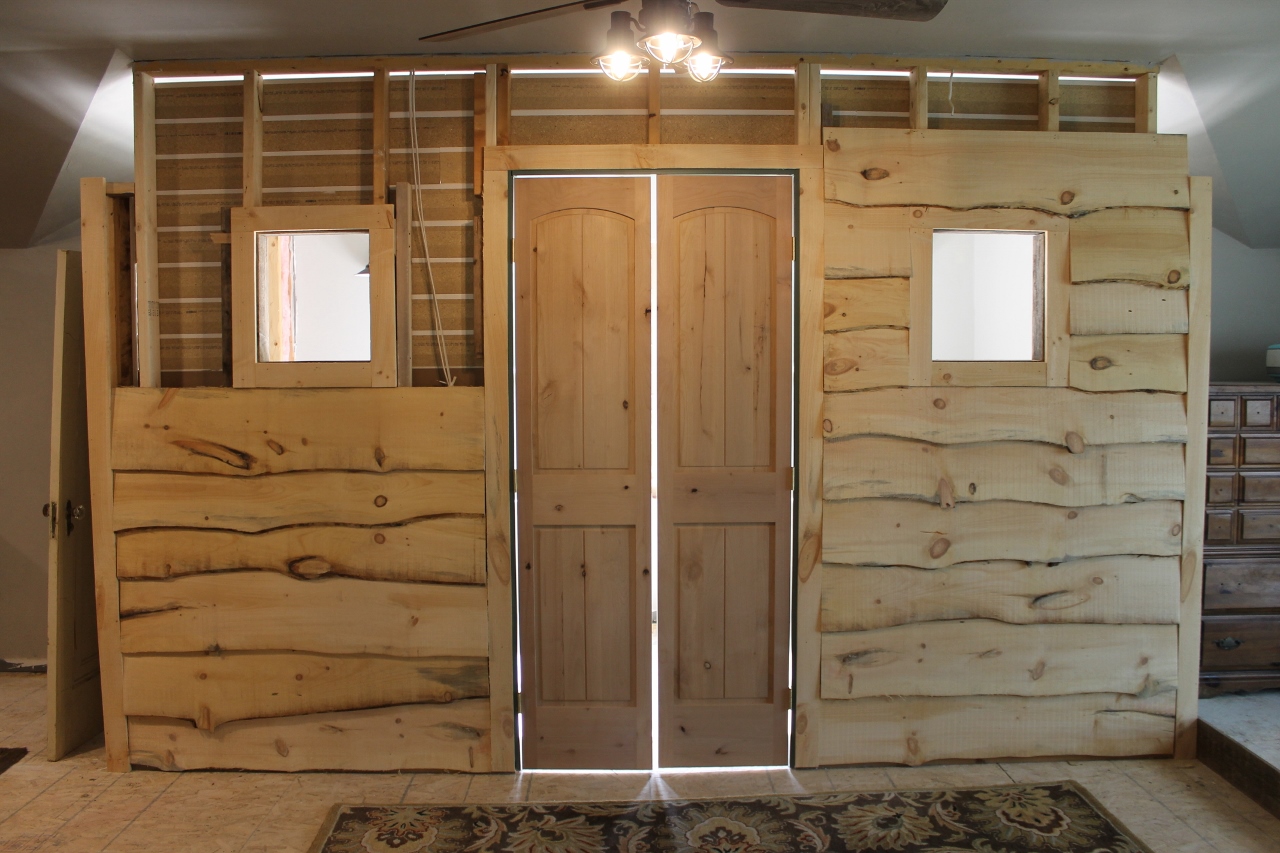
At this point we were in a less than 30 day countdown until the kid’s arrival in which we managed to get the entire bonus space plastered, painted and the electric from rough-in to complete. In about two weeks we built the extra walls, painted, shopped for bedding and mattresses, assembled two beds and even put in a snap together floating vinyl floor.
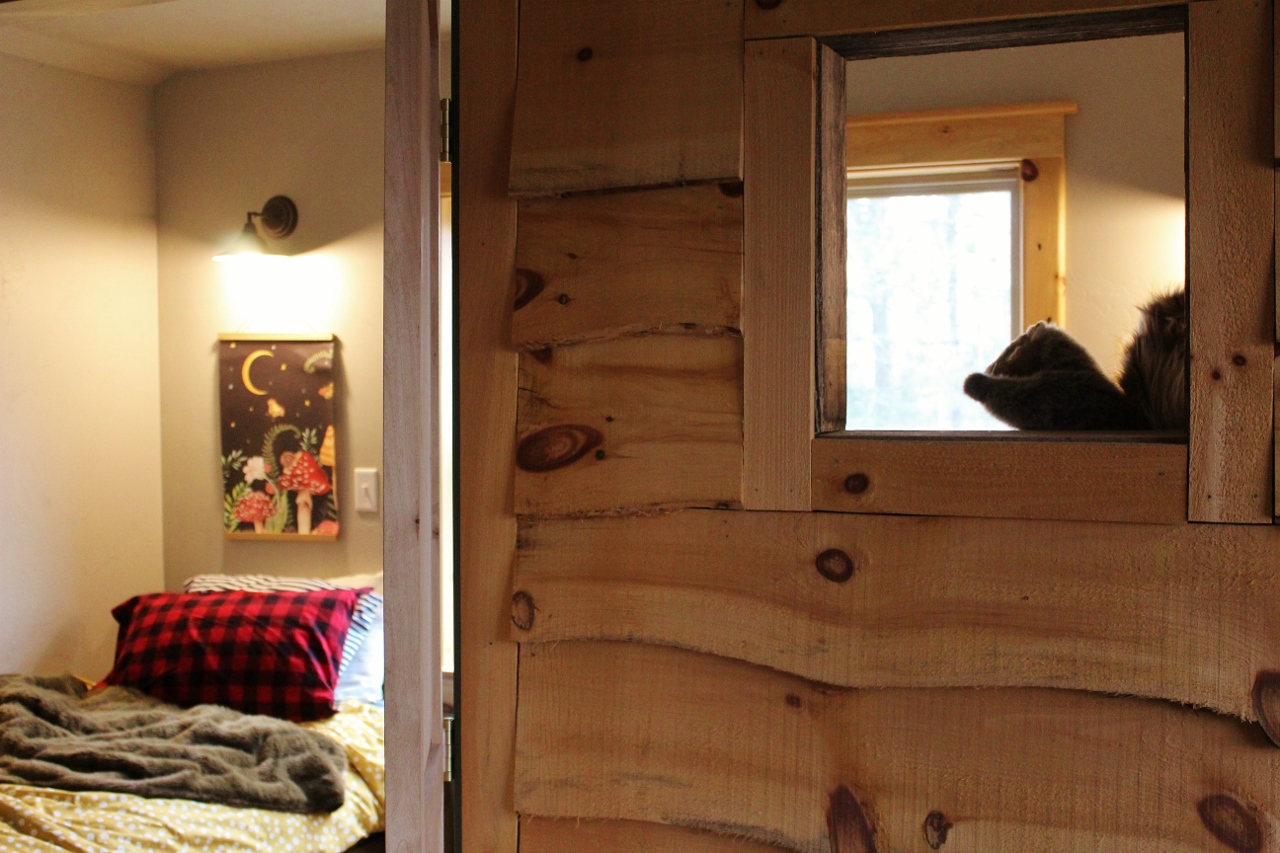
Small spaces like these are notoriously hard to photograph but this is the current look of our bonus room’s bonus bedroom. As you walk in you will be greeted by a pair of windows and two twin sized beds, one to the right and one to the left. There is approximately 5 feet of floor space between them.
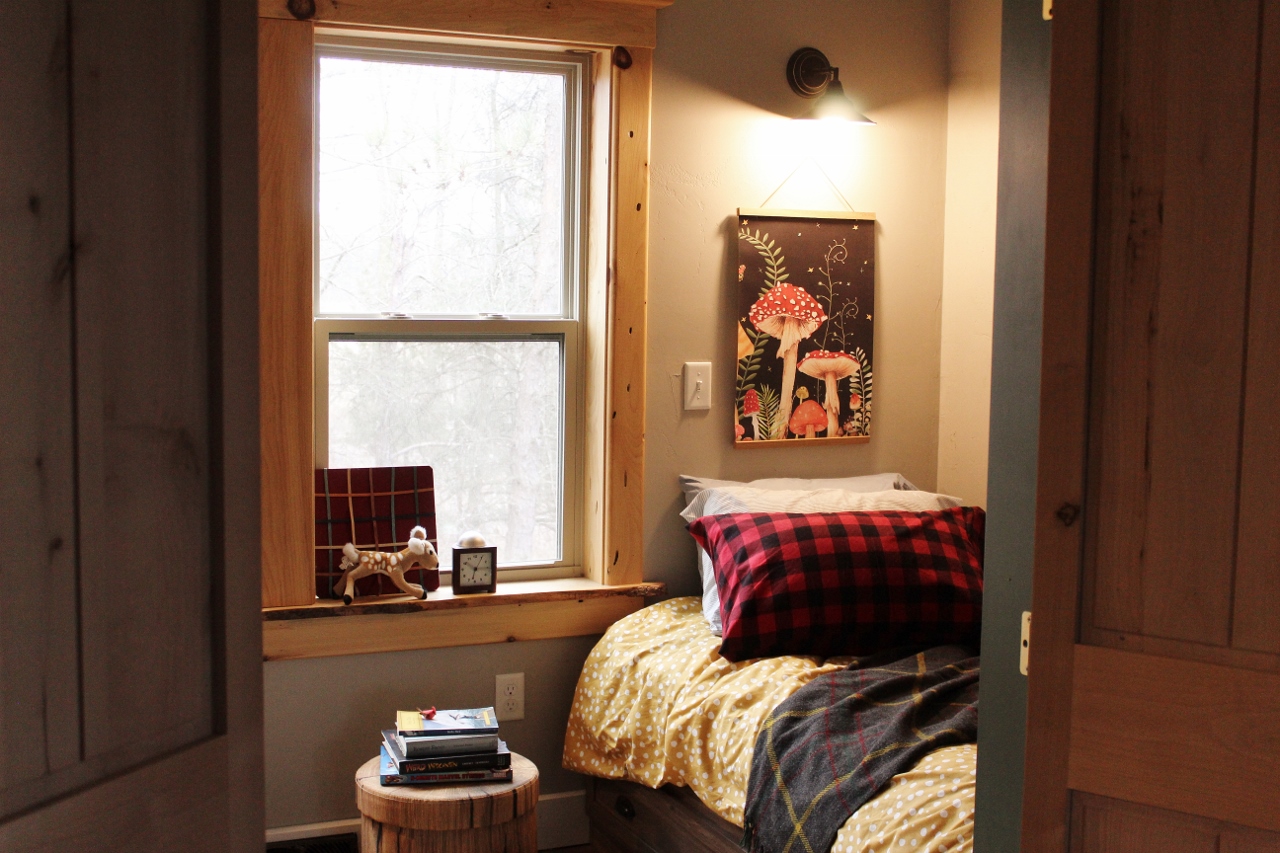
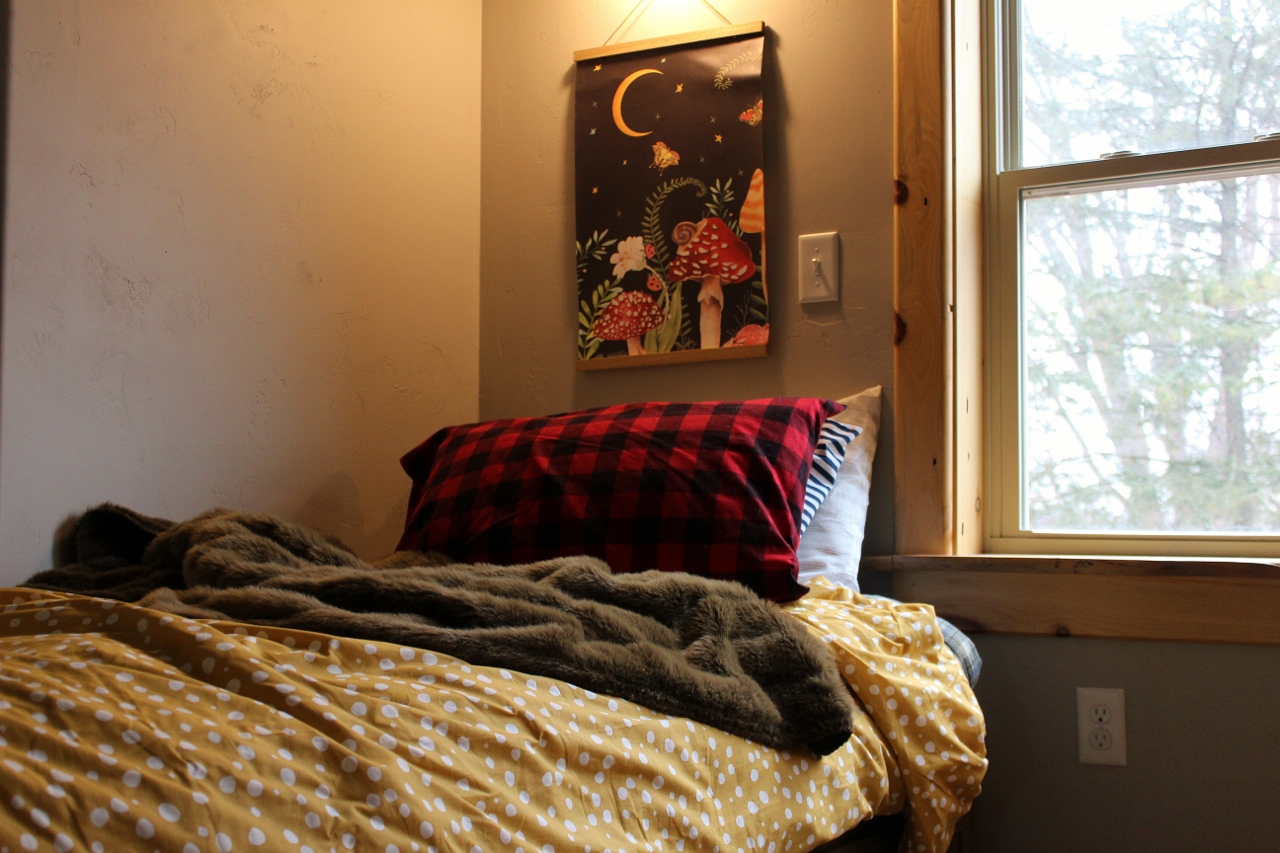
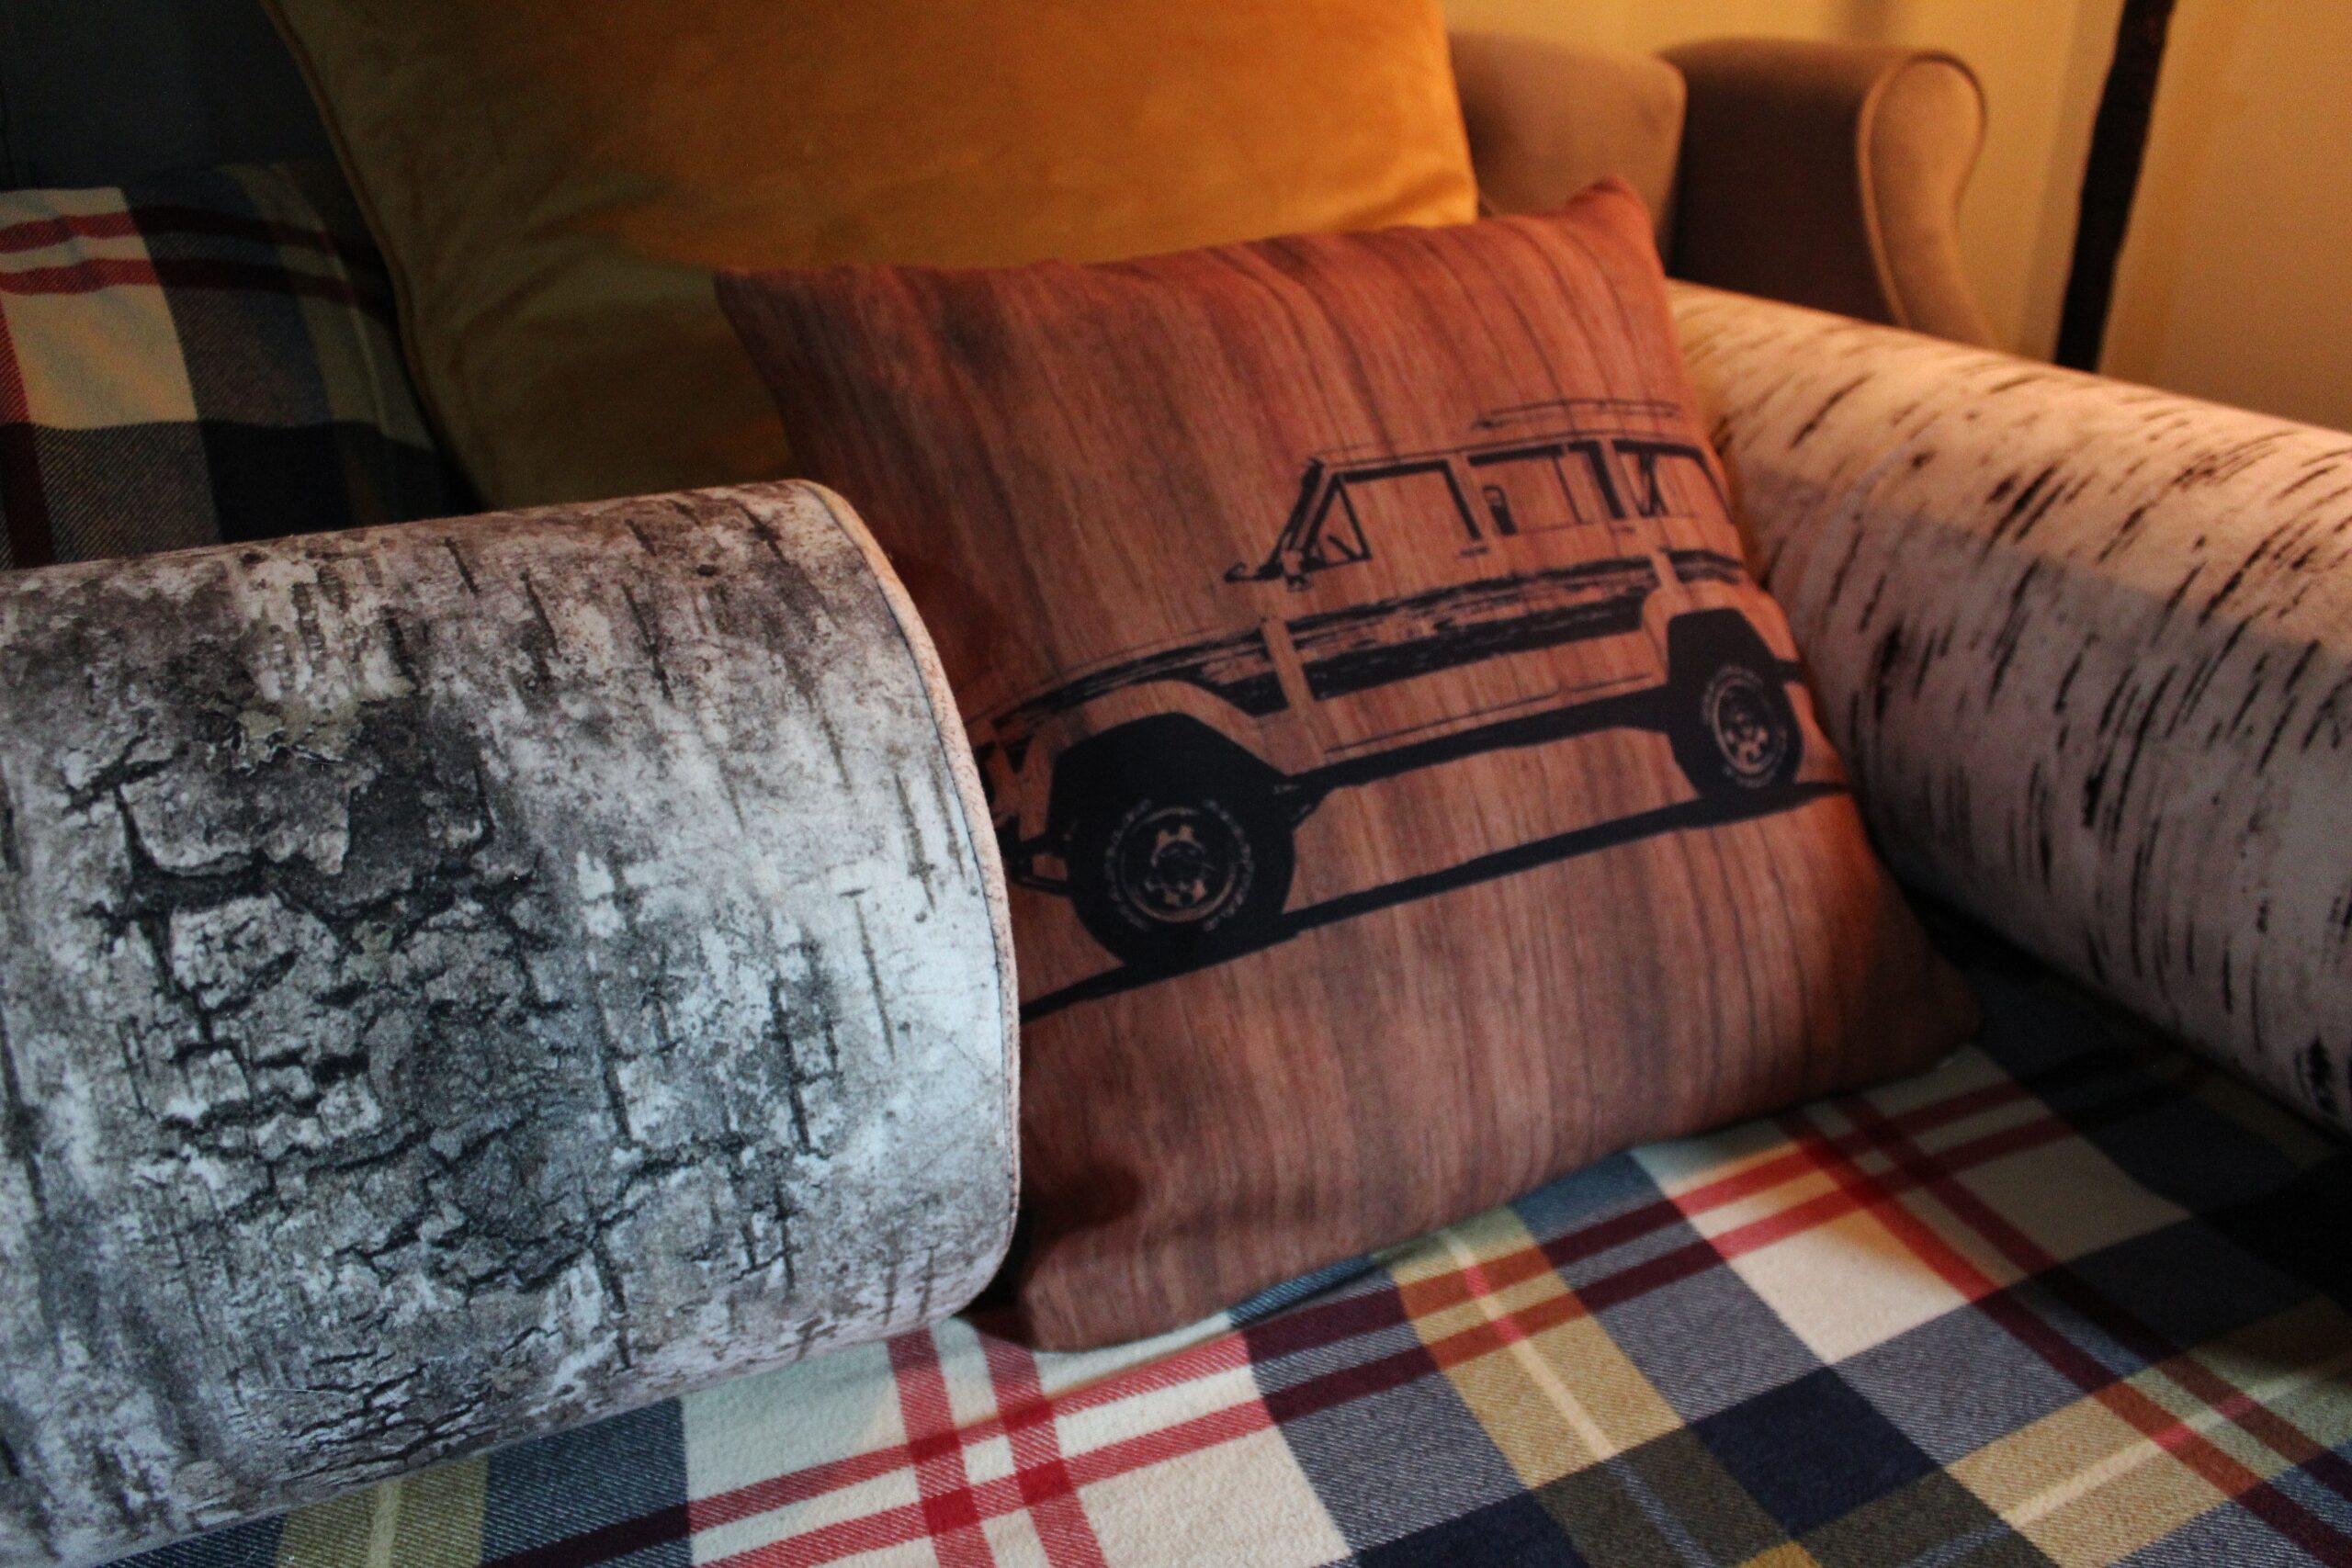
This room is currently decorated as a spare bedroom with a duvet cover from H&M and woodland mushroom hanging art. Without a headboard to the beds I like to layer the spare pillows up with mismatched cases, both to add interest and as a place to store extras for when guests spend the night.
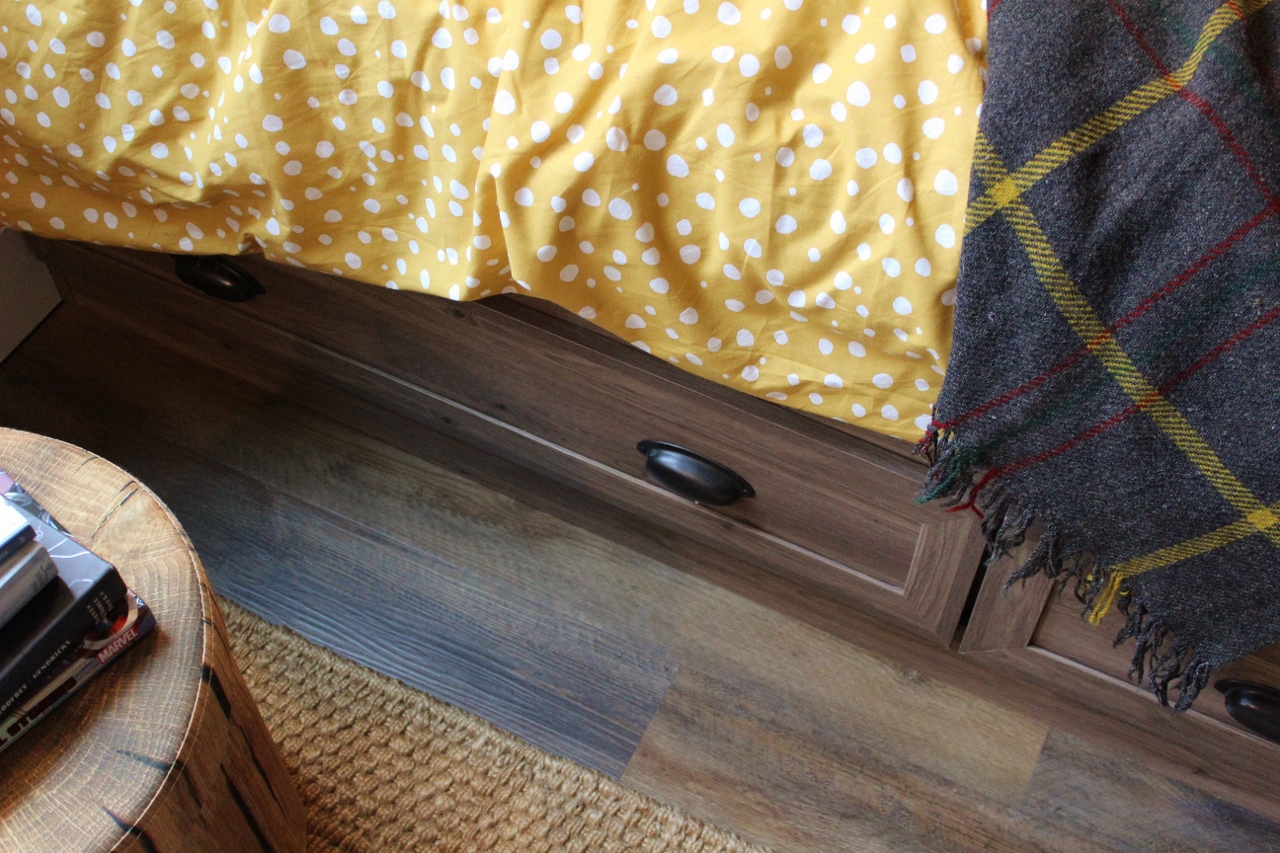
The flooring color was deliberately chosen for it’s variation of shades and wood tones. It matches these beds and the natural finish on the live edge window sill as well as the more red chestnut color in the rest of the bonus area outside of the bedroom.
When we started I wasn’t sure if this room would fit with the styling or the direction of the rest of this upstairs space, but similar to how every child has a completely different personality, I like the way it does its own thing and stands out. I would categorize this as another “small but mighty” room. And who knows- the new year may open the door for another child (or two) to enjoy this cozy space.
In Case you Missed It!
Leave a Reply