M is for Miller: How to make lath into a housewarming gift!
When you are remodeling a very old home, like we have been doing for the past 8 years, you come to realize that your yard (or garage, or barn…) will always have a pile of stuff from your recent gut job. For a while it was a pile of bricks from removing an old chimney, then it was a pile of shake siding. Each phase eventually gets cleaned up and hopefully the materials find a way to be reused. I’ve recycled many of our discarded building materials, but never have I created a housewarming gift out of any of it!
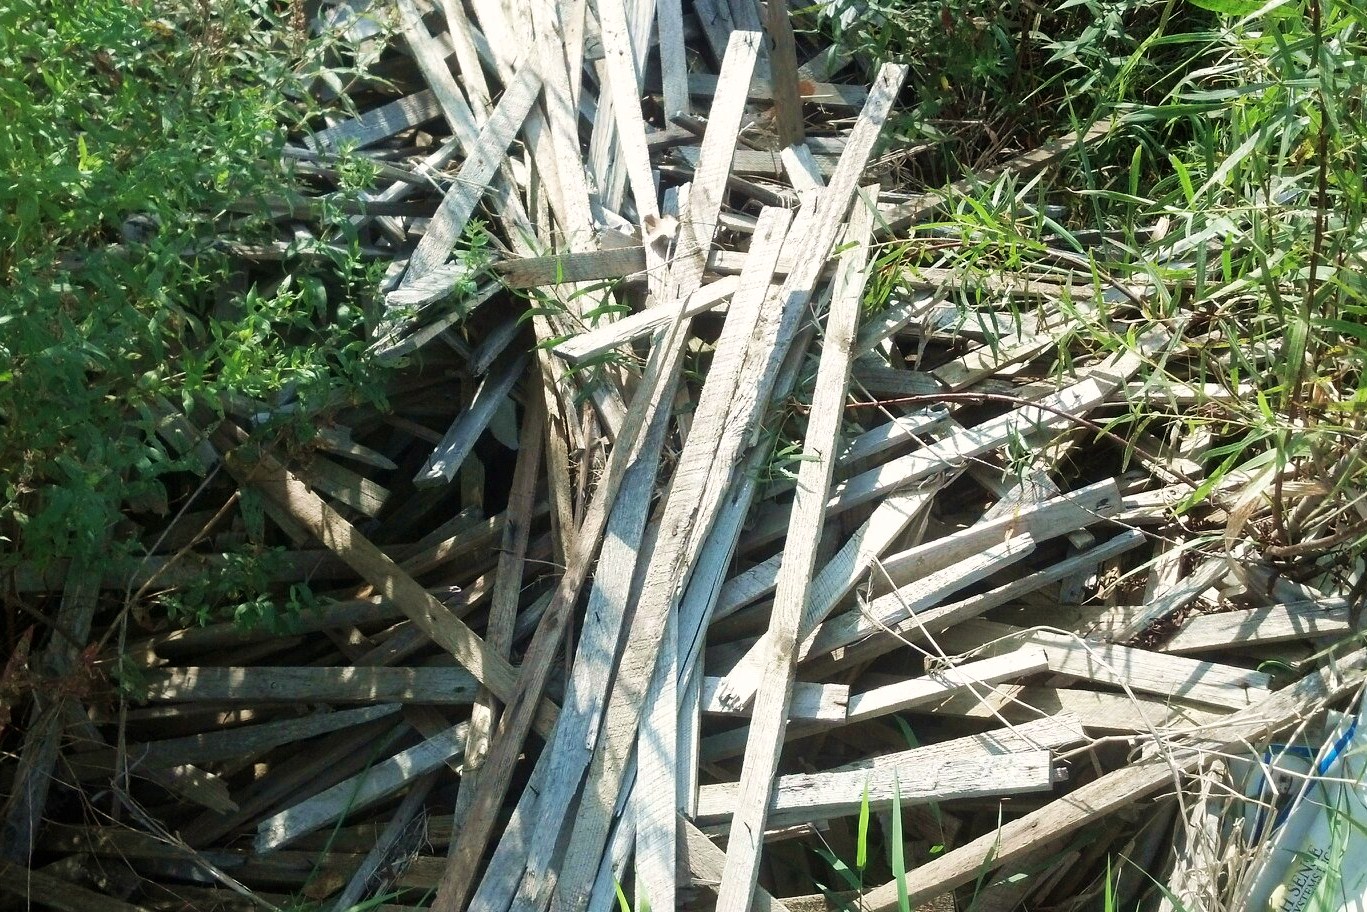
So I’m pretty excited to share how I turned a pile of this:
Into a project like this:

First off- for those of you who aren’t familiar, this is lath-
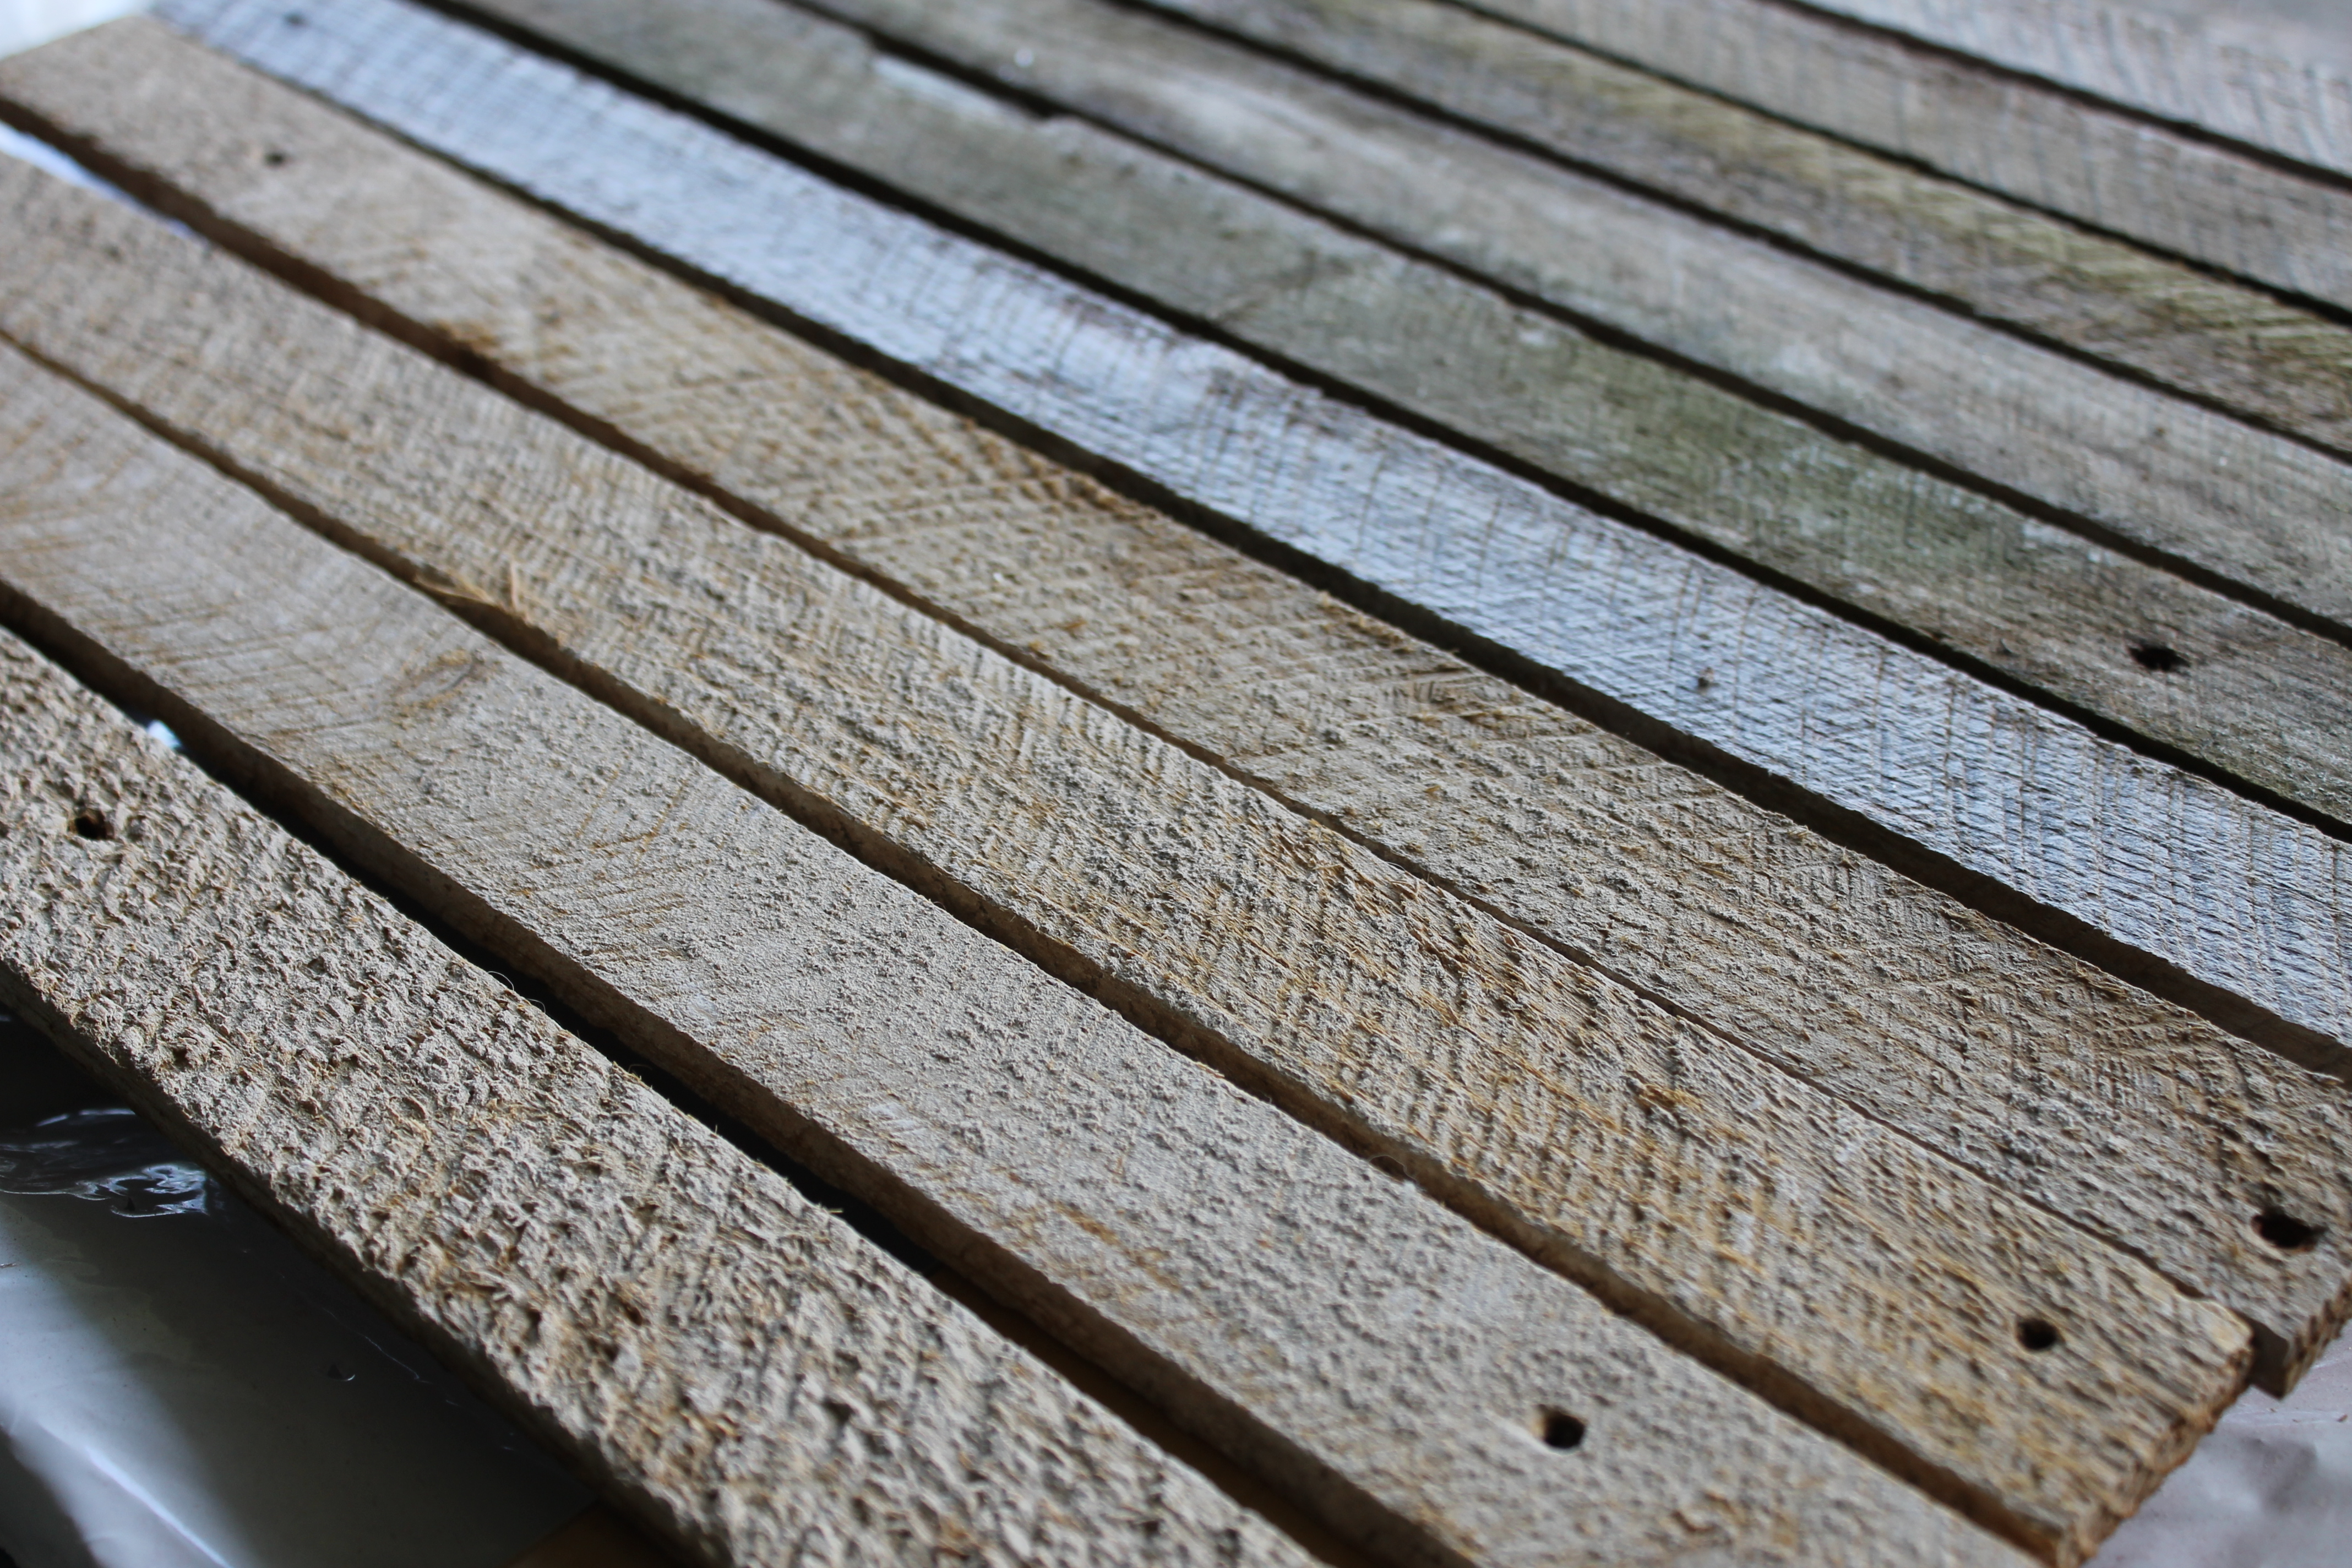
Thin strips of wood used to hold the plaster to the walls of old homes.
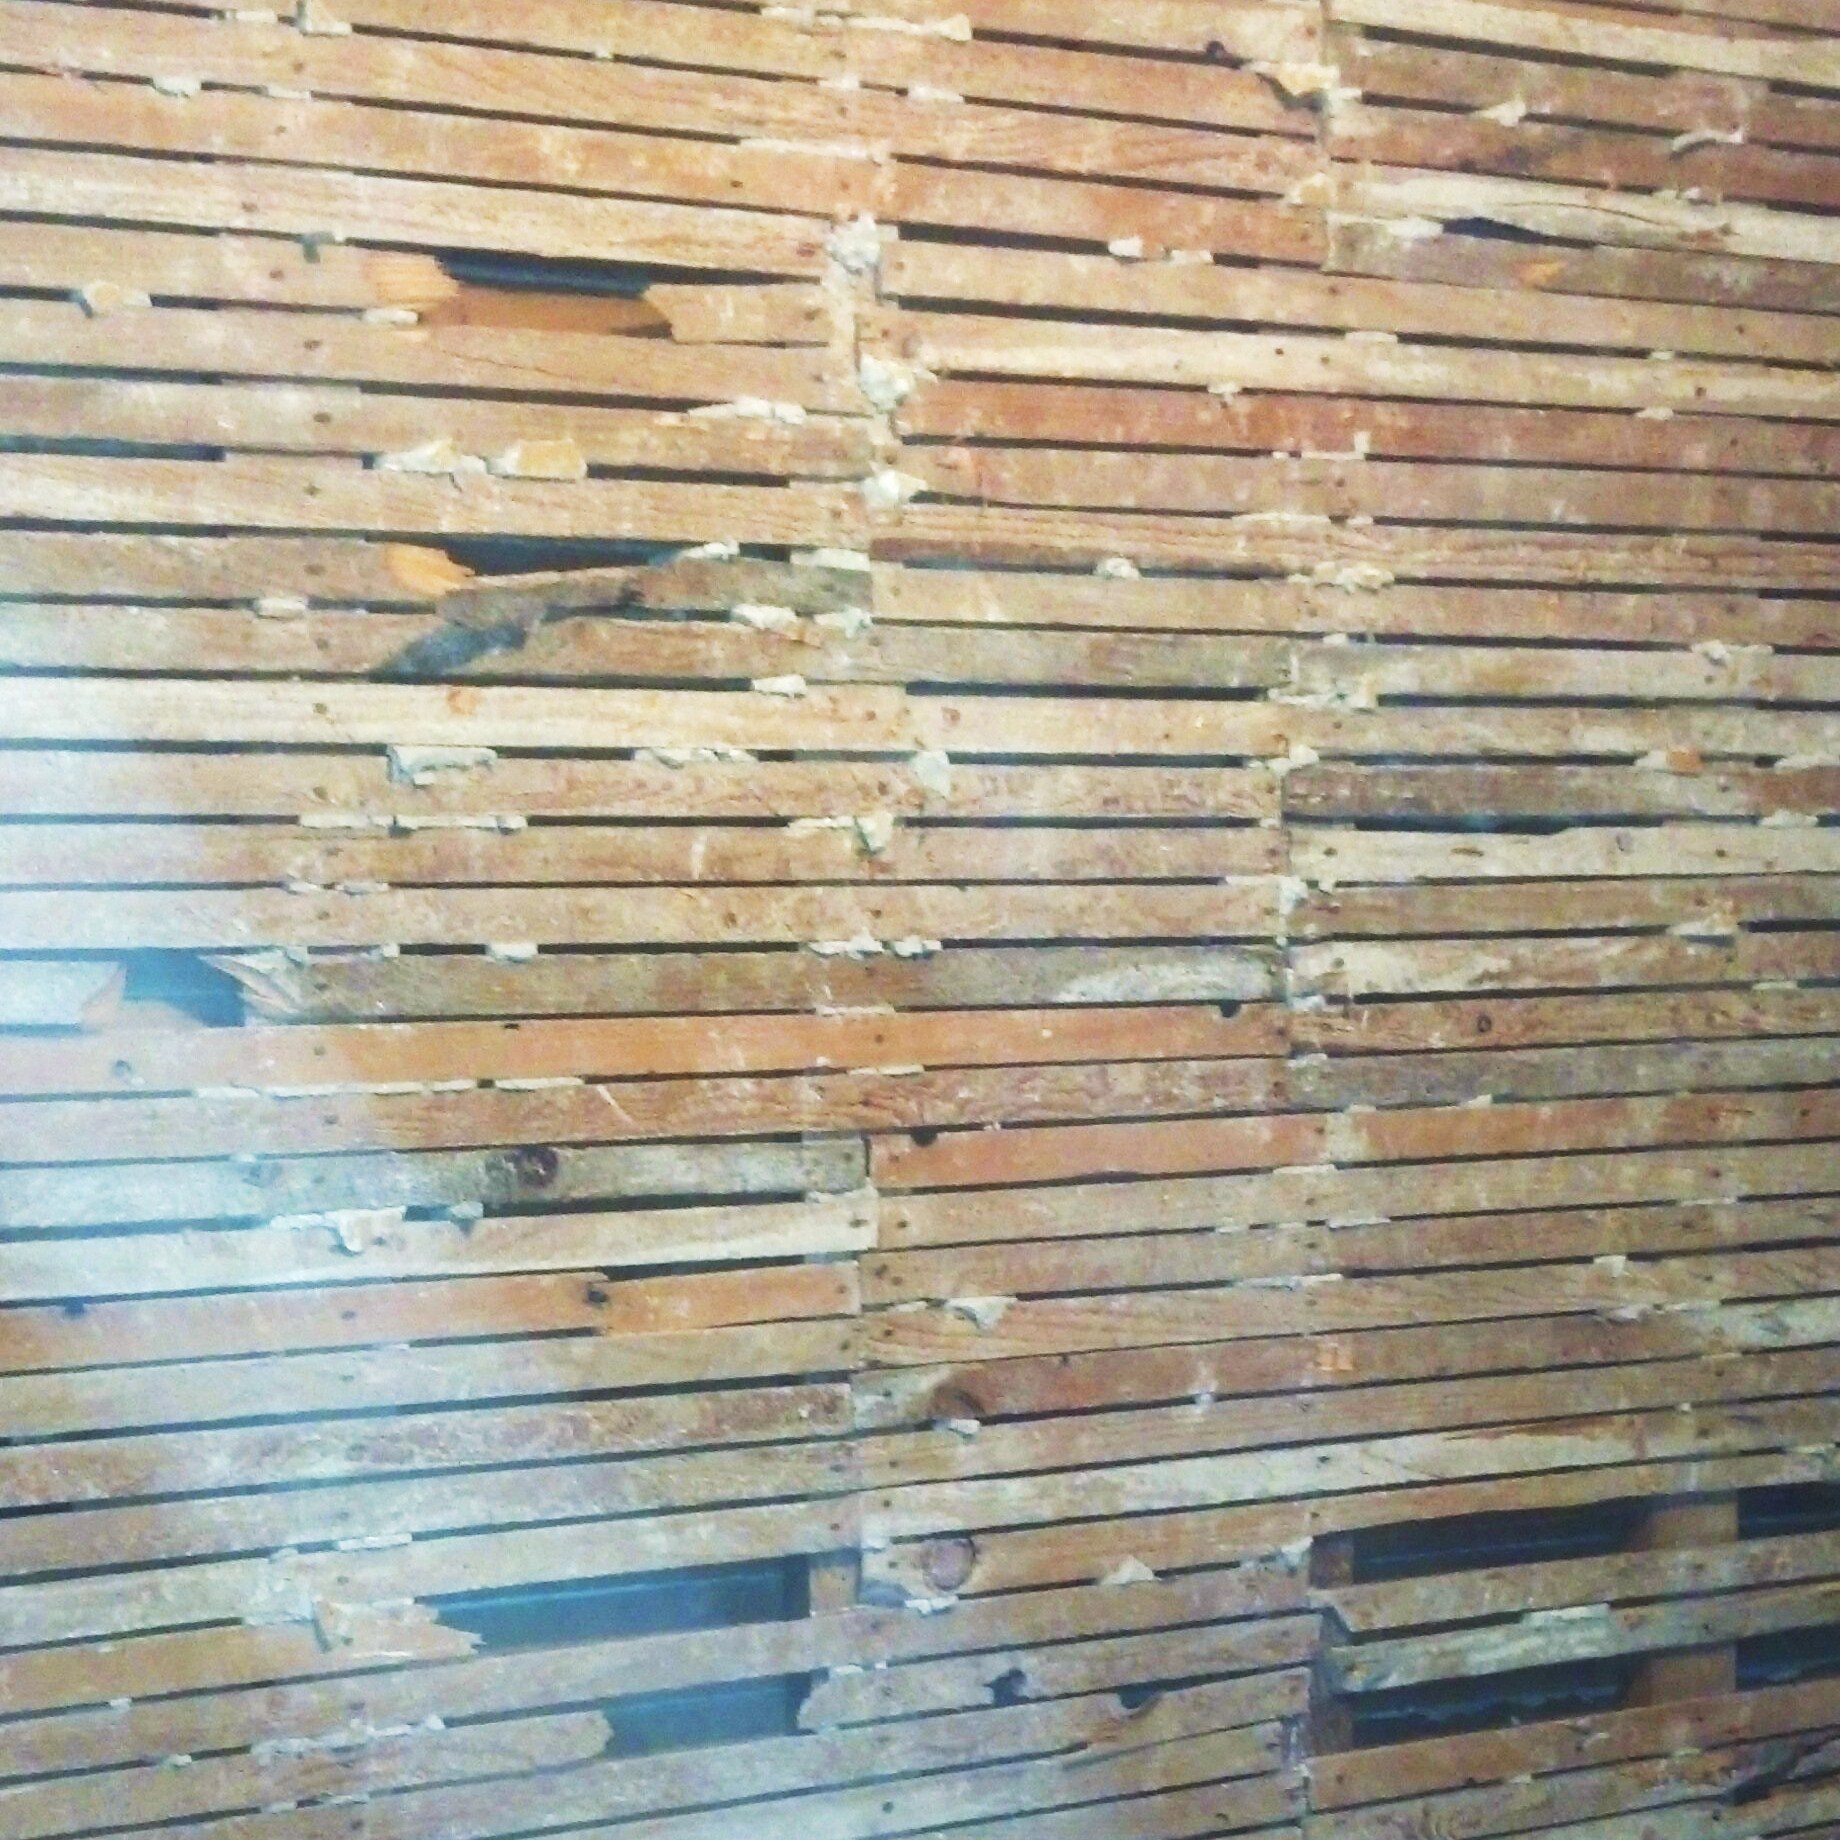
This is what a wall of lath looks like after the plaster has been stripped off of it.
And this is what a ceiling of lath looks like in my very own upstairs.

And, once again, this is what lath looks like laying in your field after you have pain stakingly removed it from your house.
Ready for the bonfire until I was inspired to create a monogrammed housewarming present for The Millers. It seemed perfect for their style of warm woods and modern gray tones.
Here’s the rundown-
Step One: Find and cut pieces of lath into desired size.
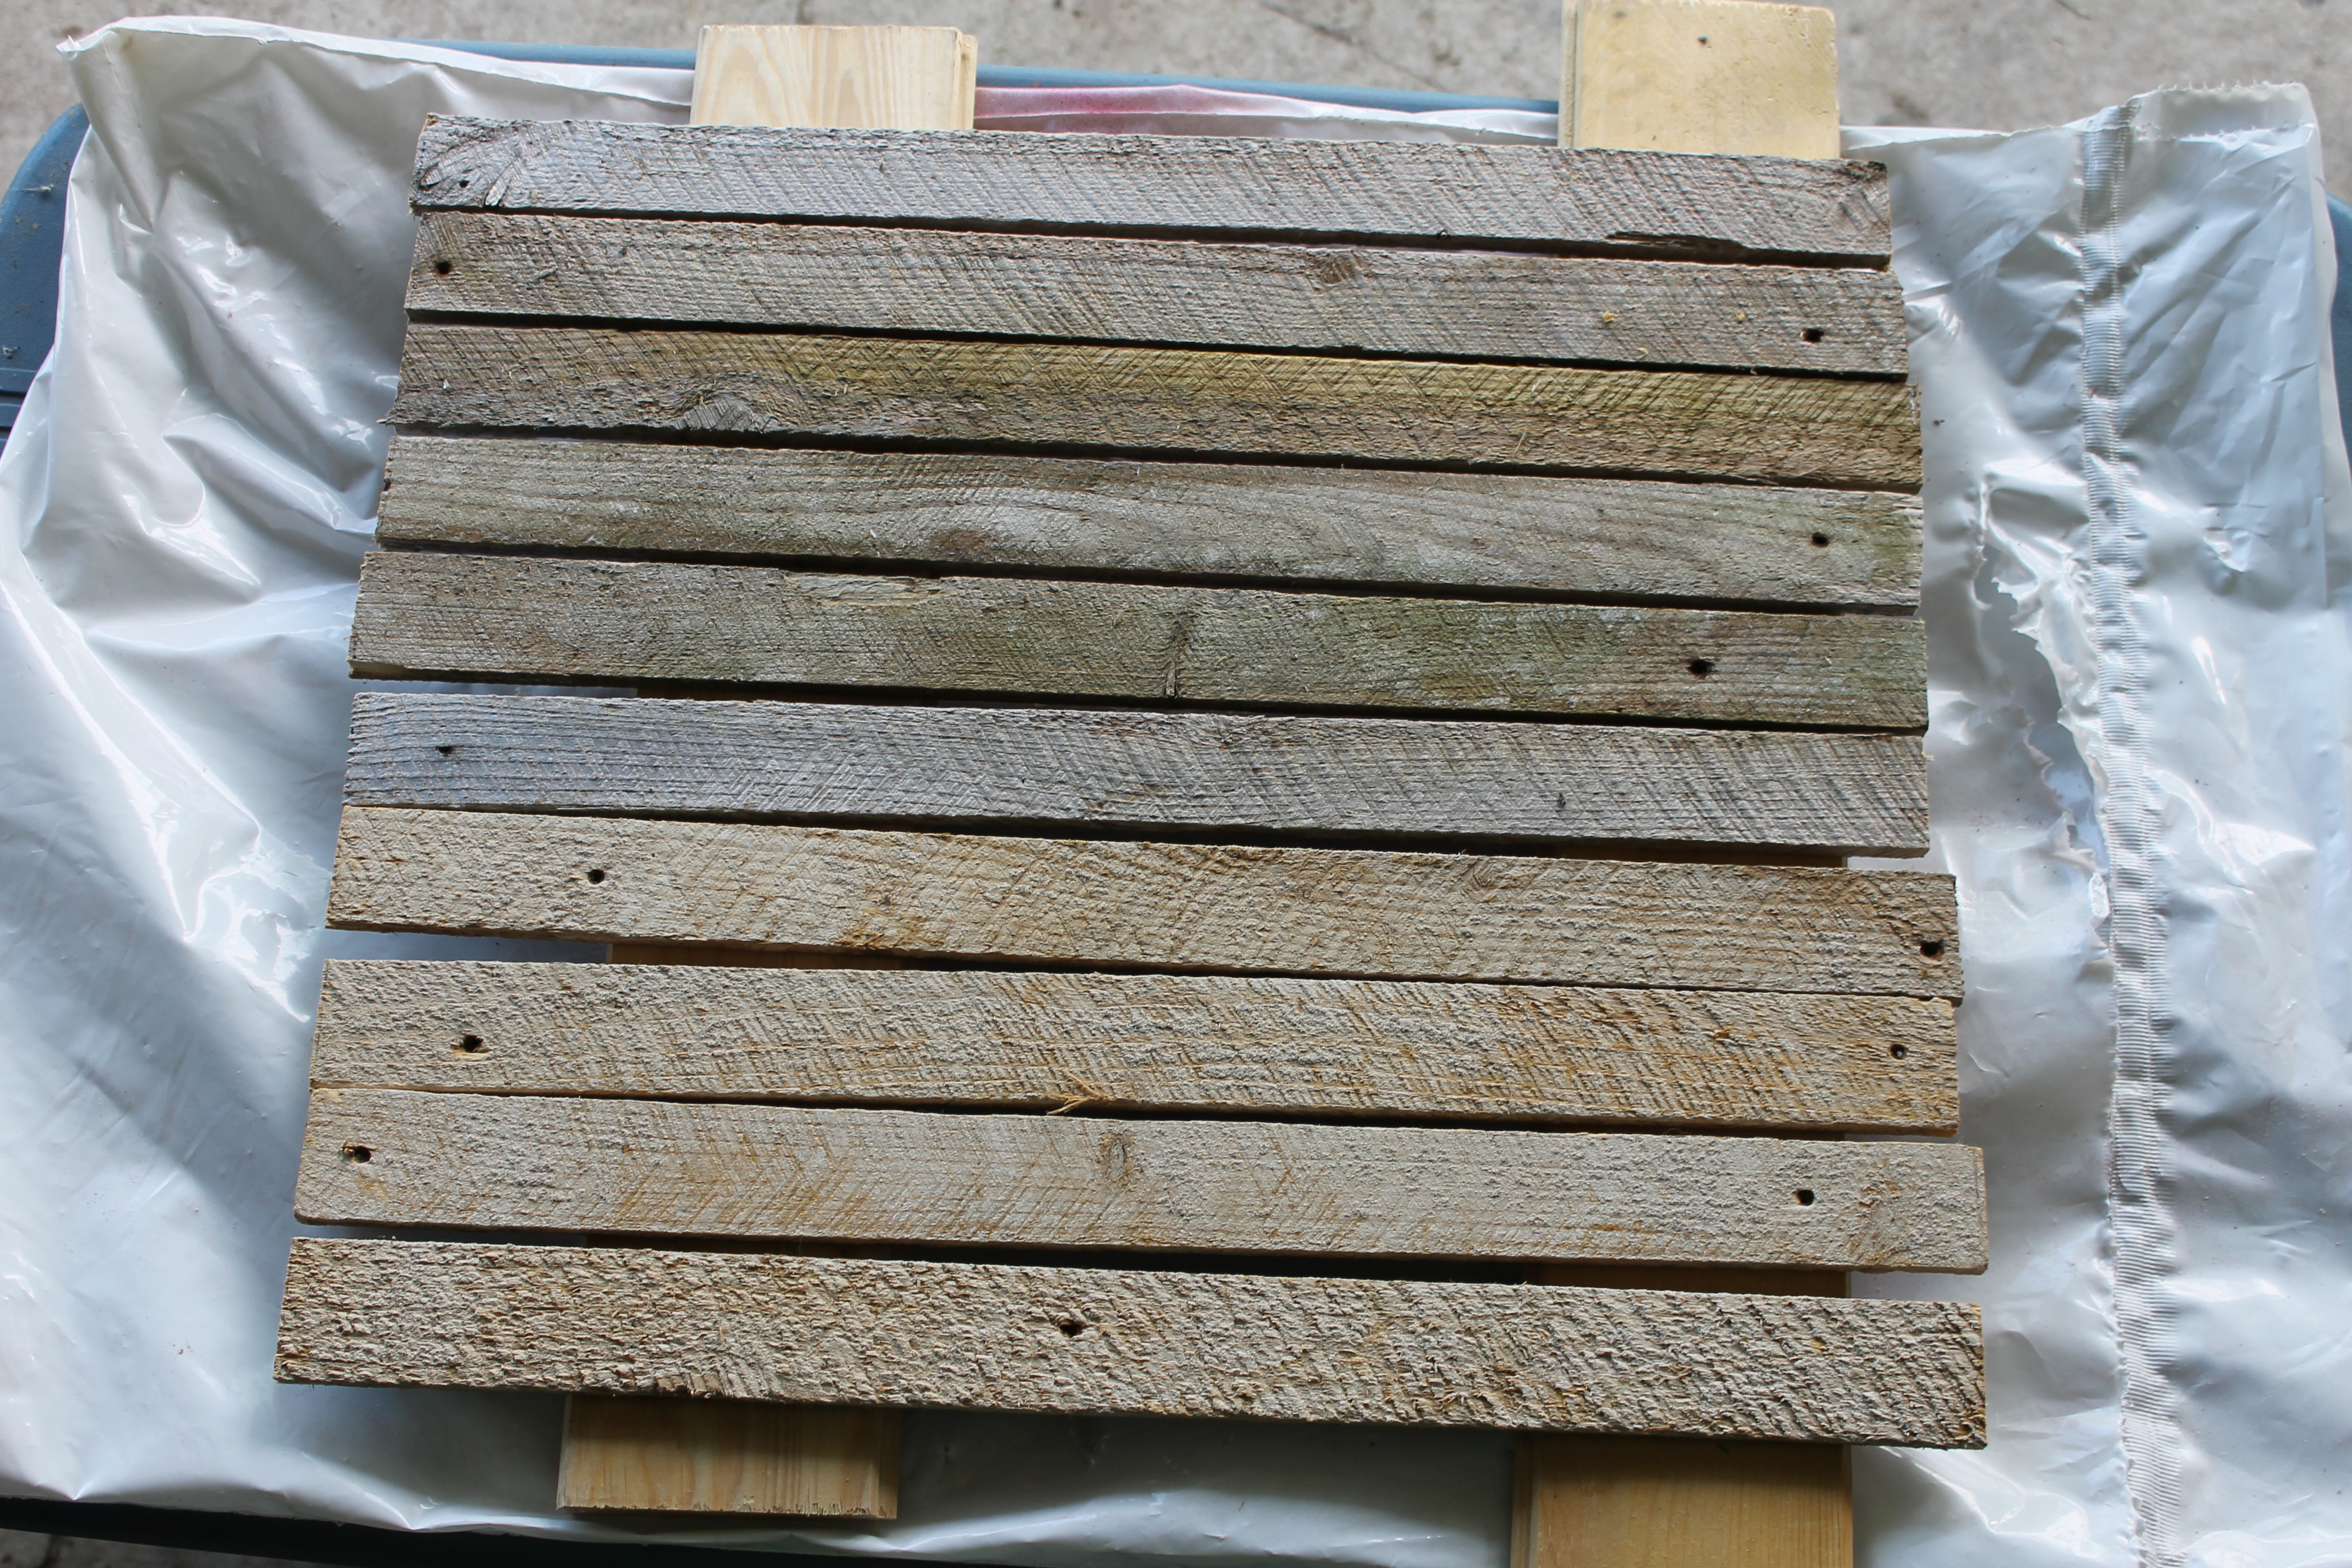
Our lath had huge nails that needed to be removed. This left the character holes in the wood.
Step Two: After cutting the pieces to size we arranged them according to the length and the texture we liked and began washing the pieces with a stain.
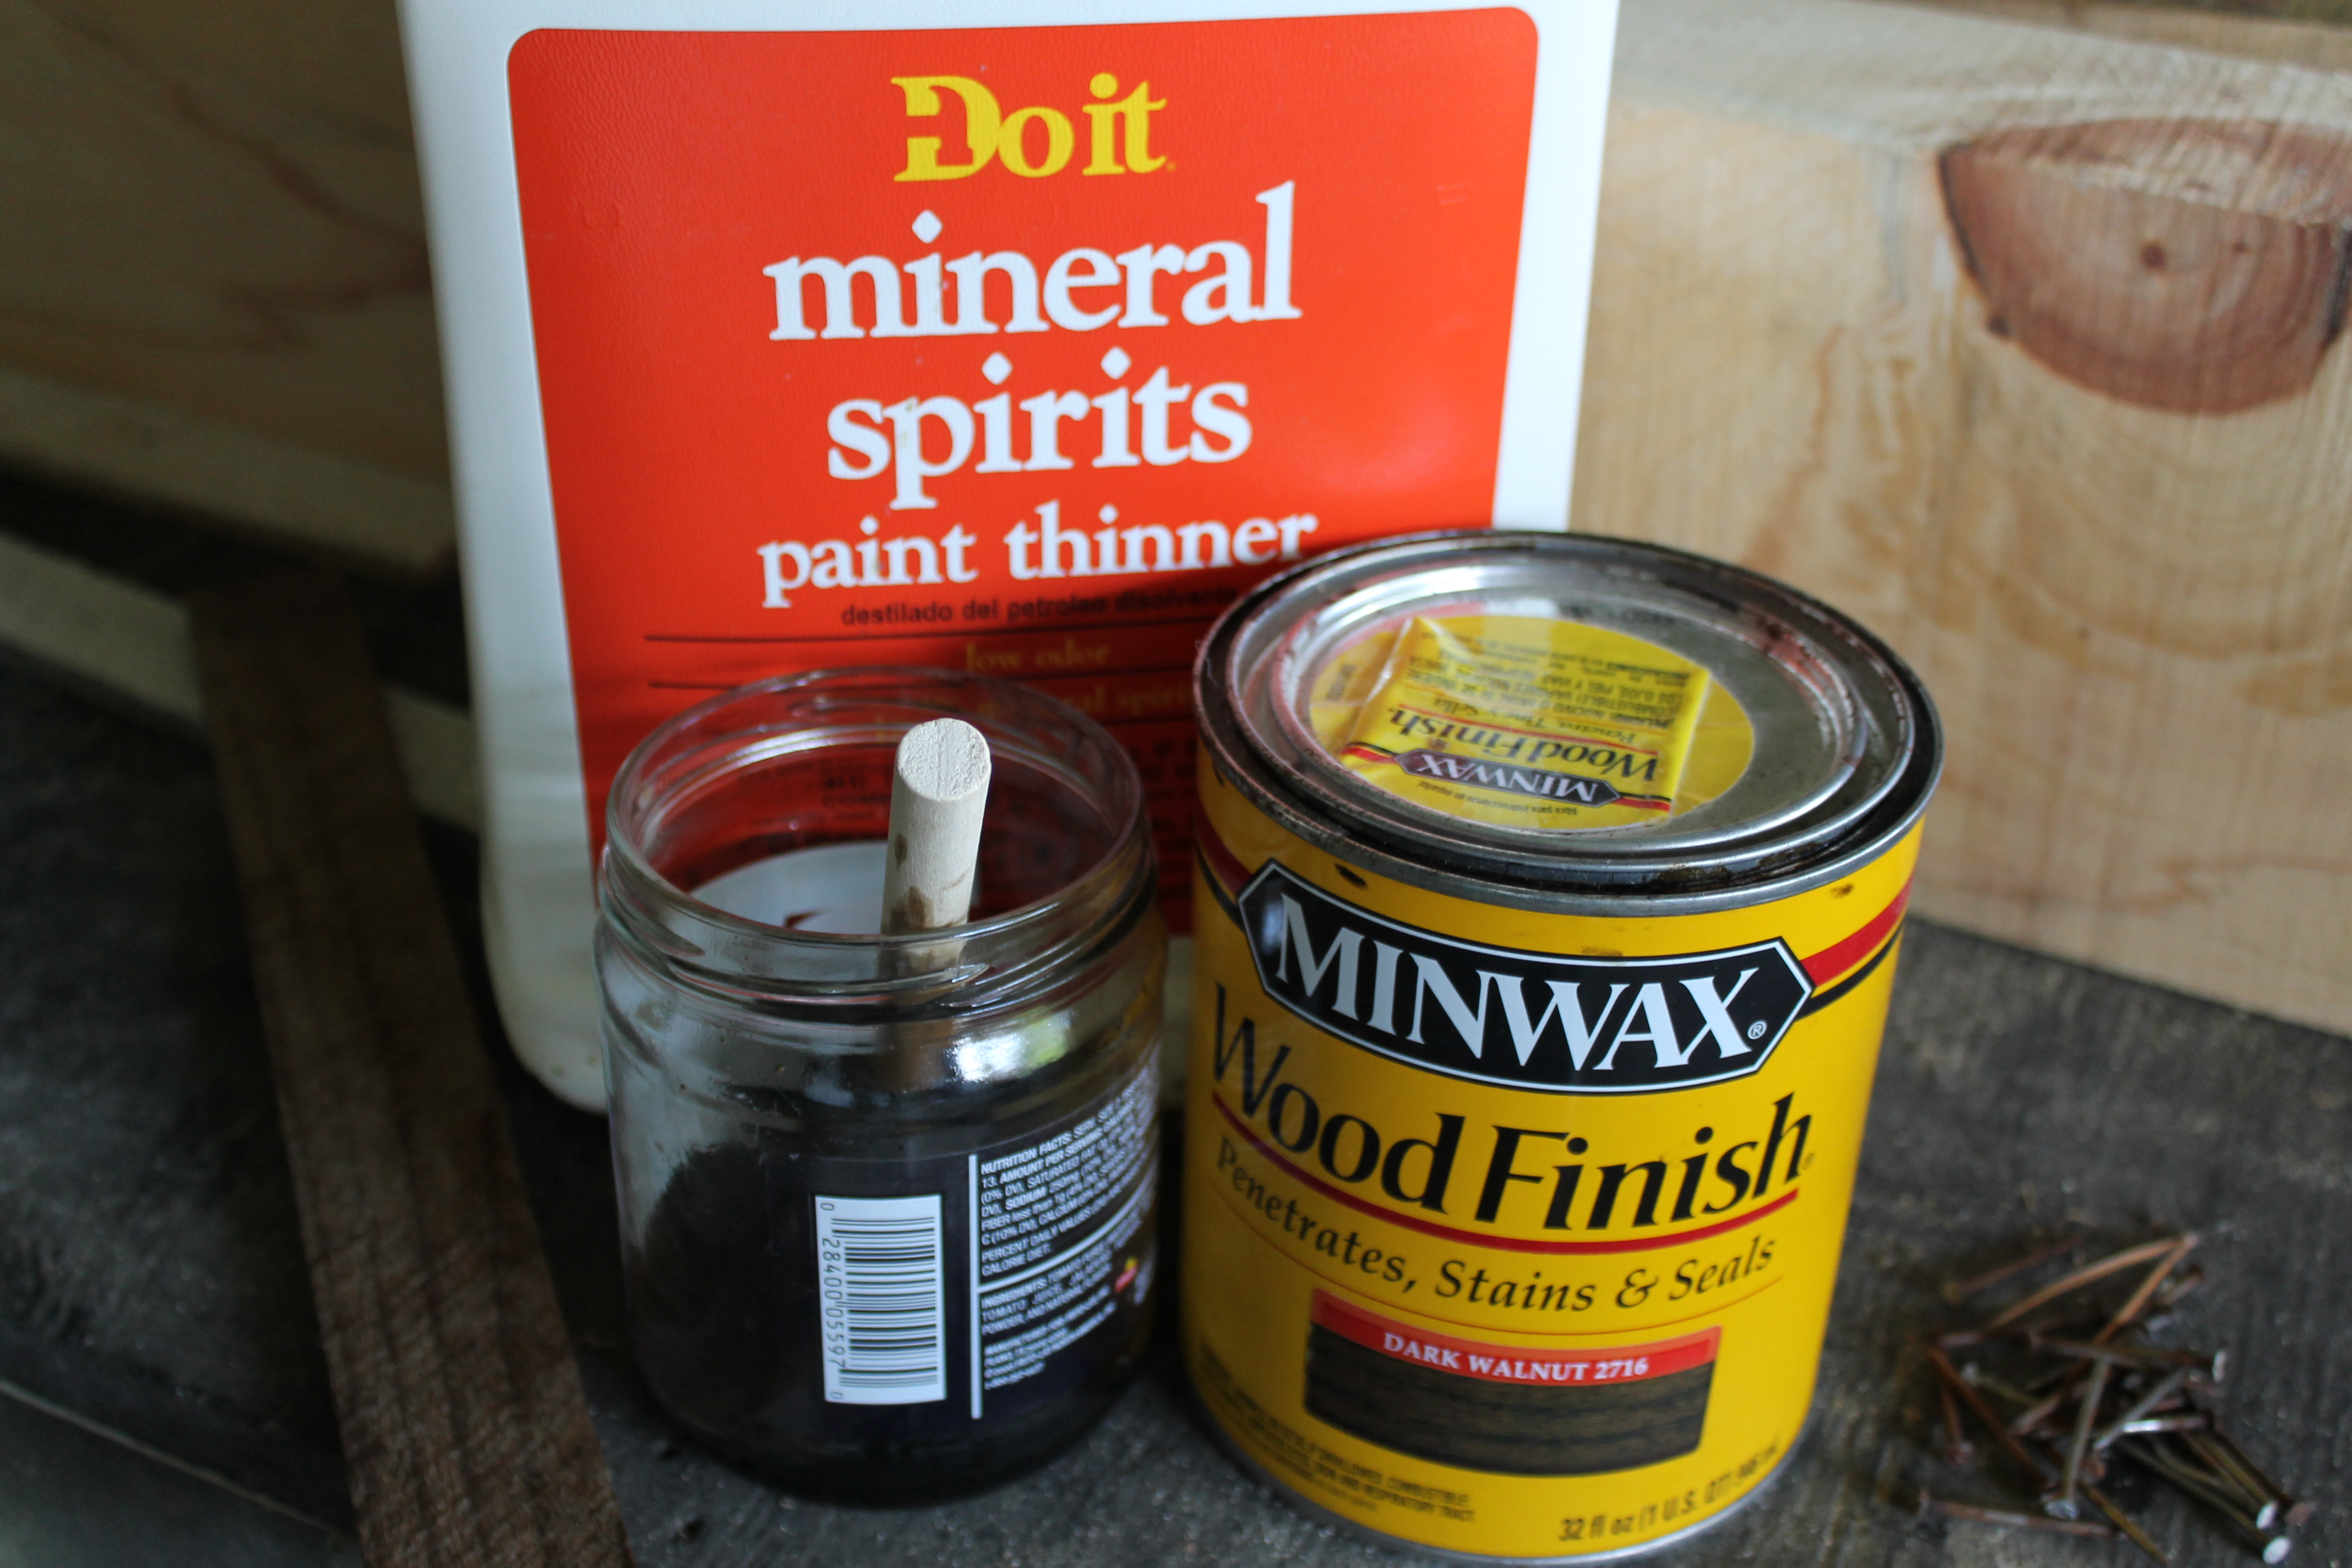
What I mean by “washing” is a trick I use when I want different gradients of stain without switching the color. I simply dilute the stain with mineral spirits and sponge it on the wood.

Halfway there…
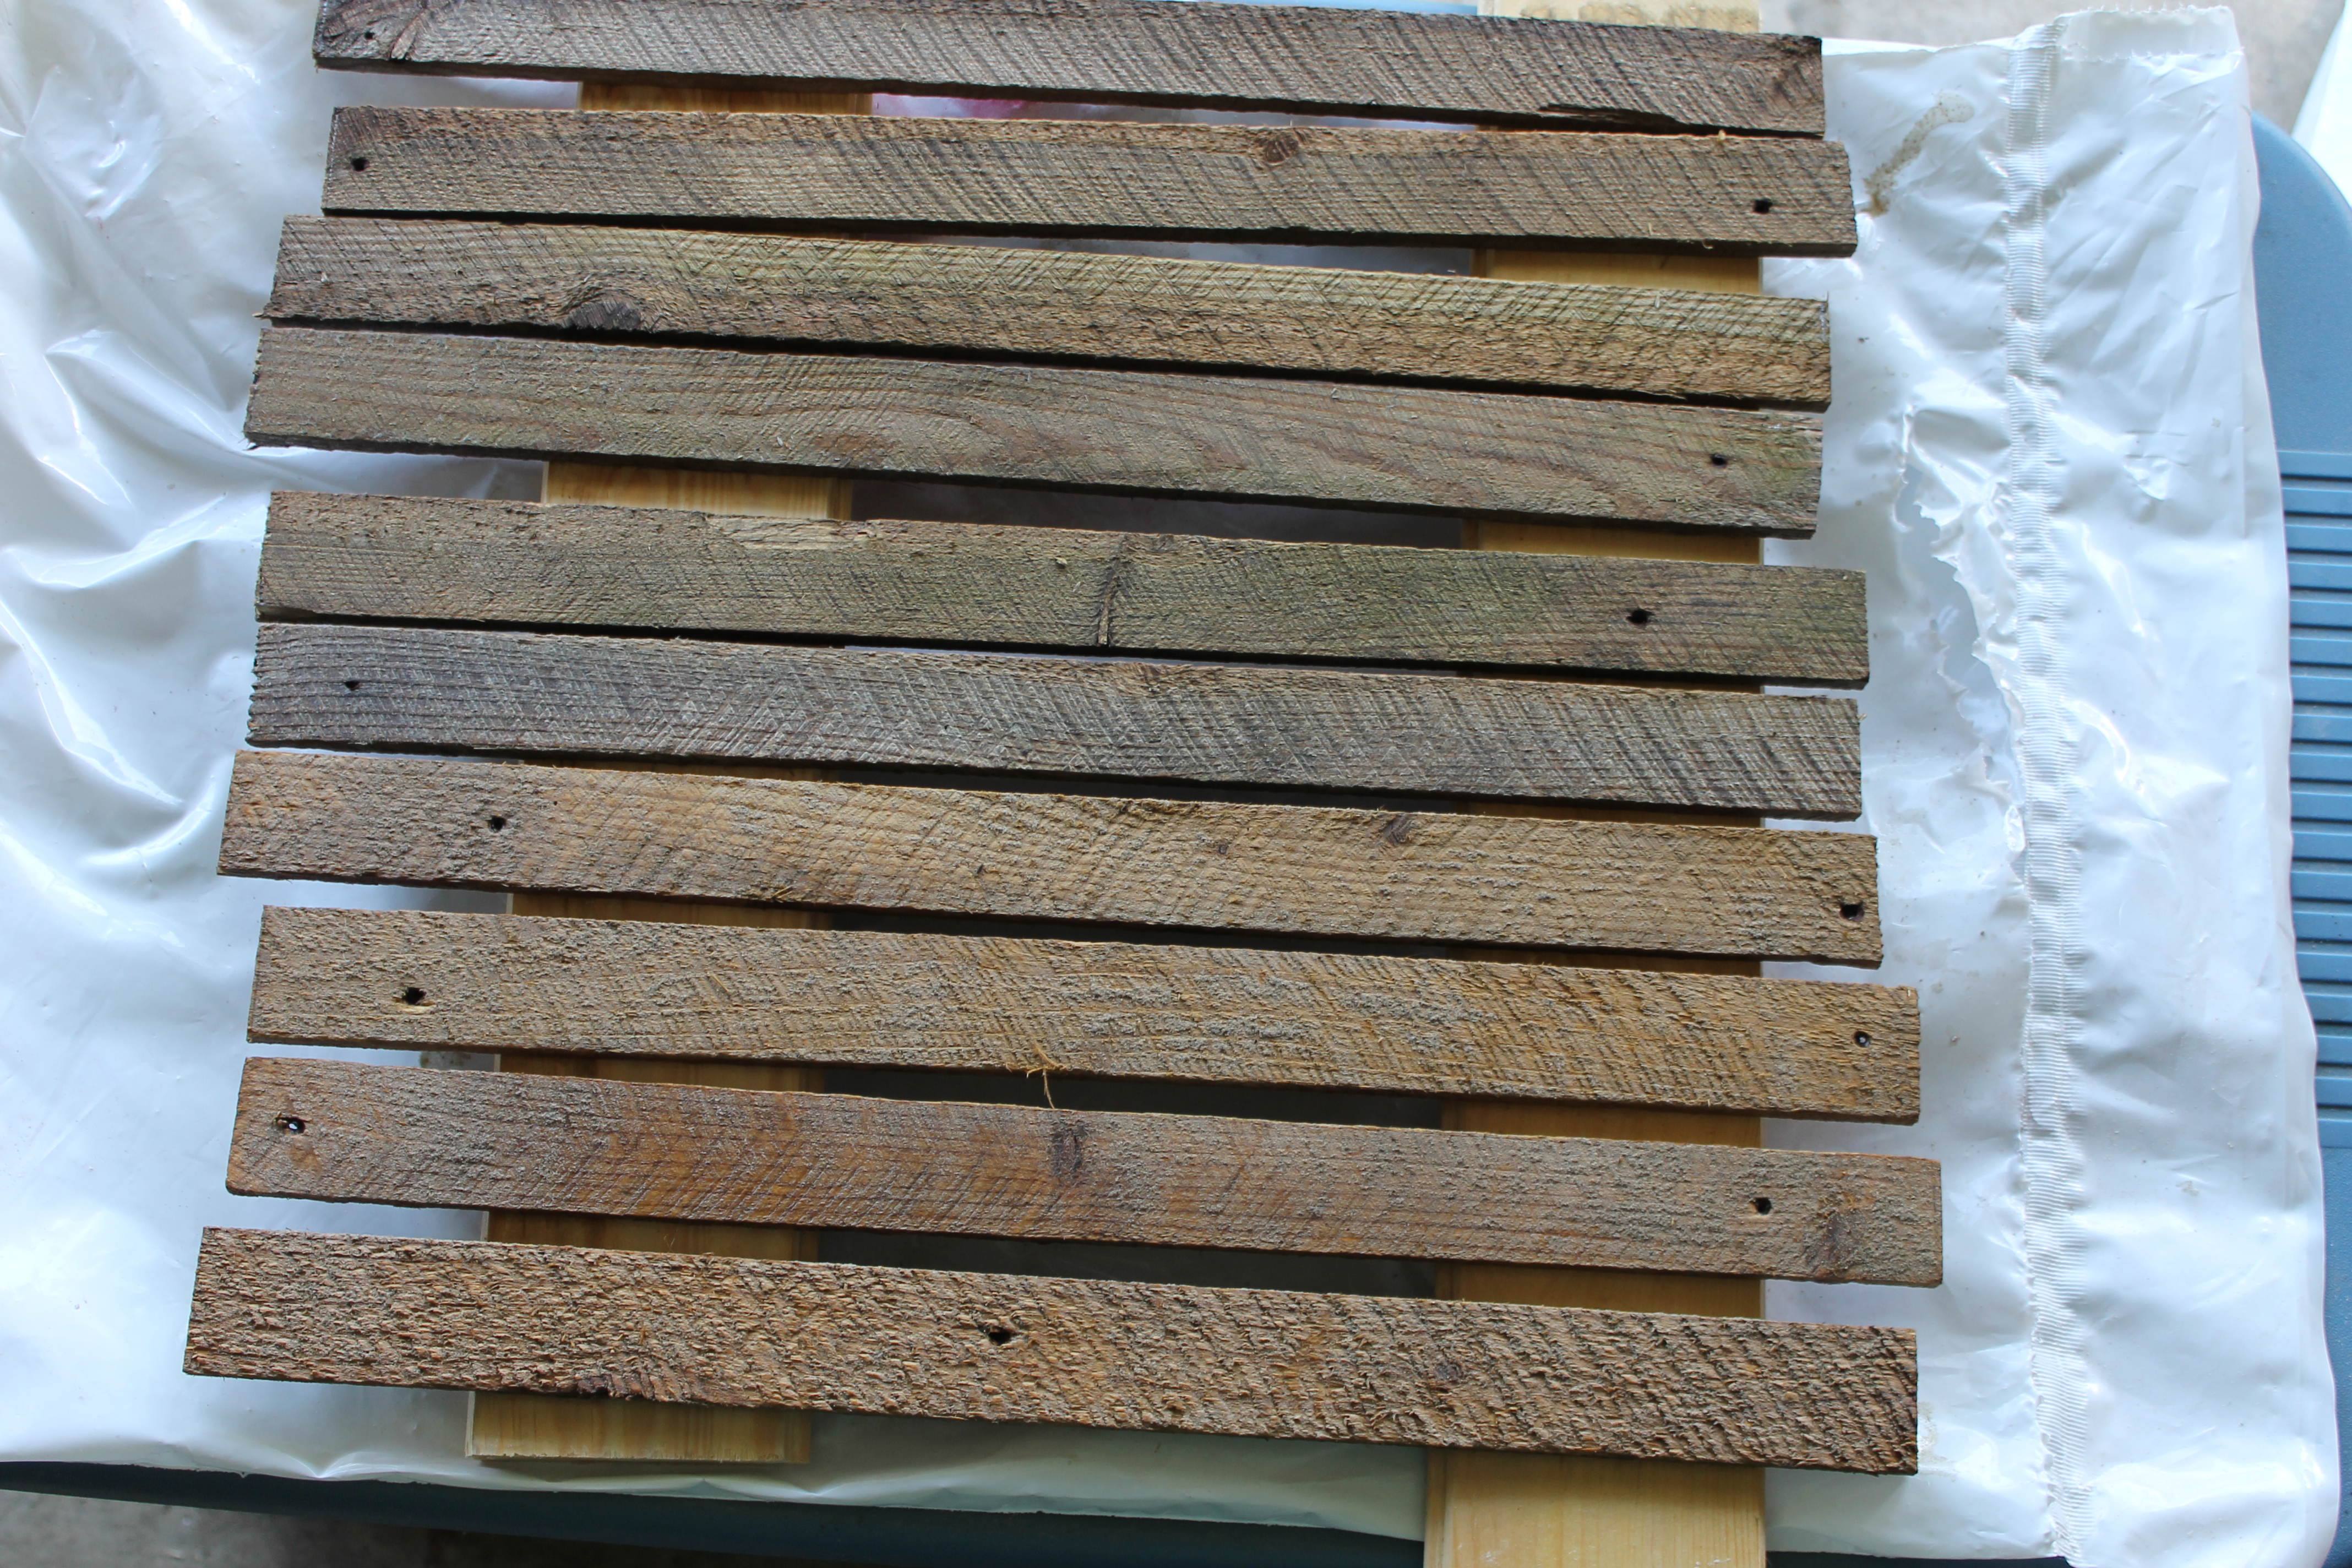
All washed, but still wet.
The stain soaked into each piece differently after it dried and I gave some pieces a second coat.
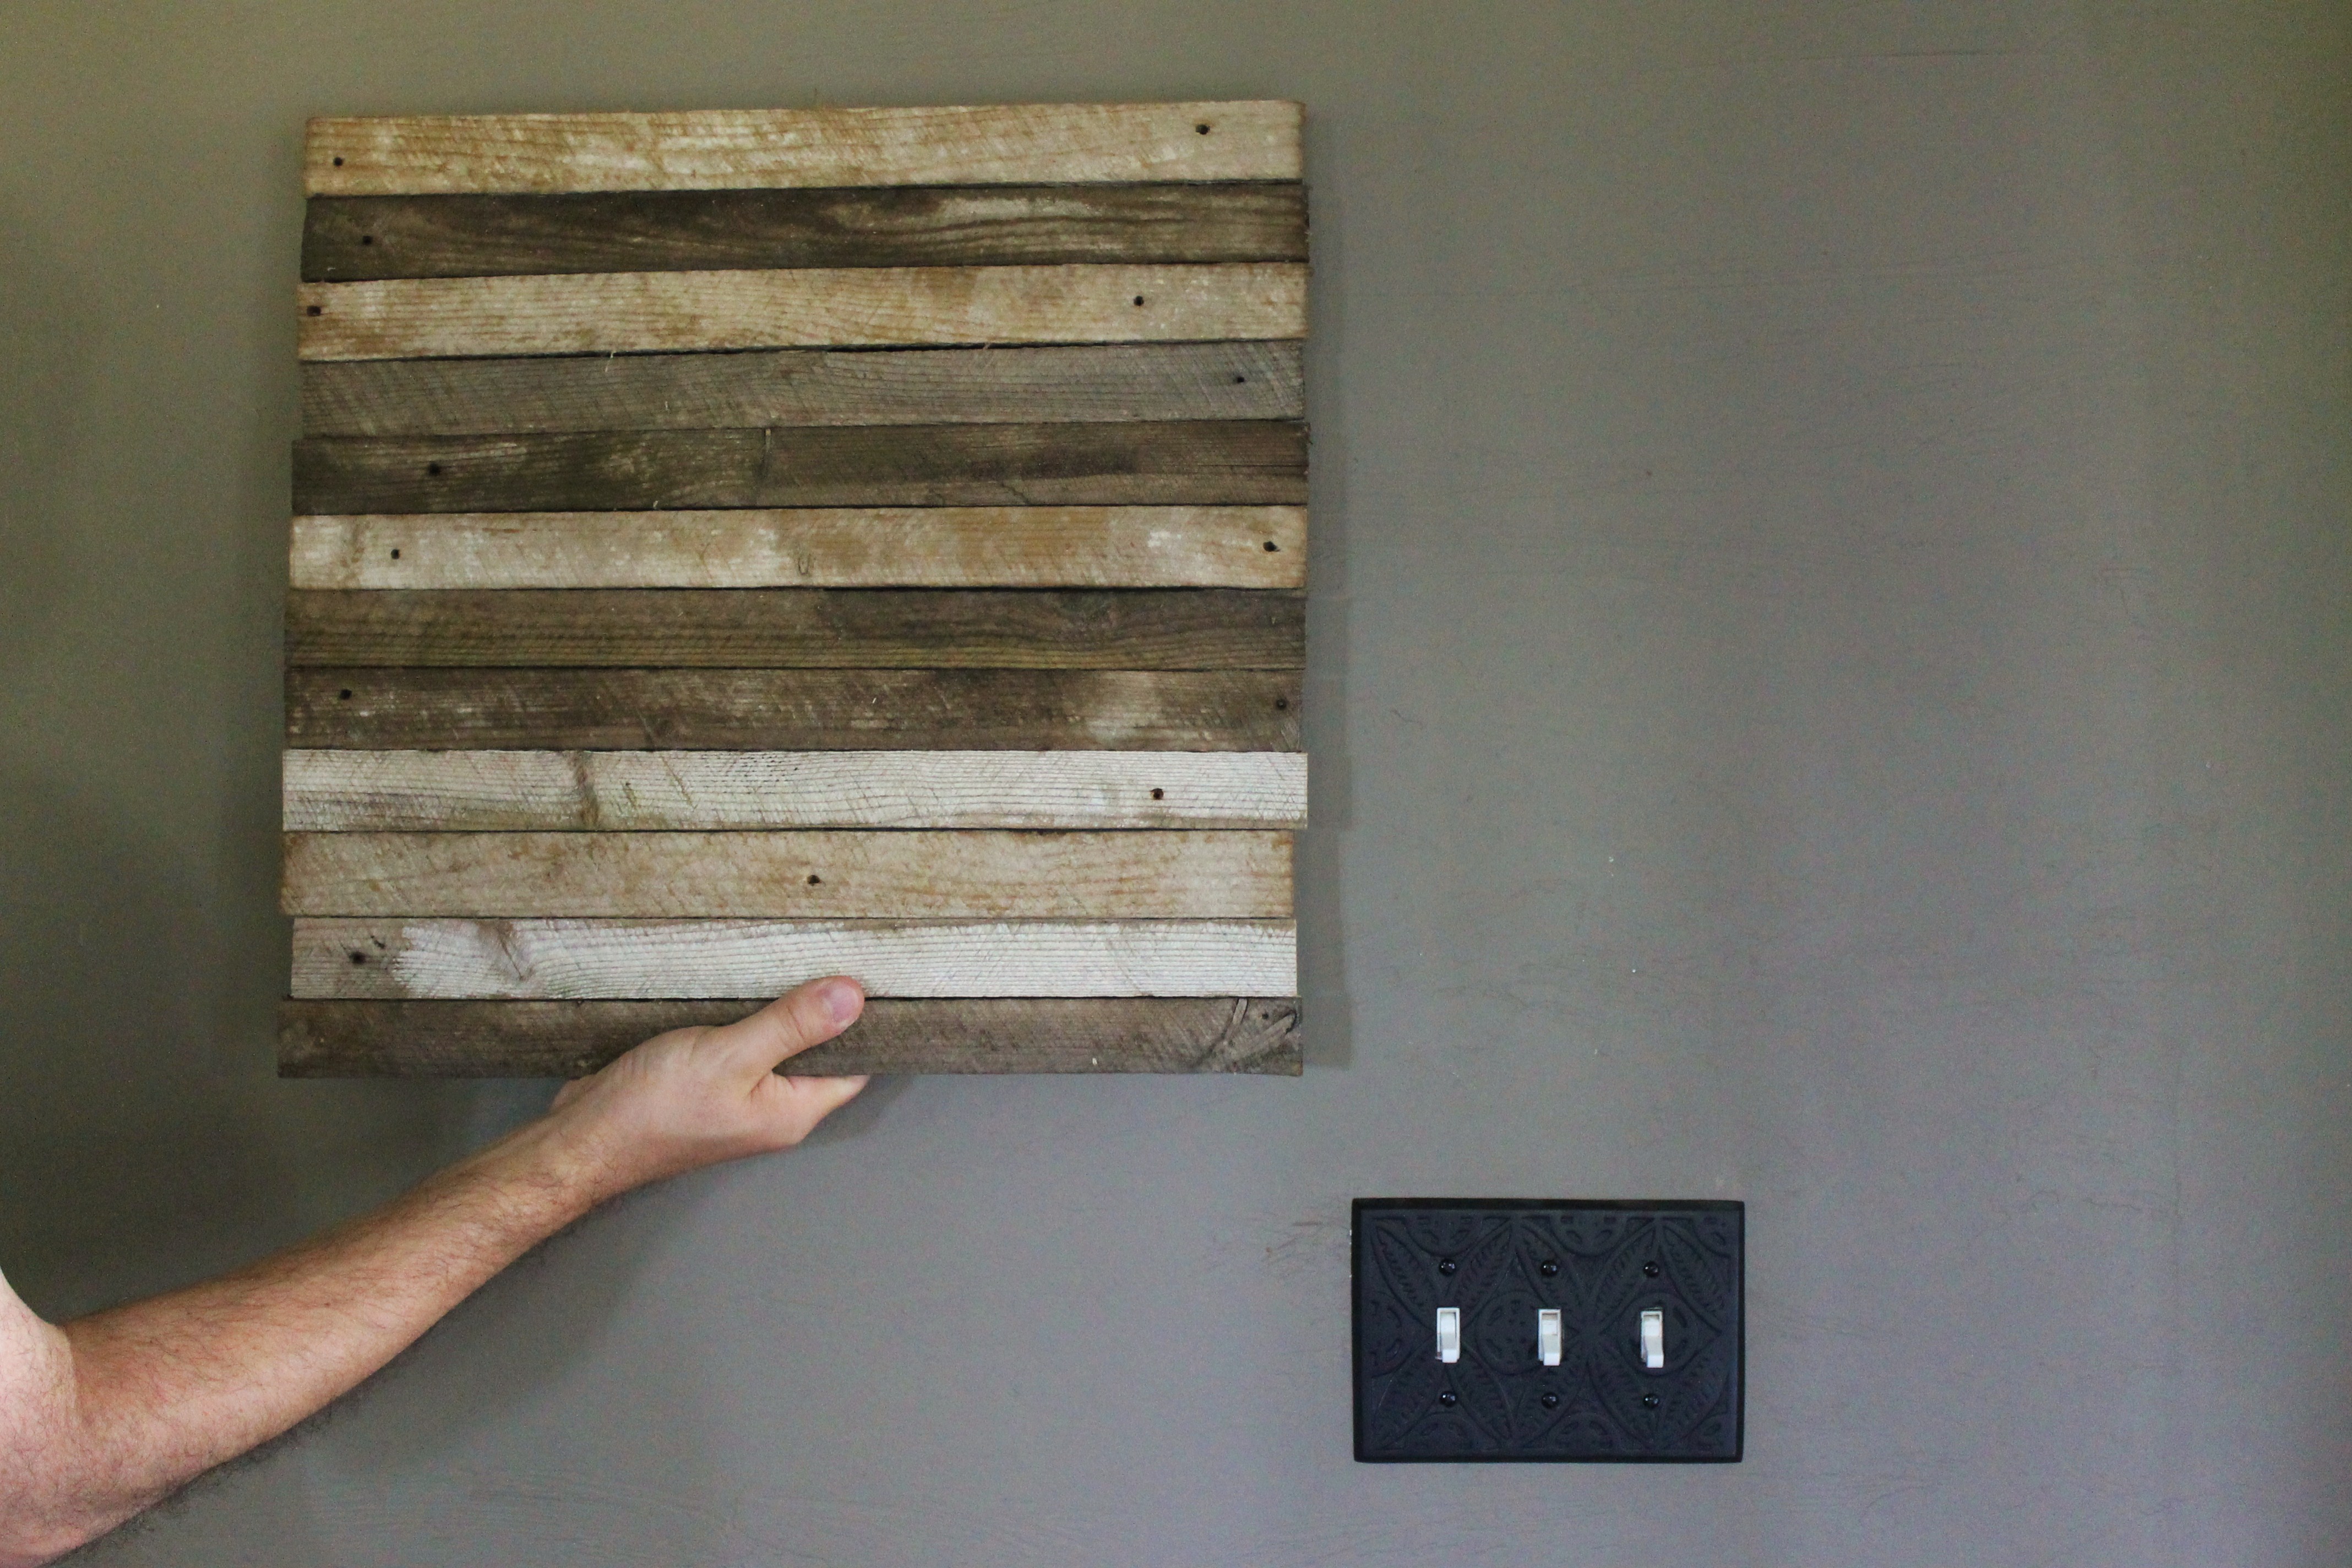
Step Three: All that was left to do at this point was to attach (either with finish nails or wood glue) two vertical pieces of lath to the back to hold all the horizontal pieces together. Nick took over doing this.
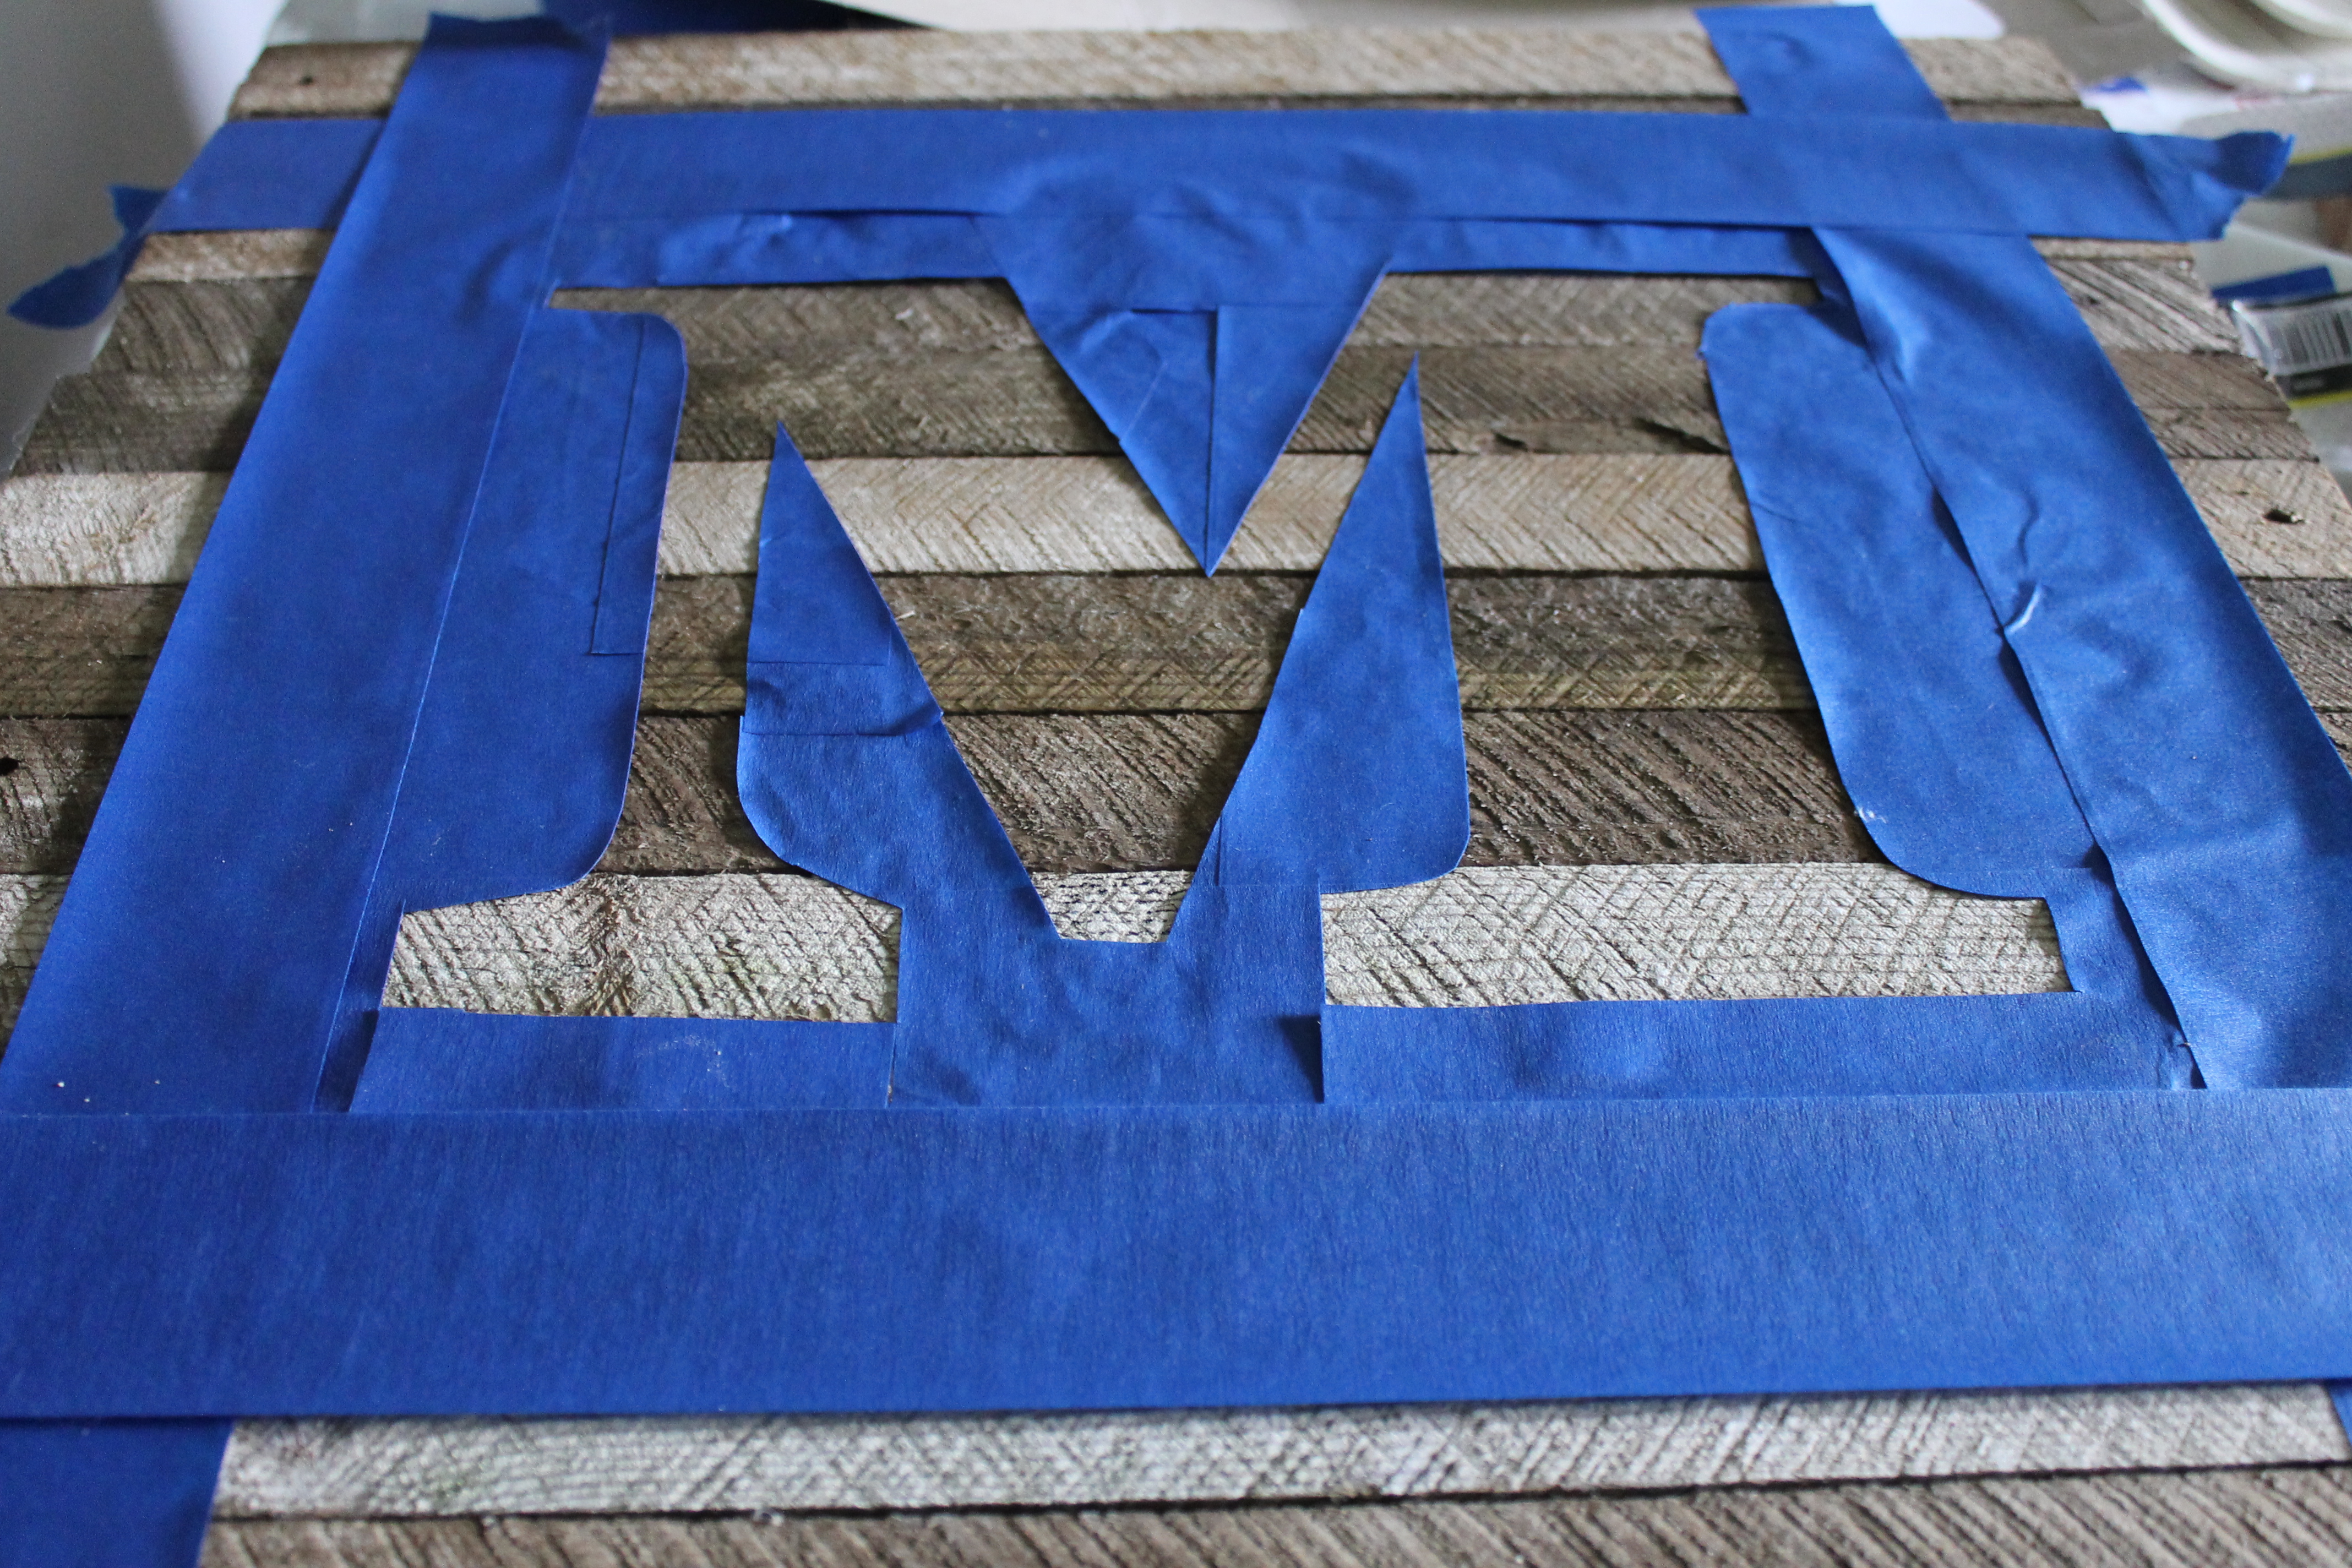
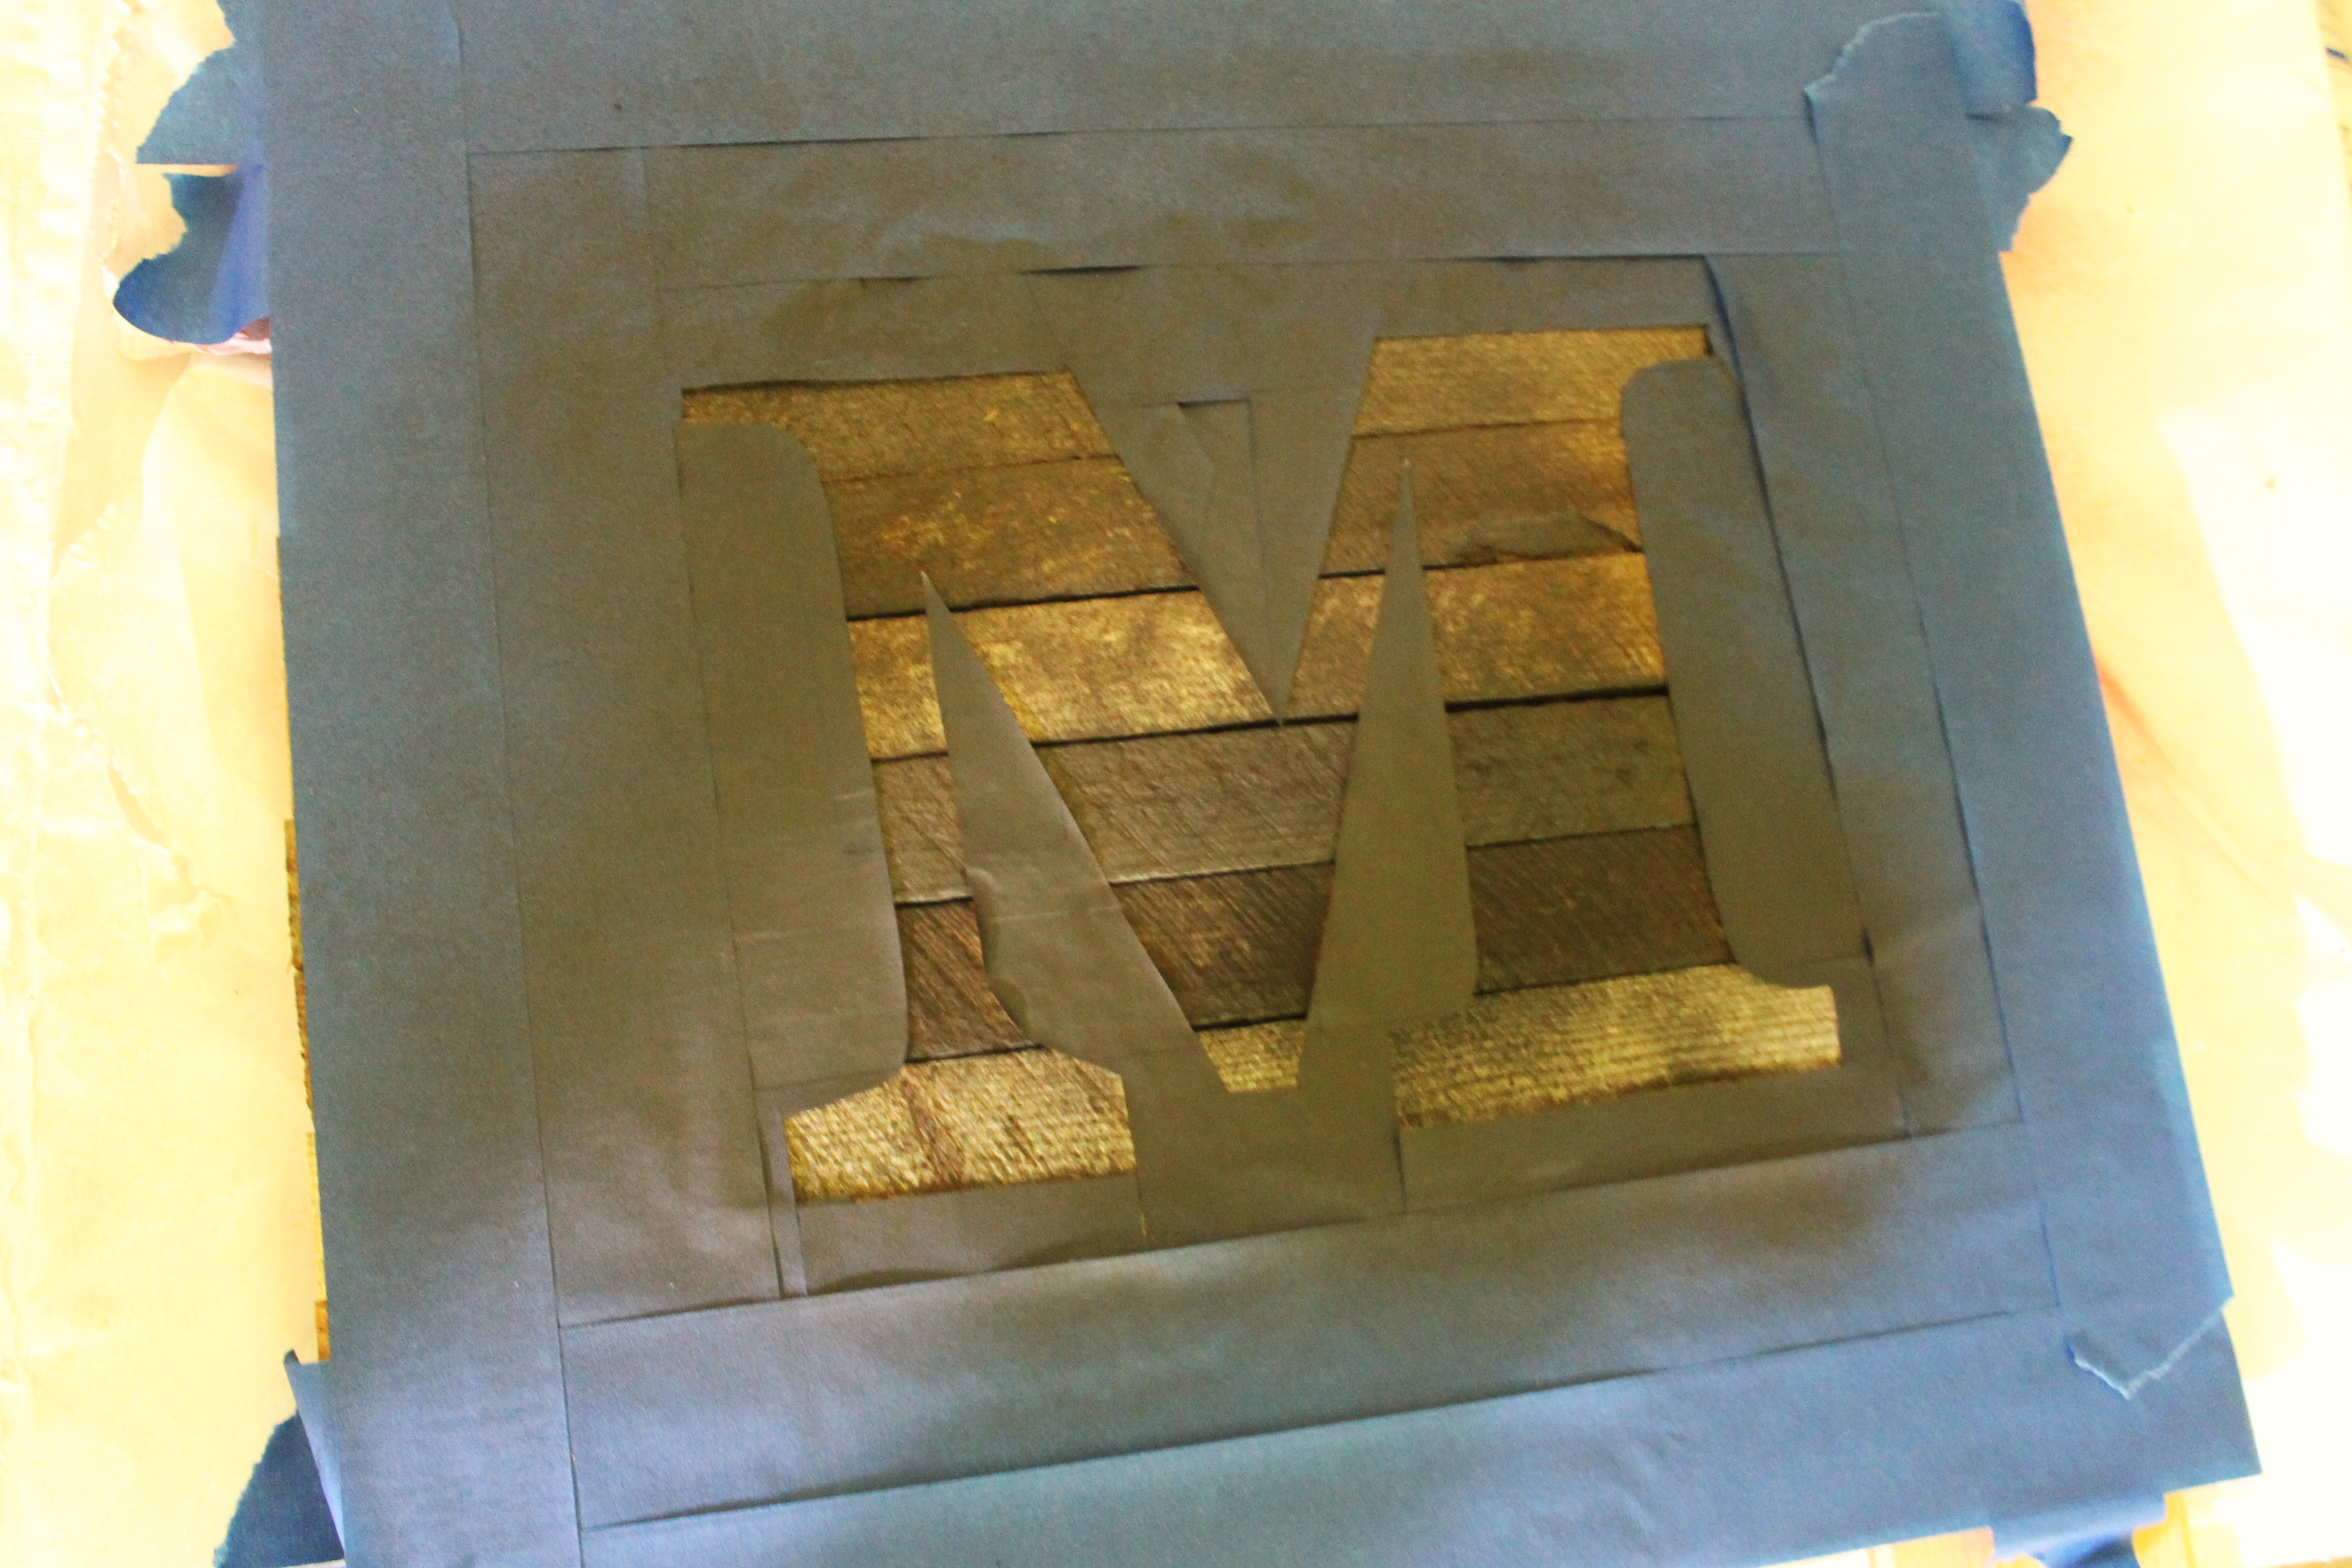
Step Four: This was the surprisingly hard part. I printed a letter M and then proceeded to make a painters tape stencil. I should have cut the entire thing out of contact paper with an exacto knife. Oh well. Next time!
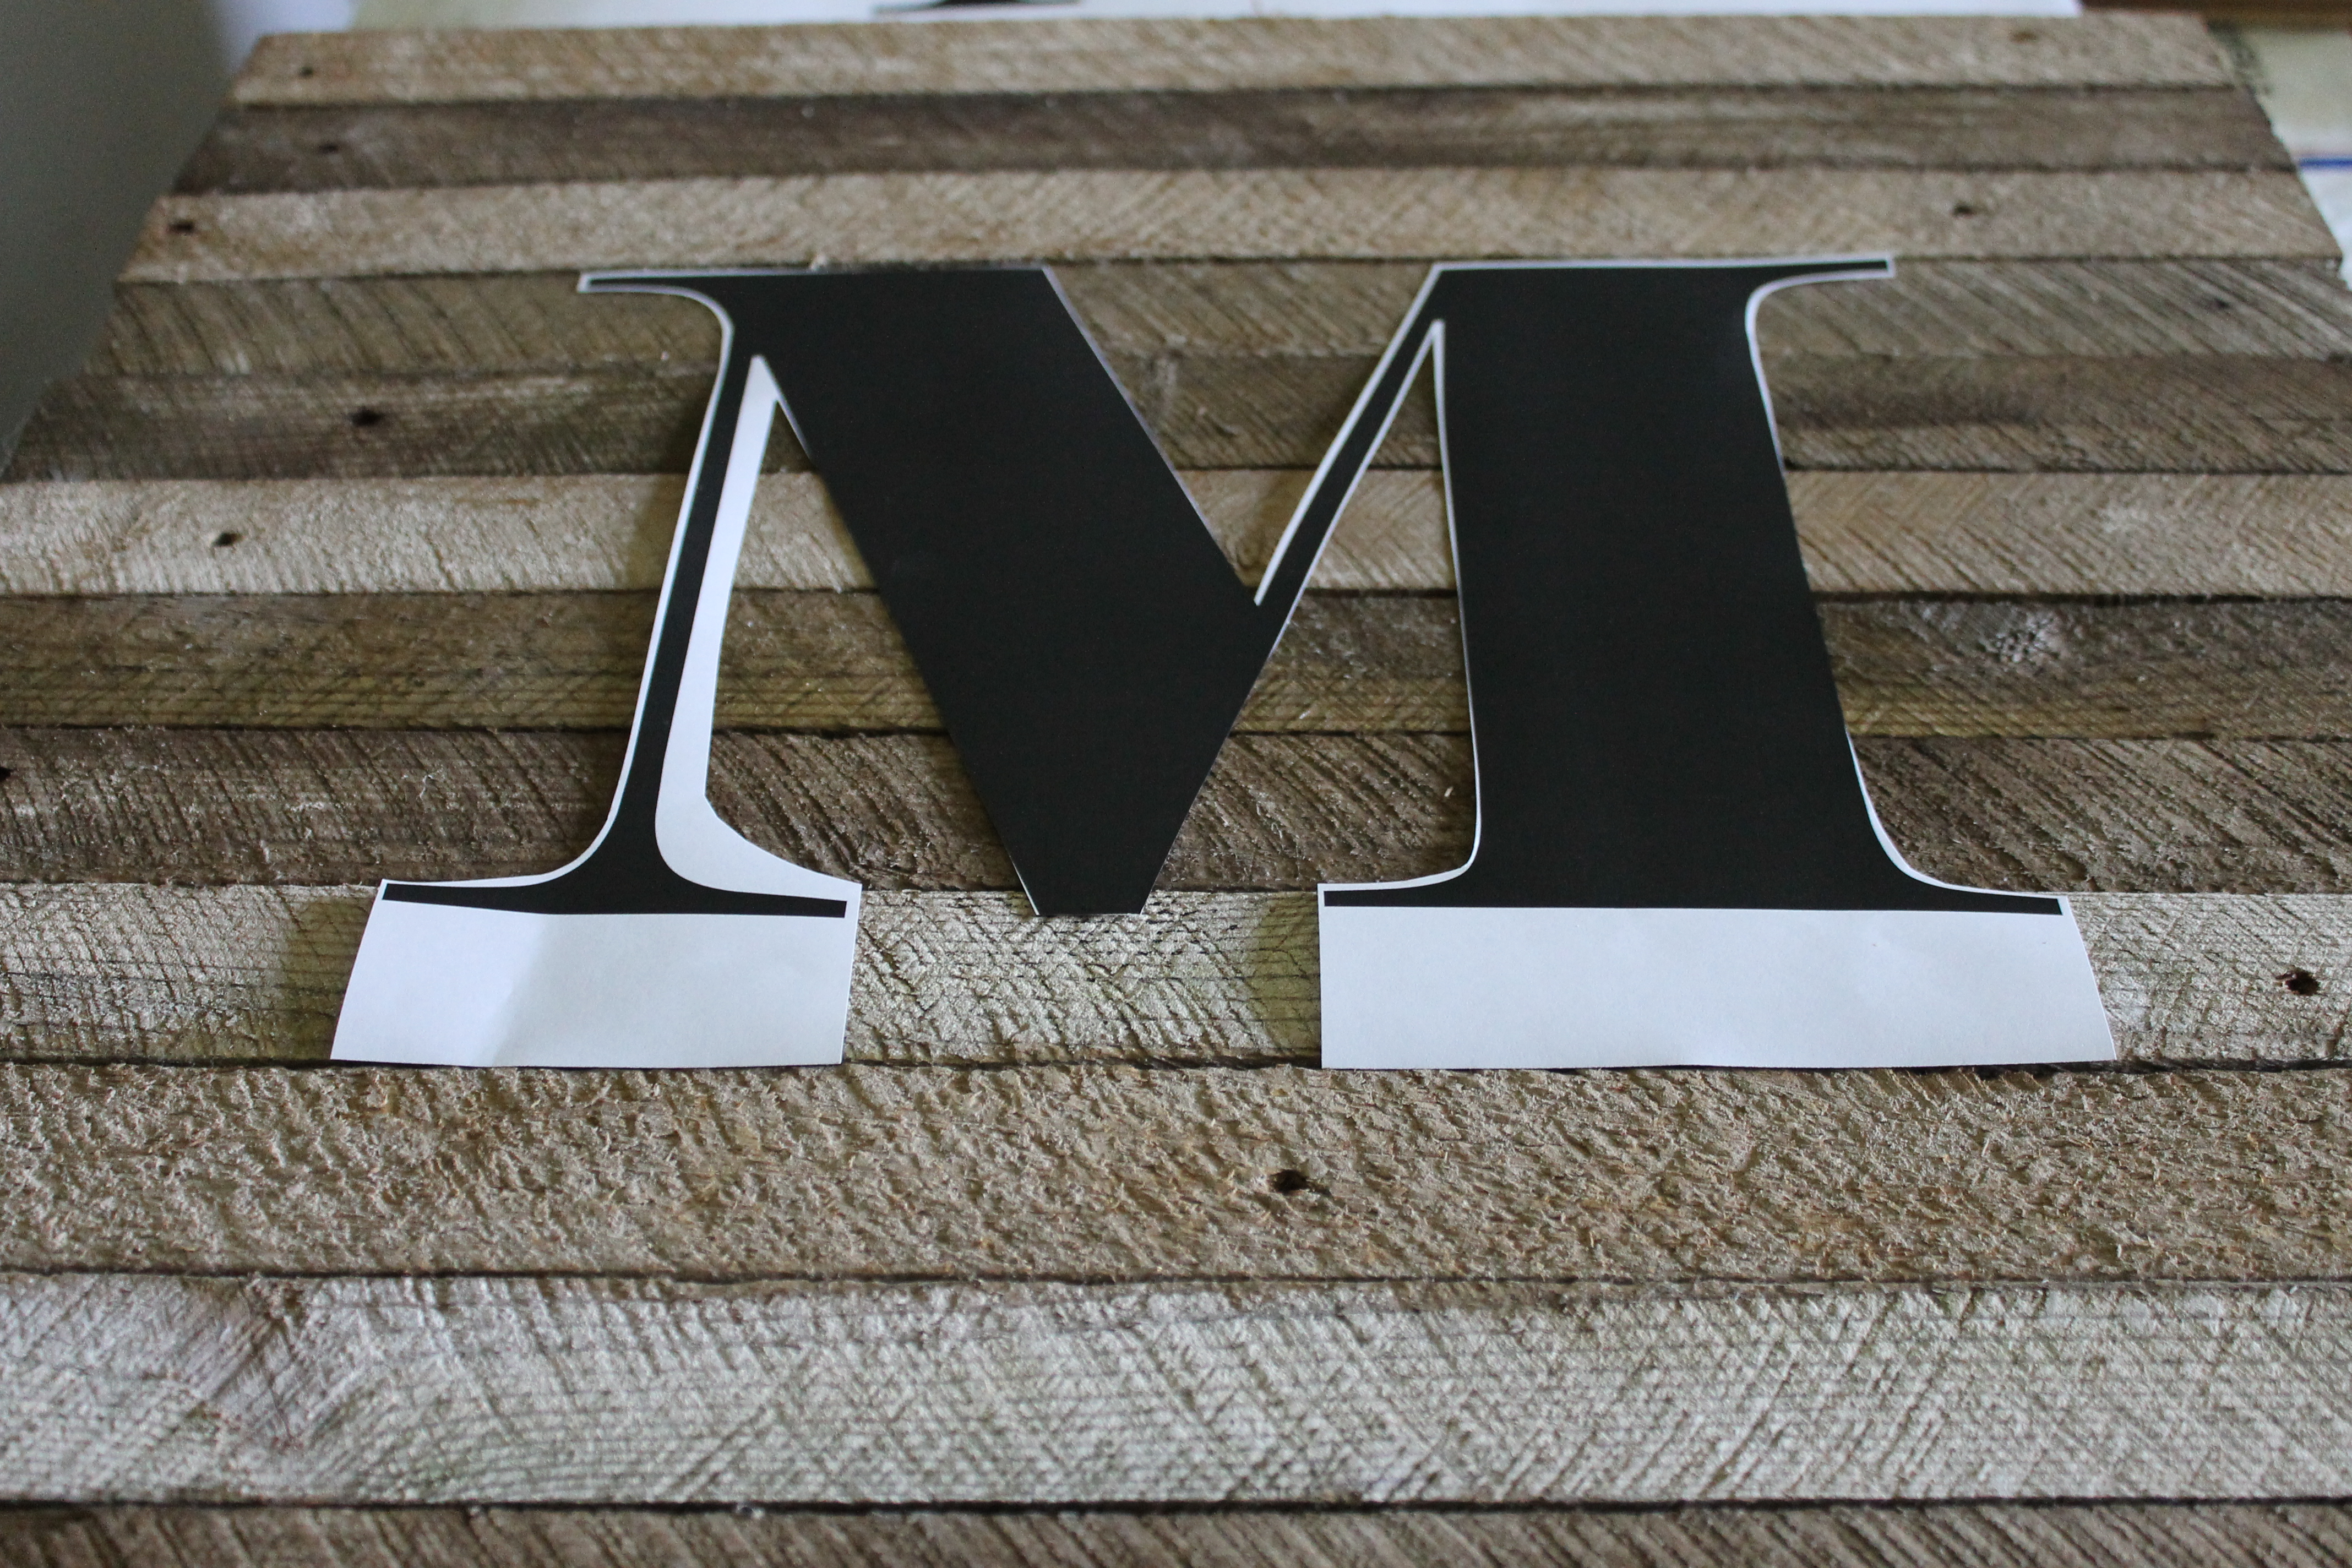
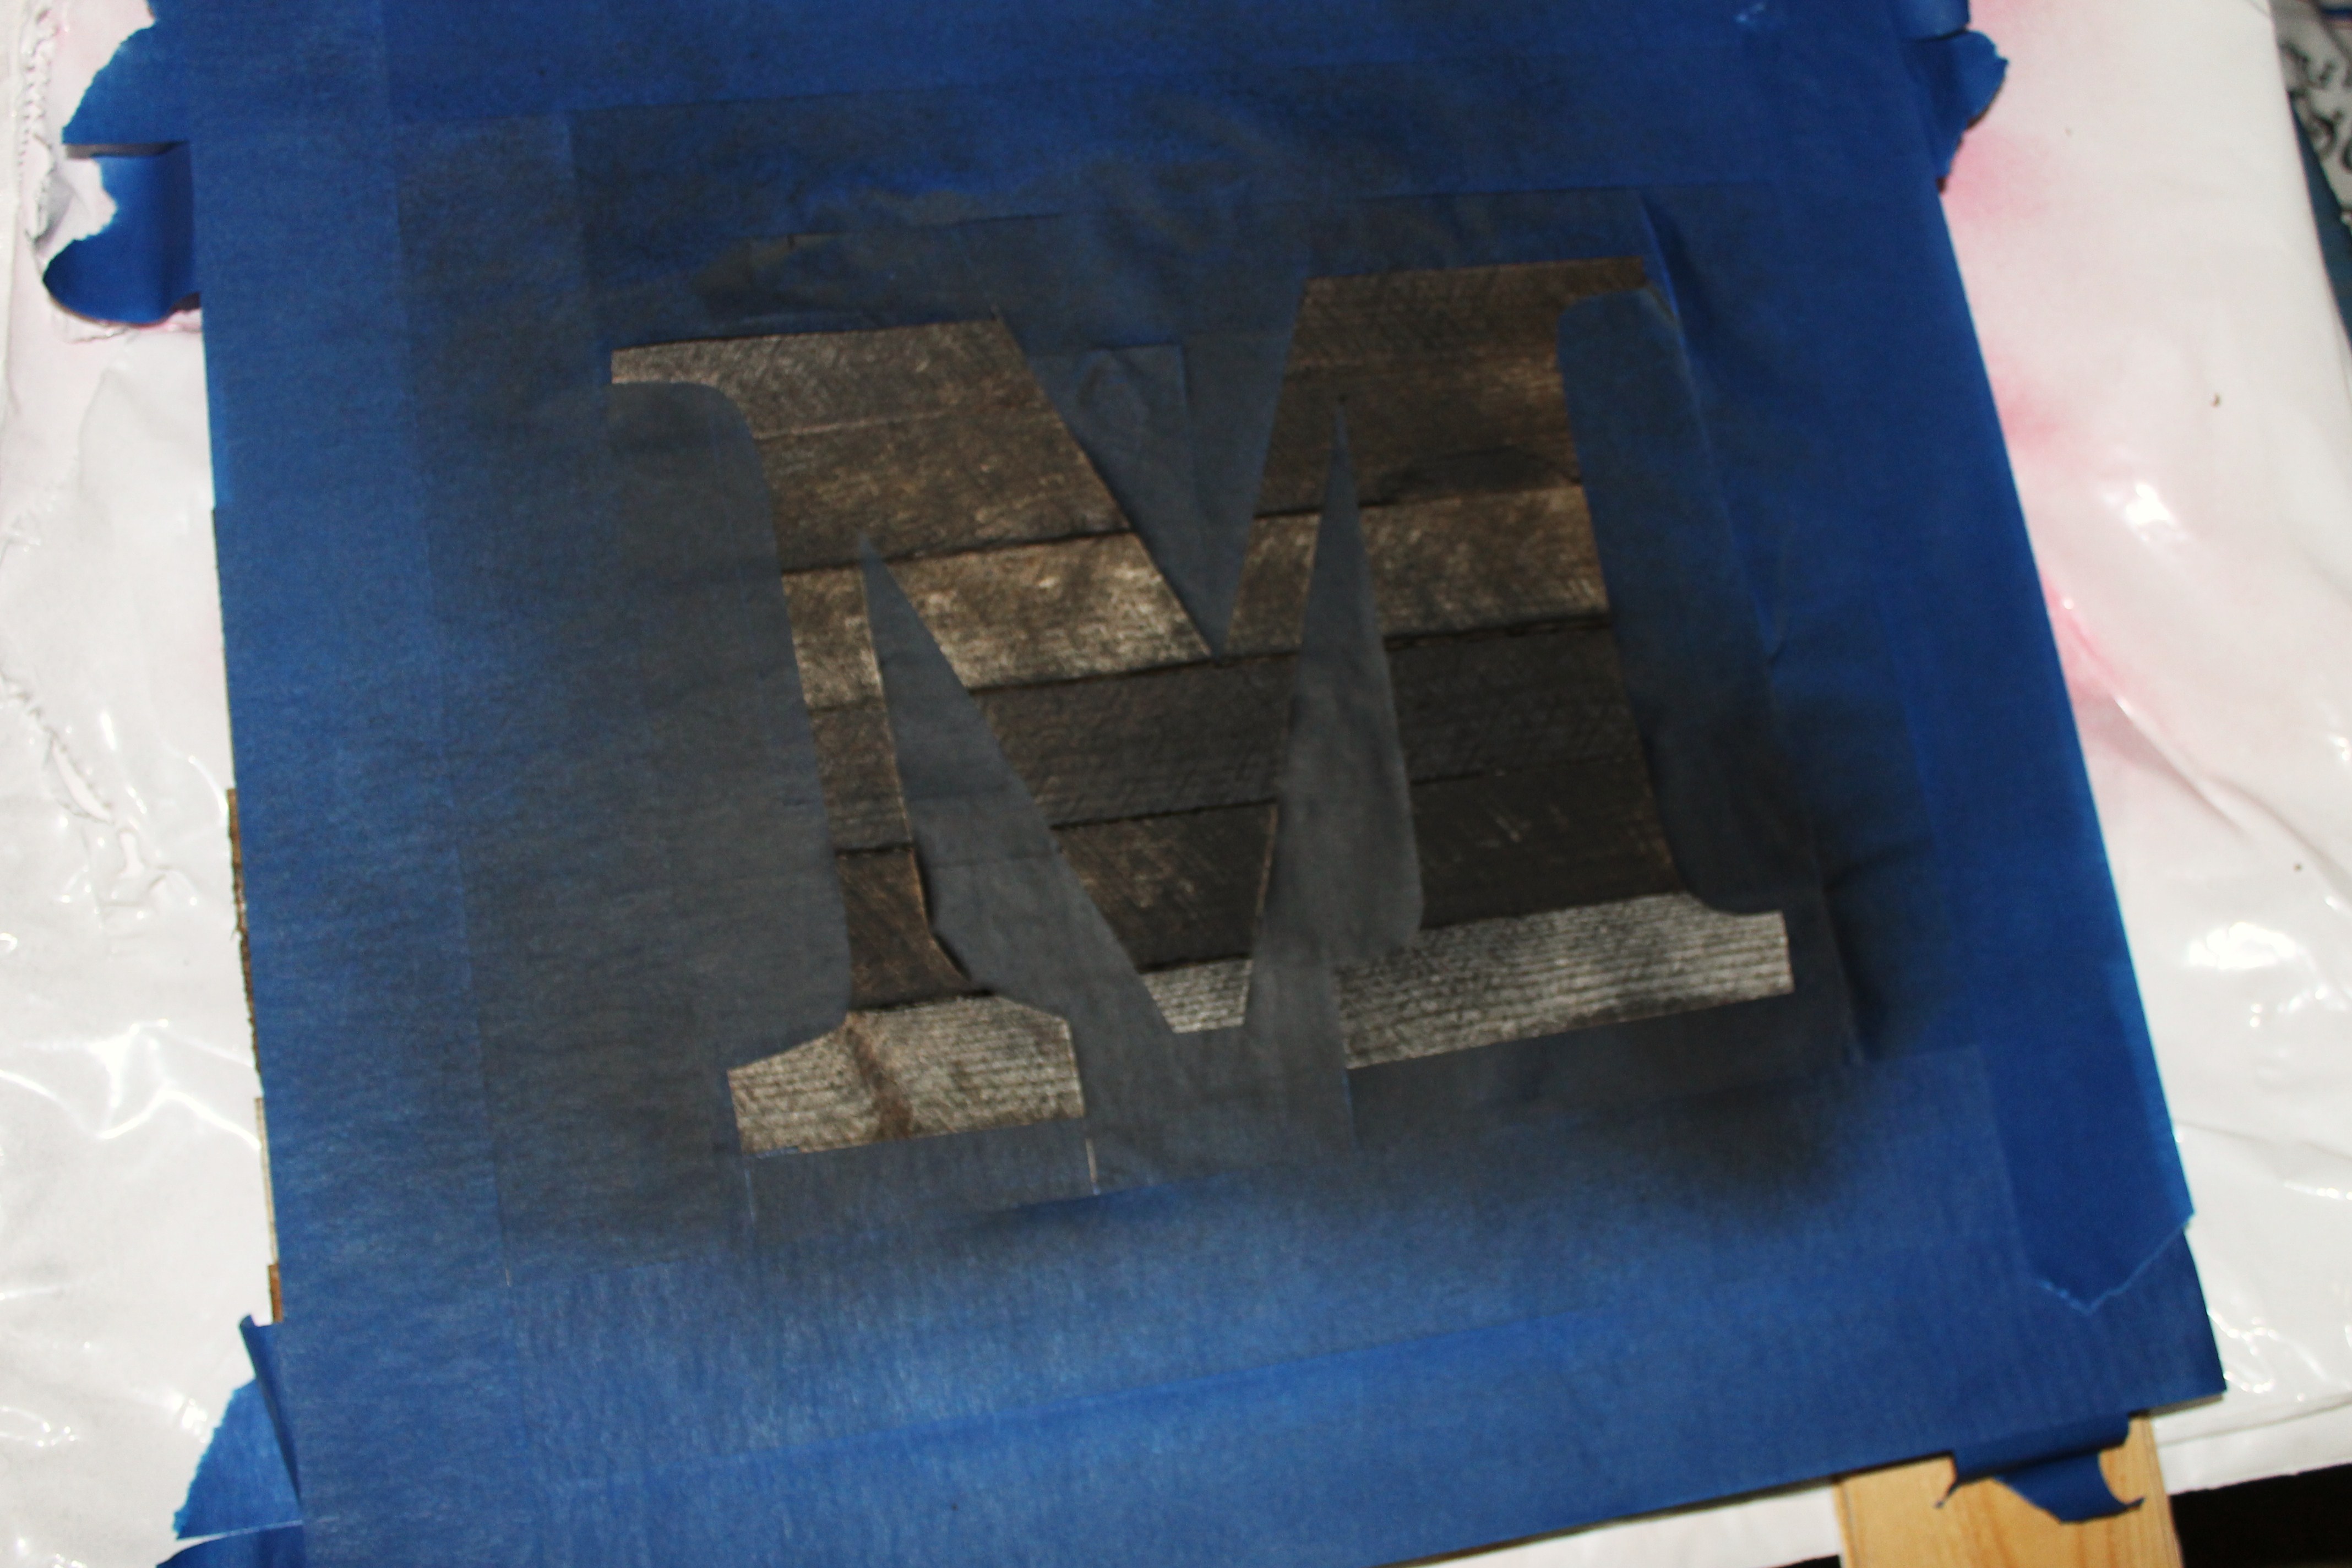
Step Five: And then it was ready for spray paint. I have such a collection of spray paint now, I rarely have to buy it for any projects.
I did a coat, lightly lifted the tape to check the color against the wood and decided to do a second coat.
And here it is finished and ready for the Millers!

It actually looked really sharp hanging on the wall in my dining room. But I don’t think it would make much sense for me to keep it- Good thing M is for Miller!
What do you think? Have some surplus of junk waiting for the burn pile that might make a cute gift? I never thought our lath would get a second life like this!
Leave a Reply