Our Yard Before and Almost After…
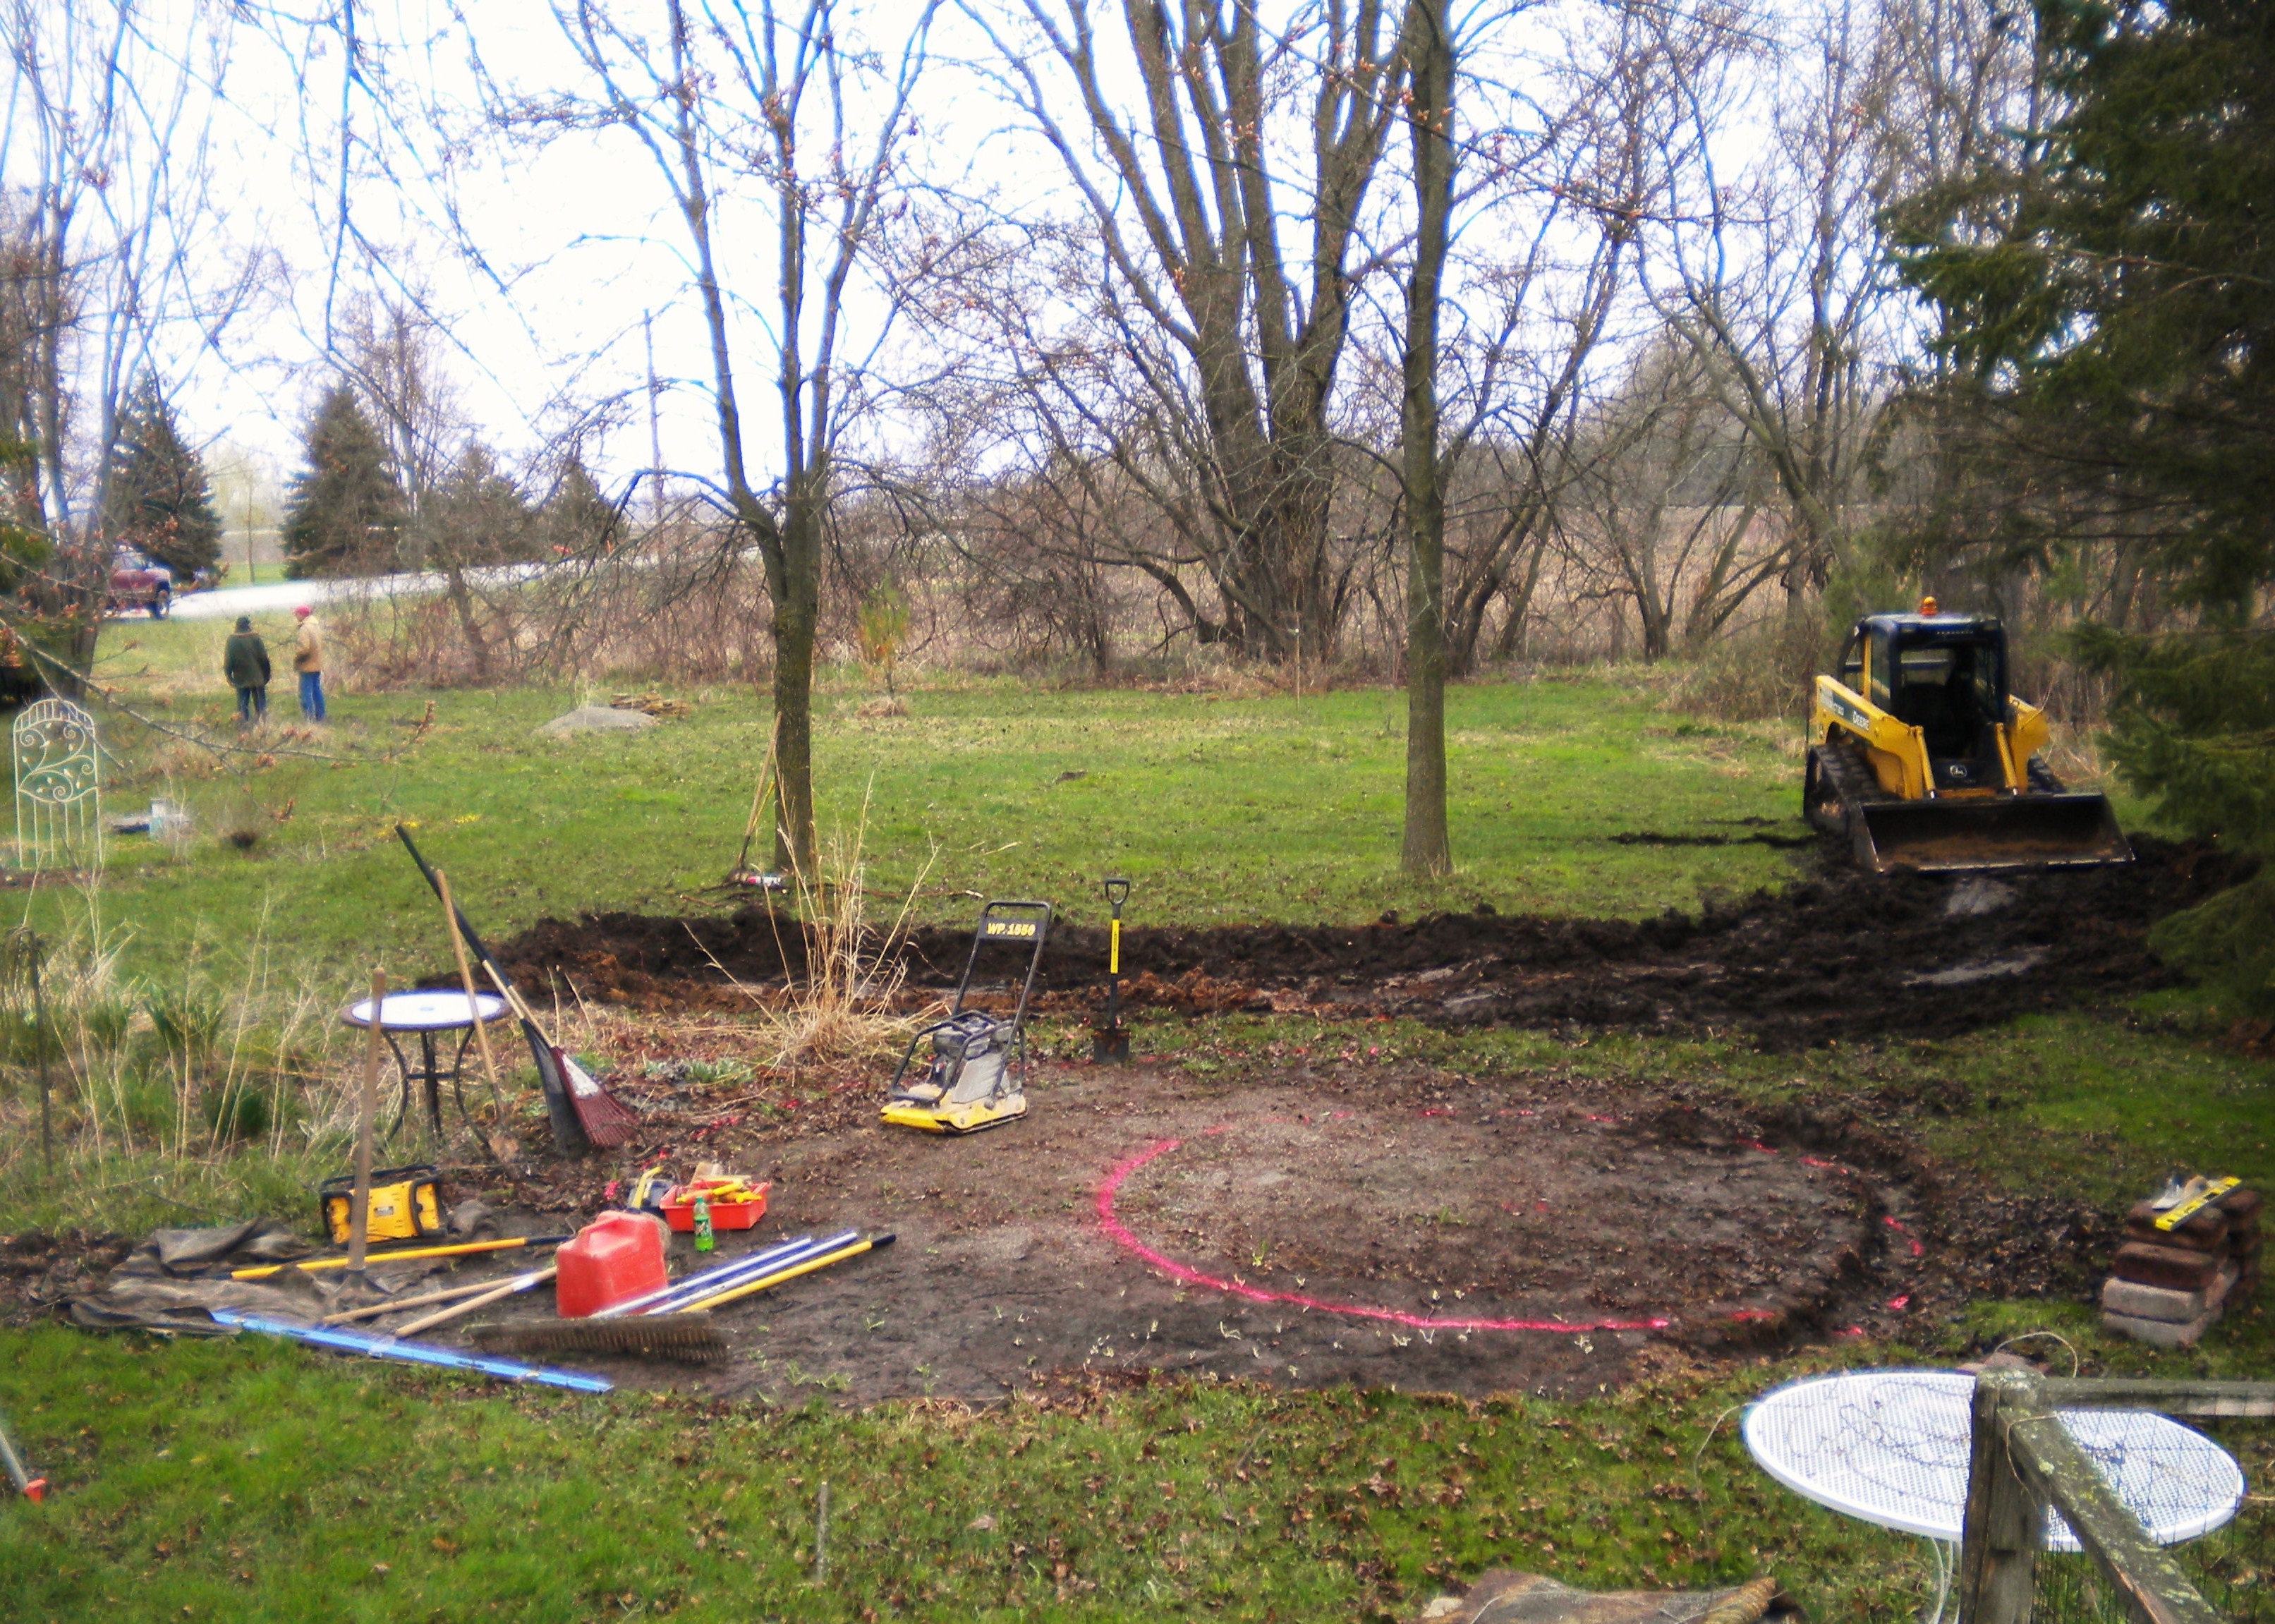
Since I am new to blogging and the remodel of our house has been going on for 8 years, there is some catching up to do! I wanted to go back to the spring we put in our patio on the south side of our yard. This is the side of the house that I call the “garden side.” It was also the location of this year’s Fairy Festival. But before there were fins and feathers, there was this:
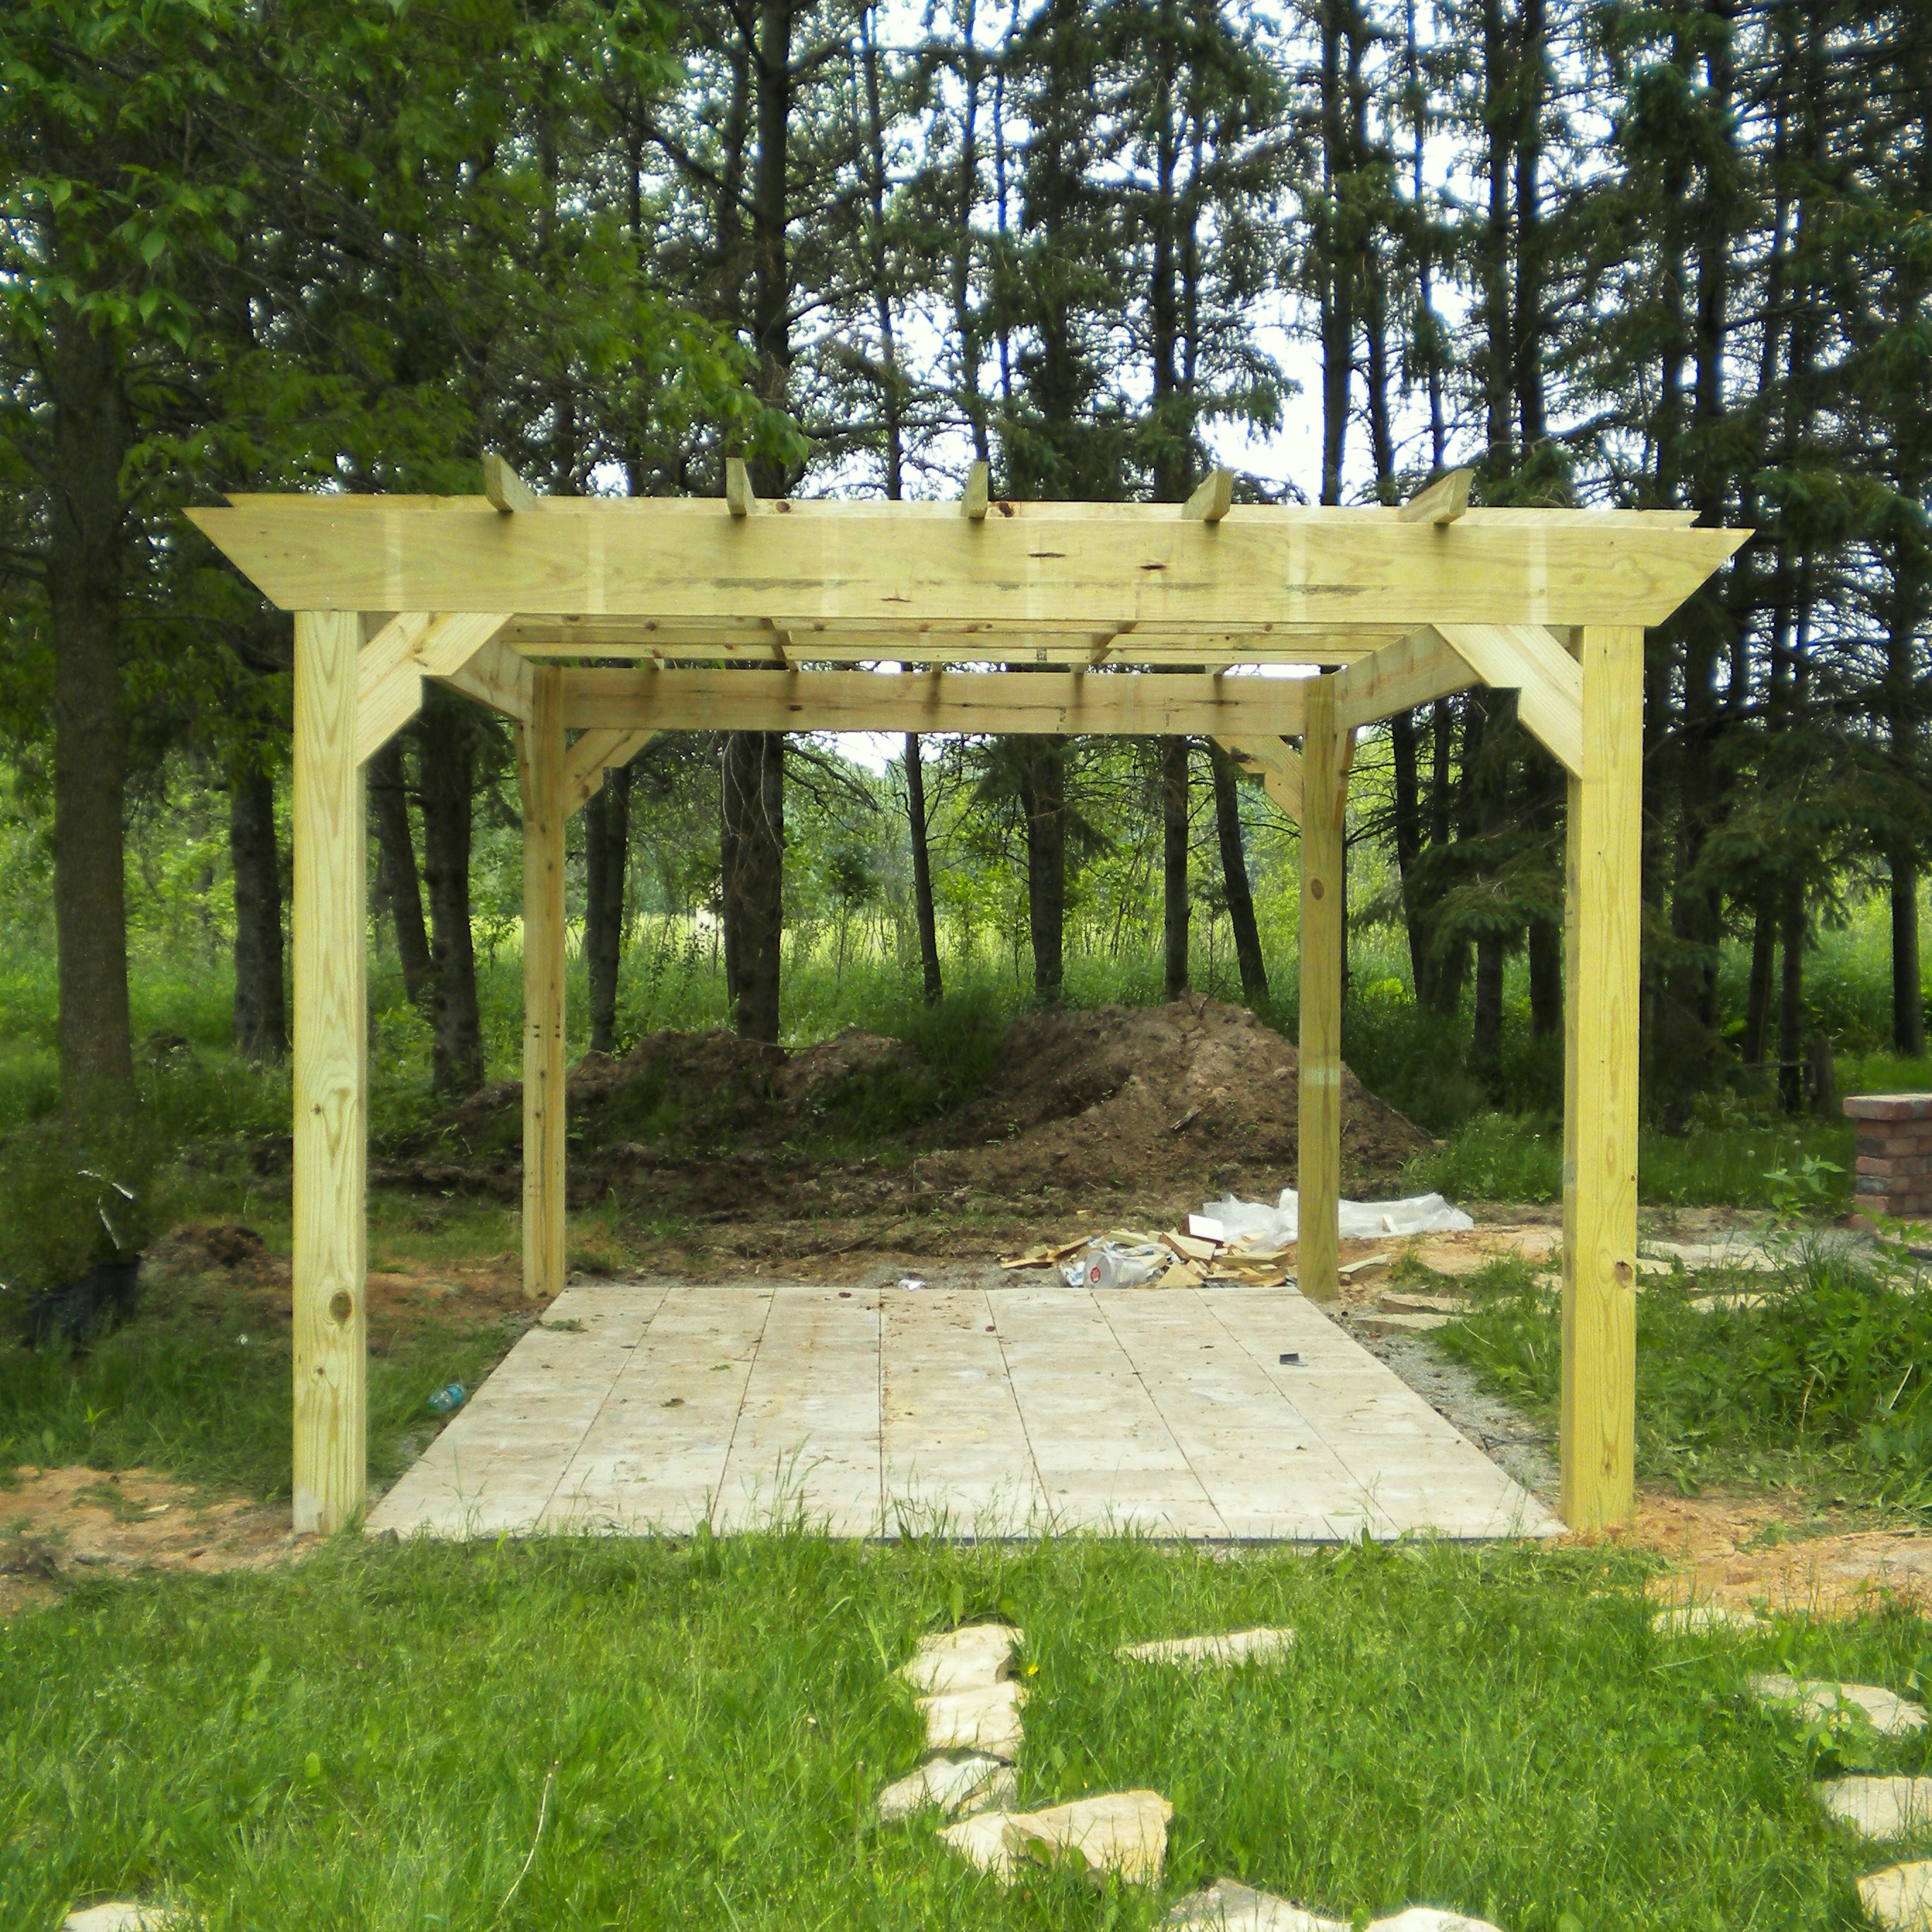
The reason why this post is called “Our Yard Before and Almost After” is because we are still working on projects that are not represented in any nice “after” photos. This is the same view one year later…
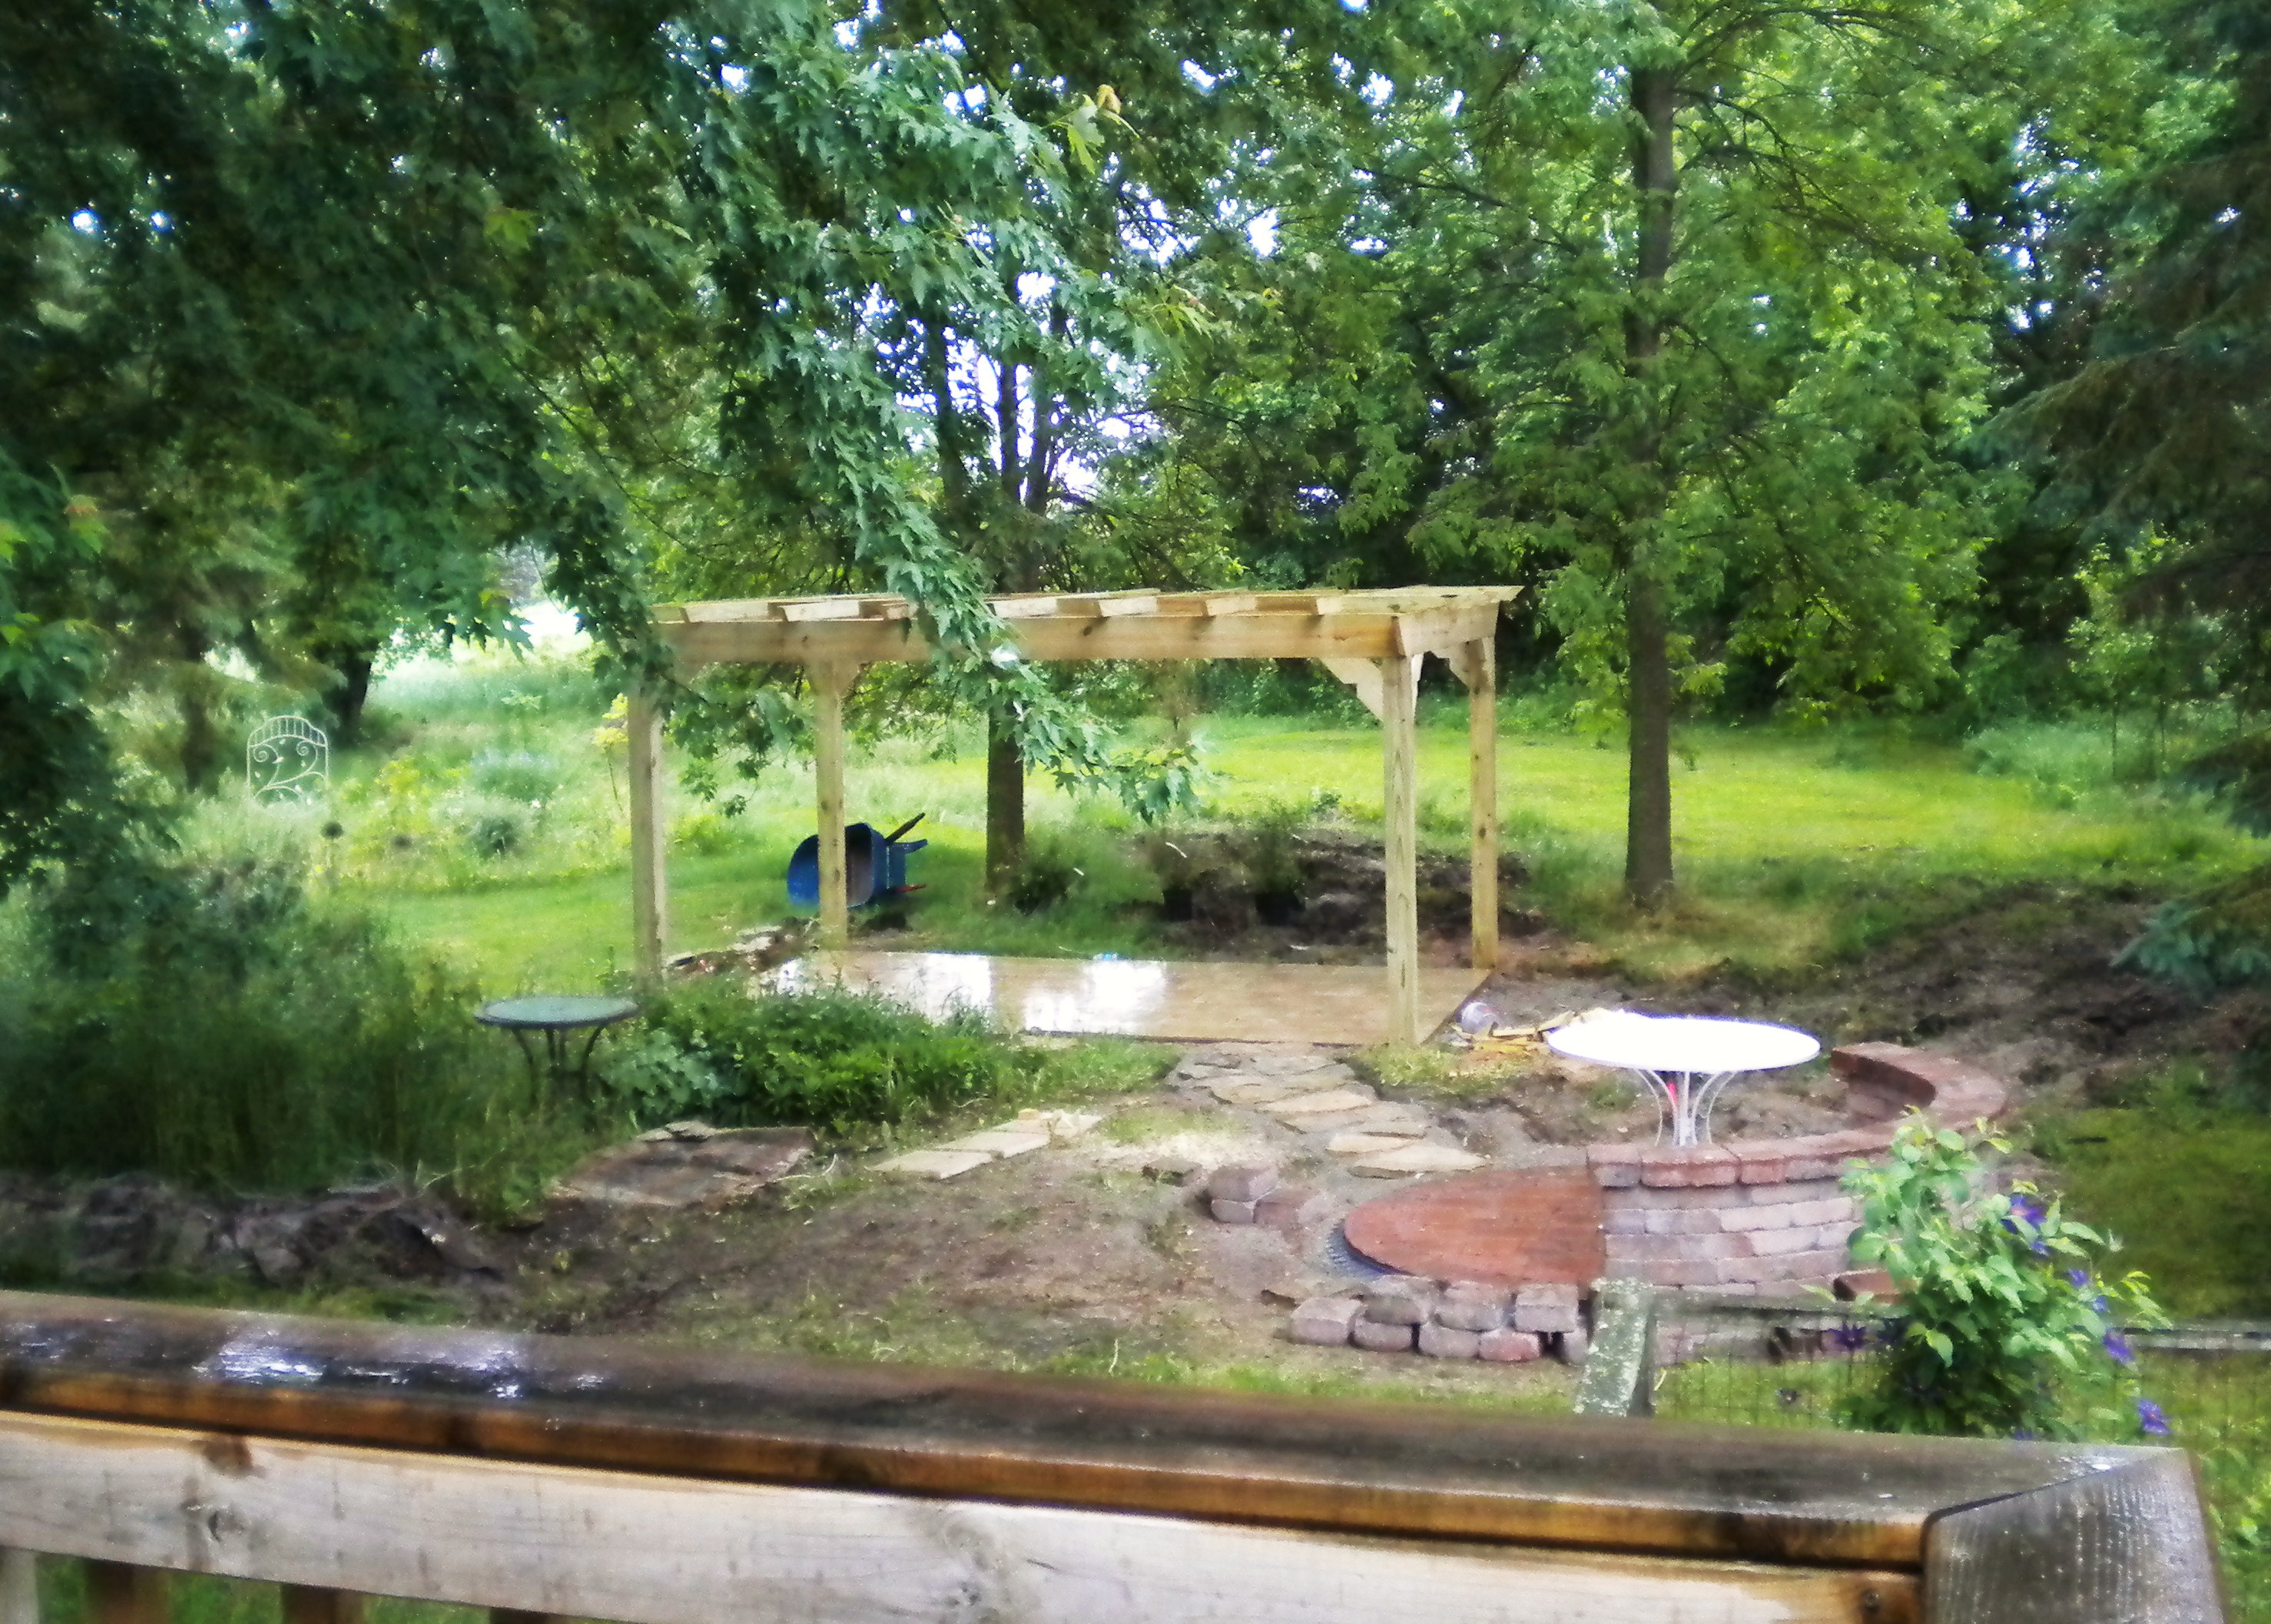
Since then we have stained the pergola and added a grilling station. But here’s how we got so far behind…
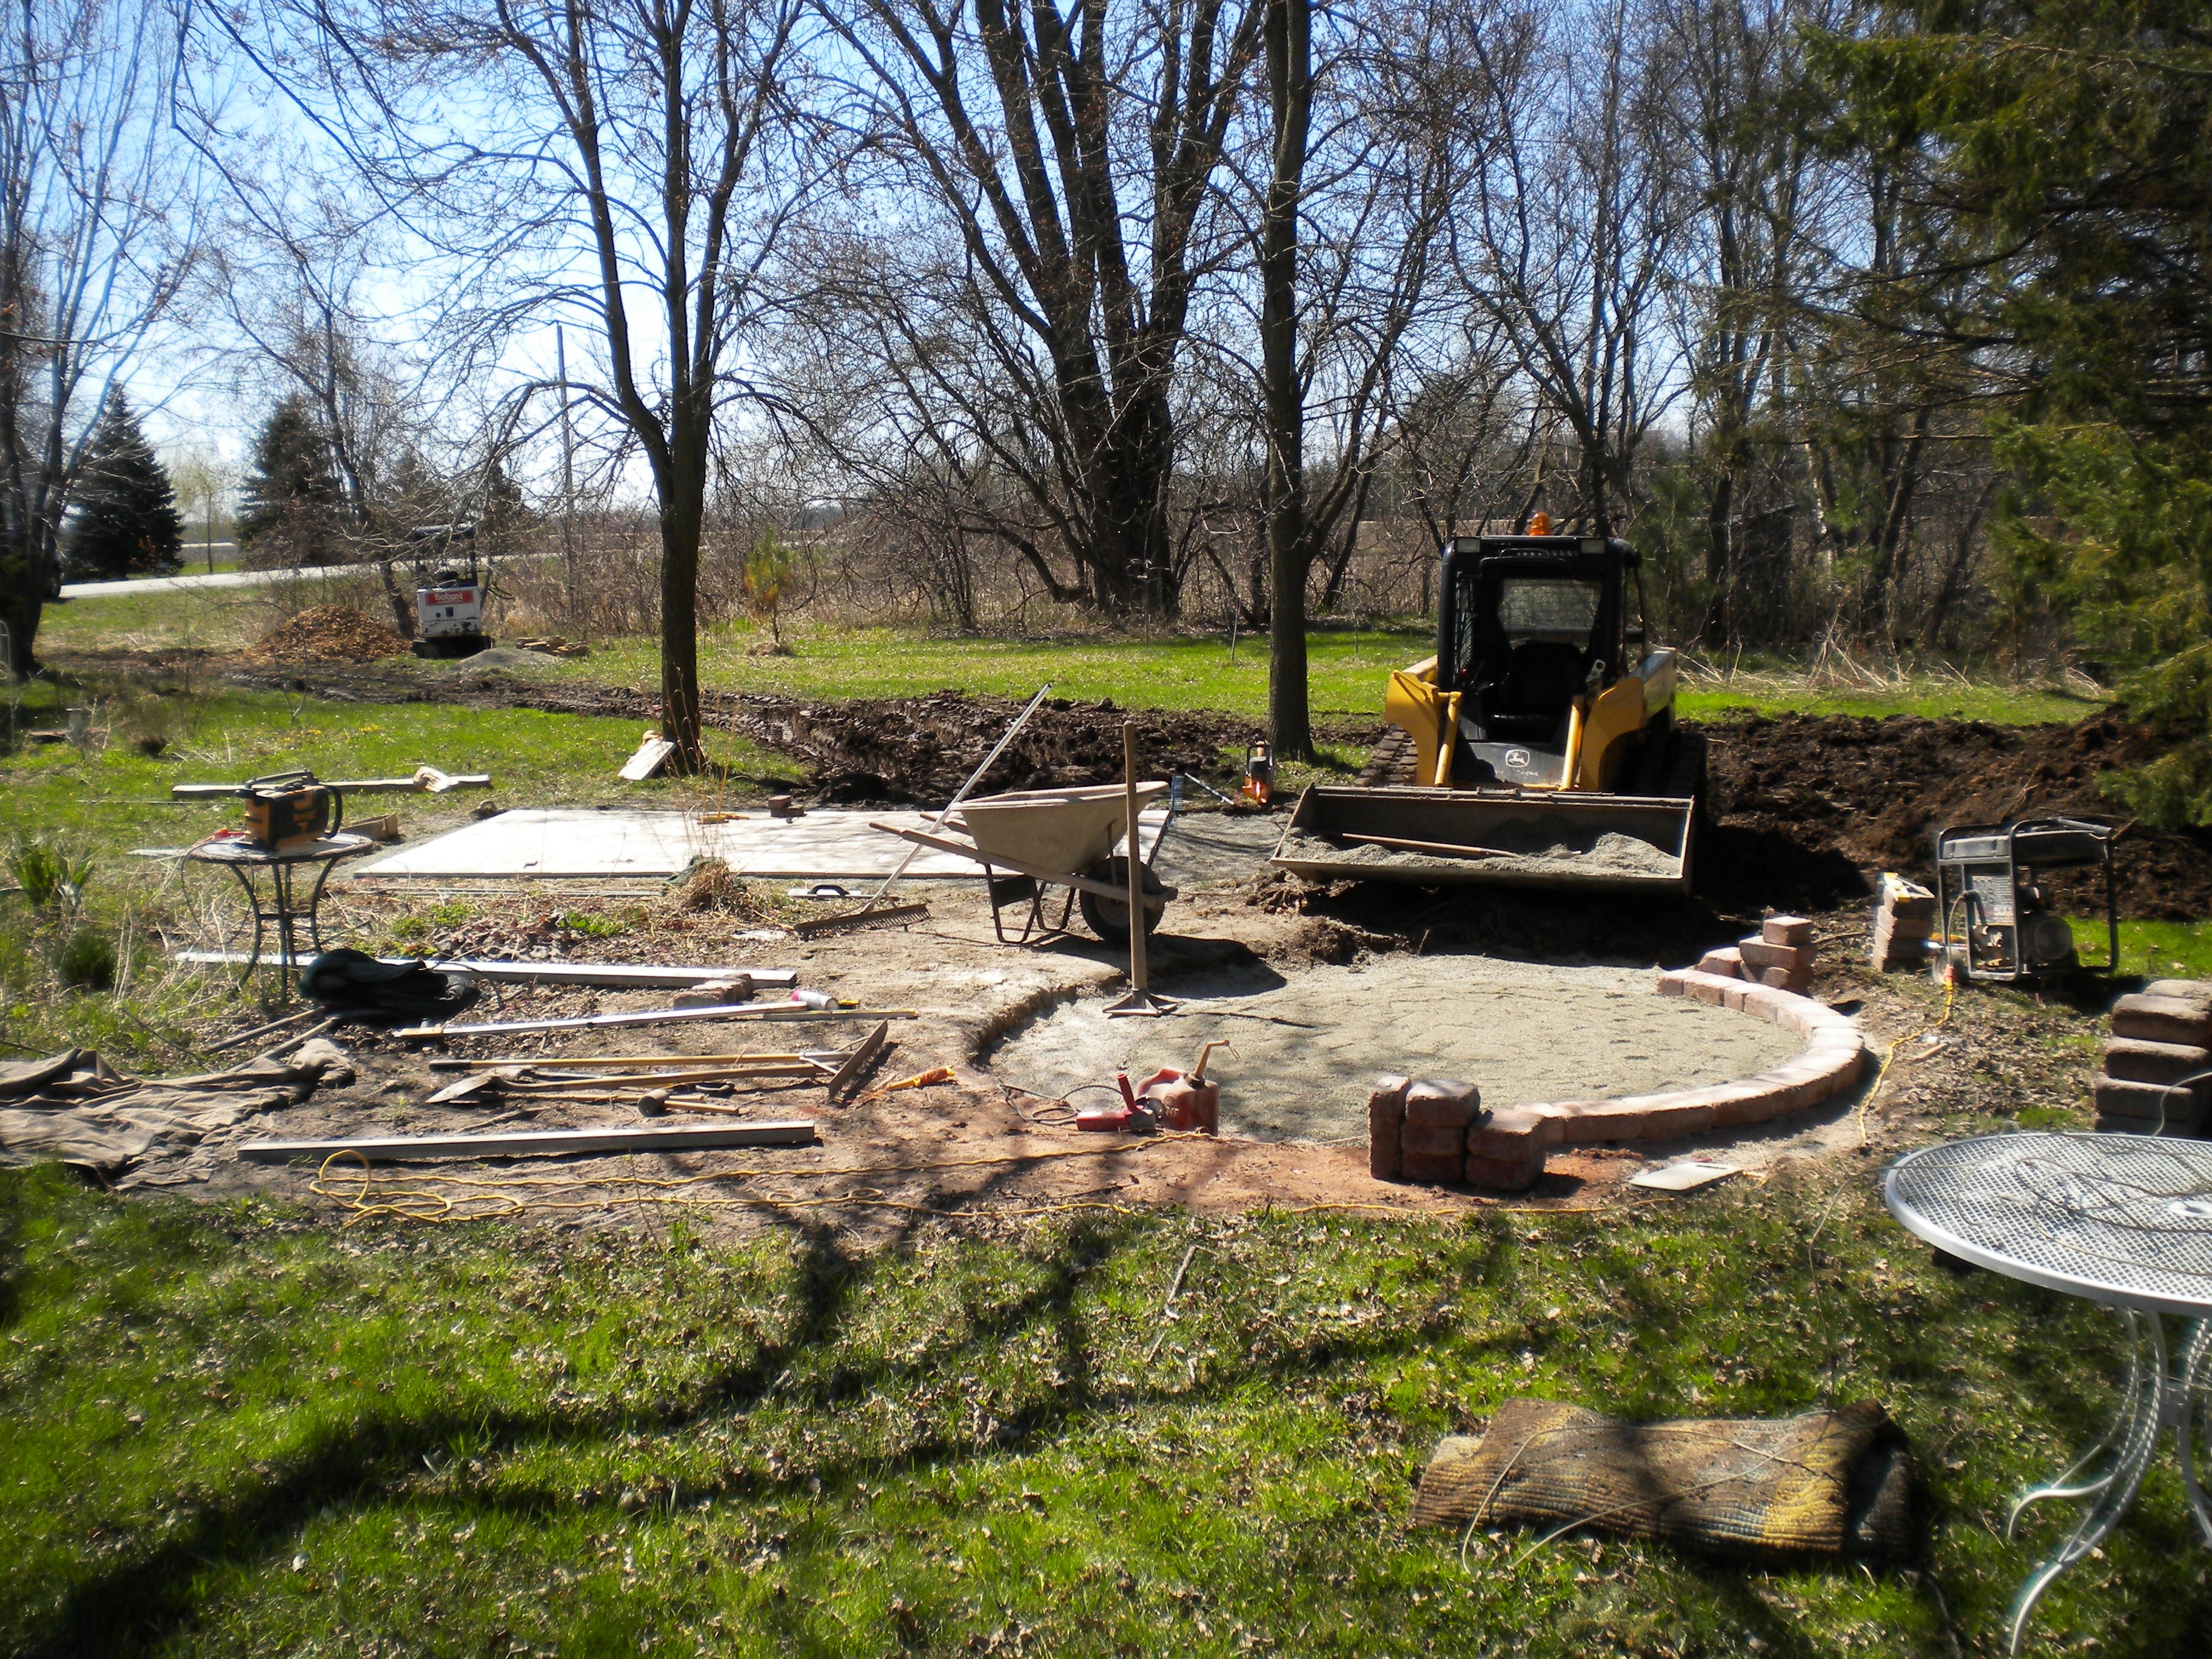
The mud and destruction that happens while putting in a patio the right way is something I never prepared for.
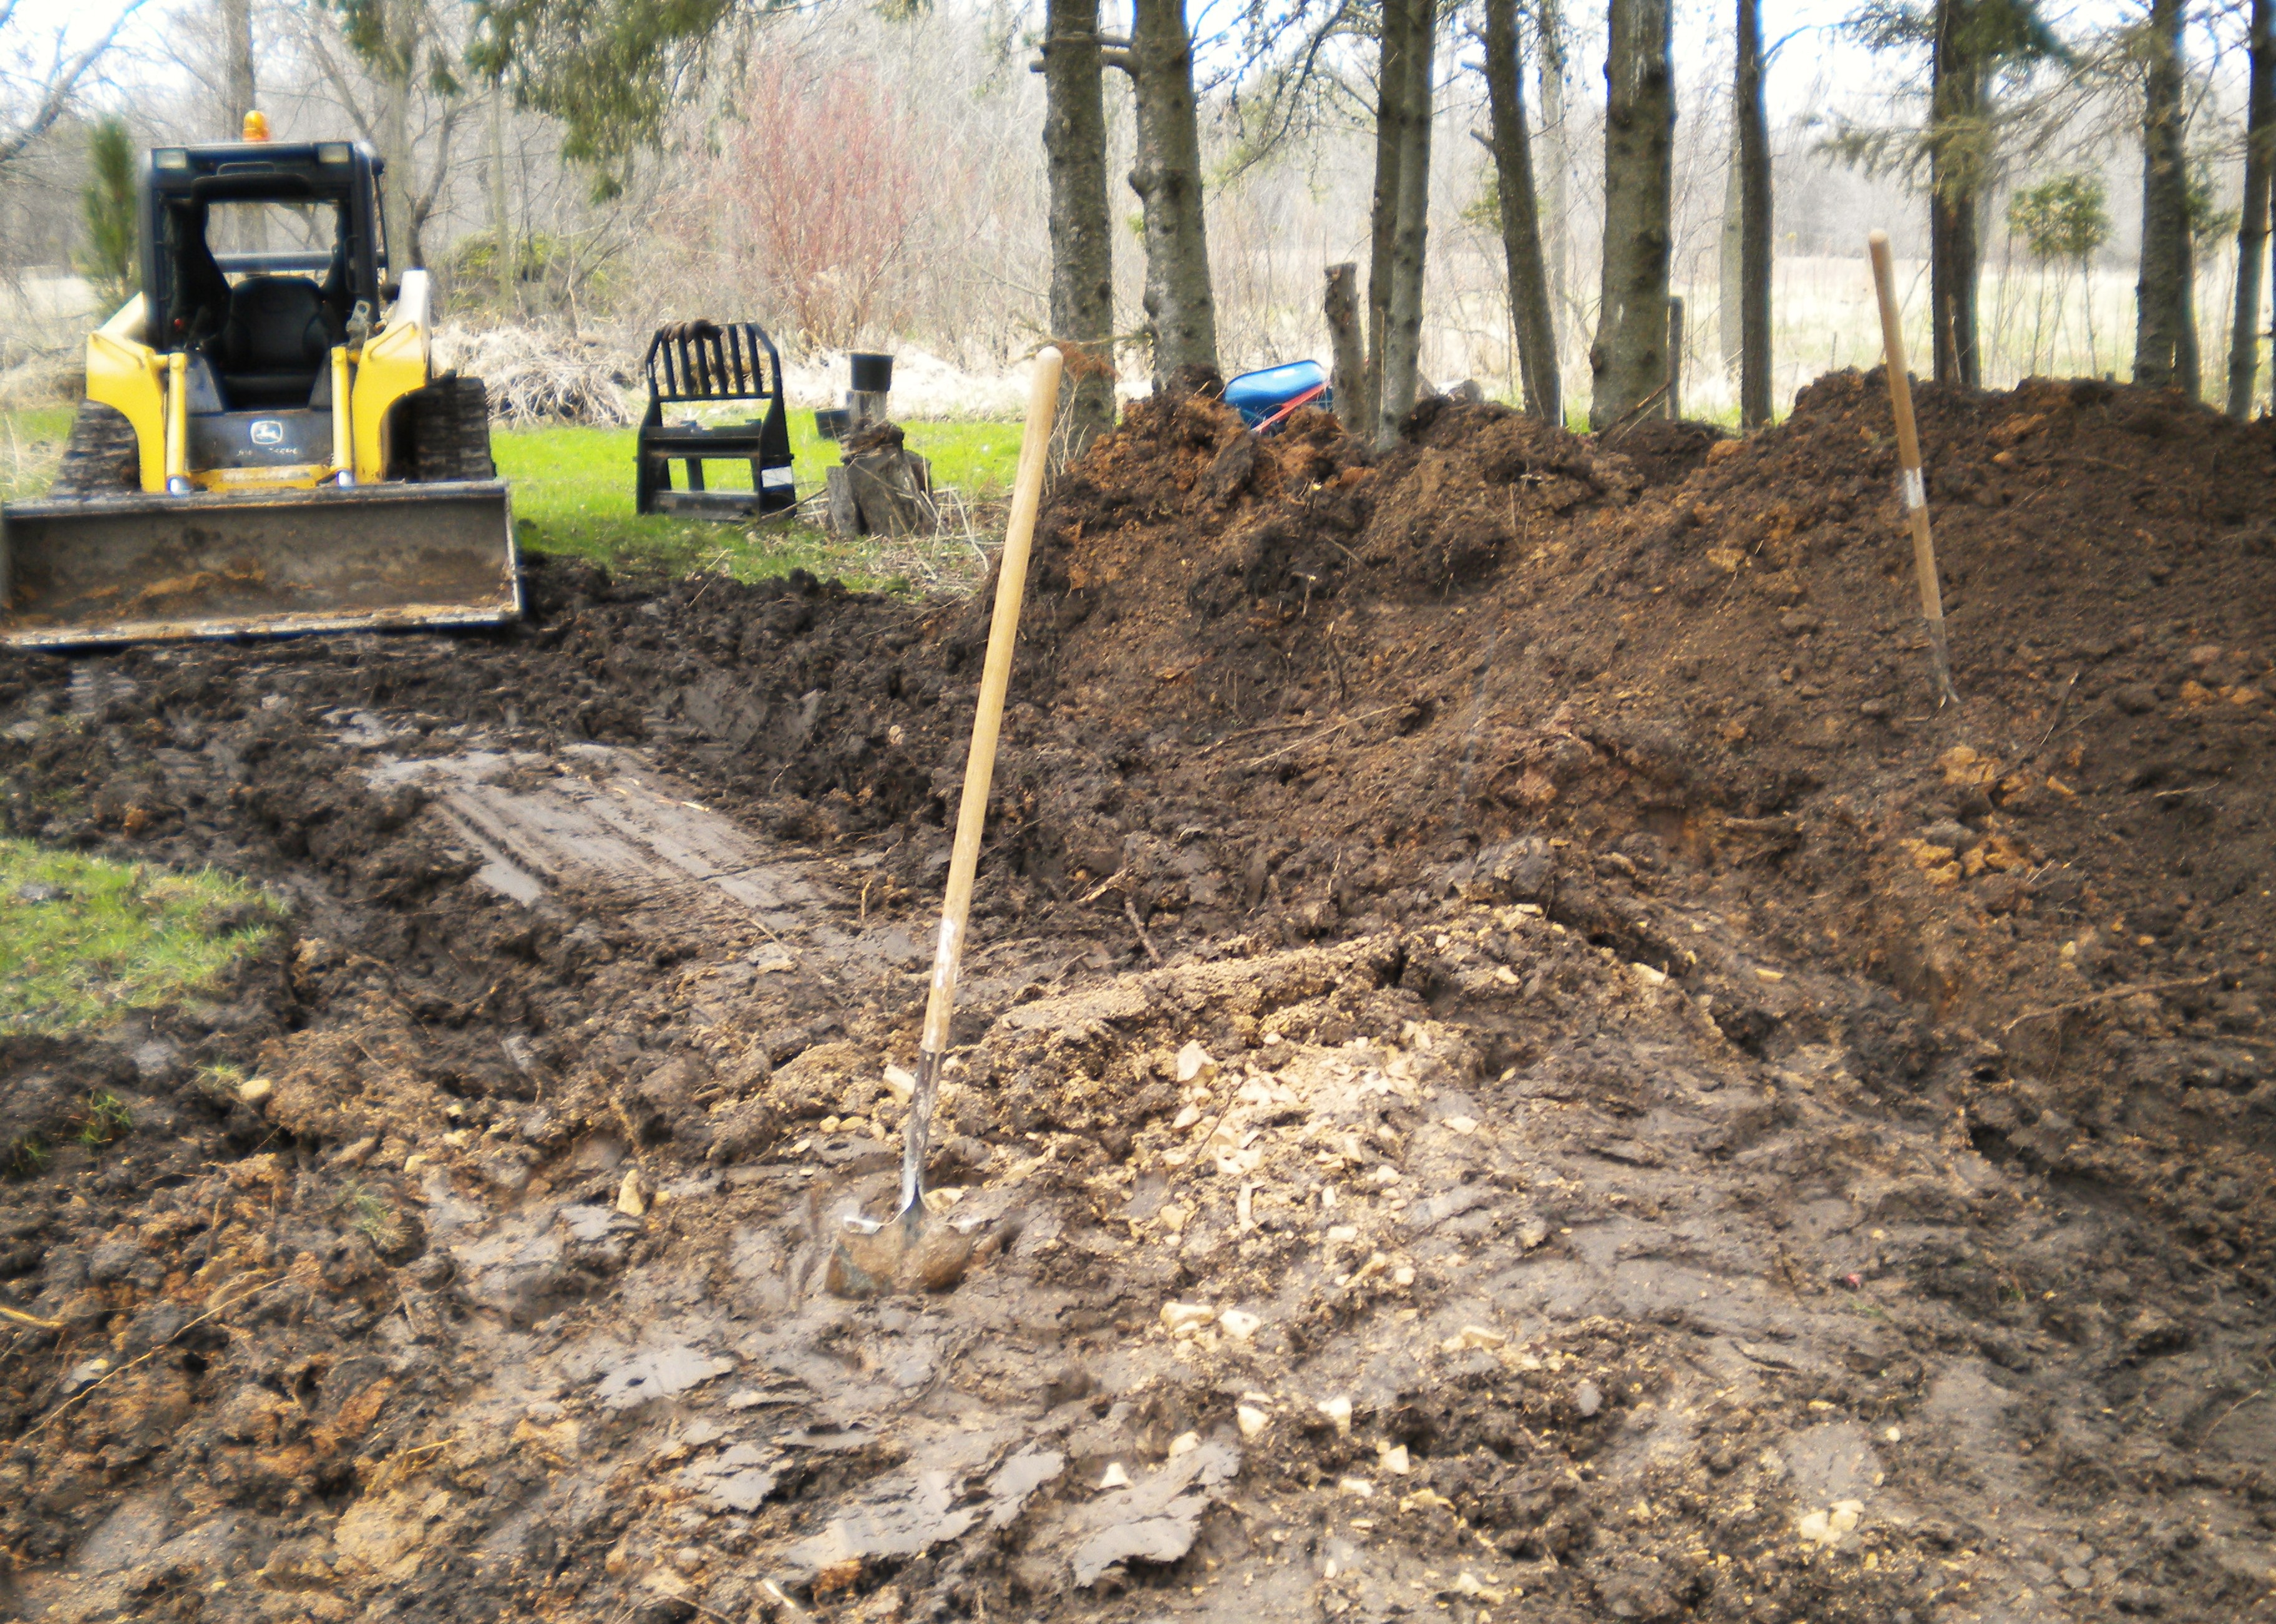
Add to that a summer that was so wet they waited until the following spring to come back and do some grading. Patience is always a virtue in landscaping…And so the elusive “after” picture had to wait as well.
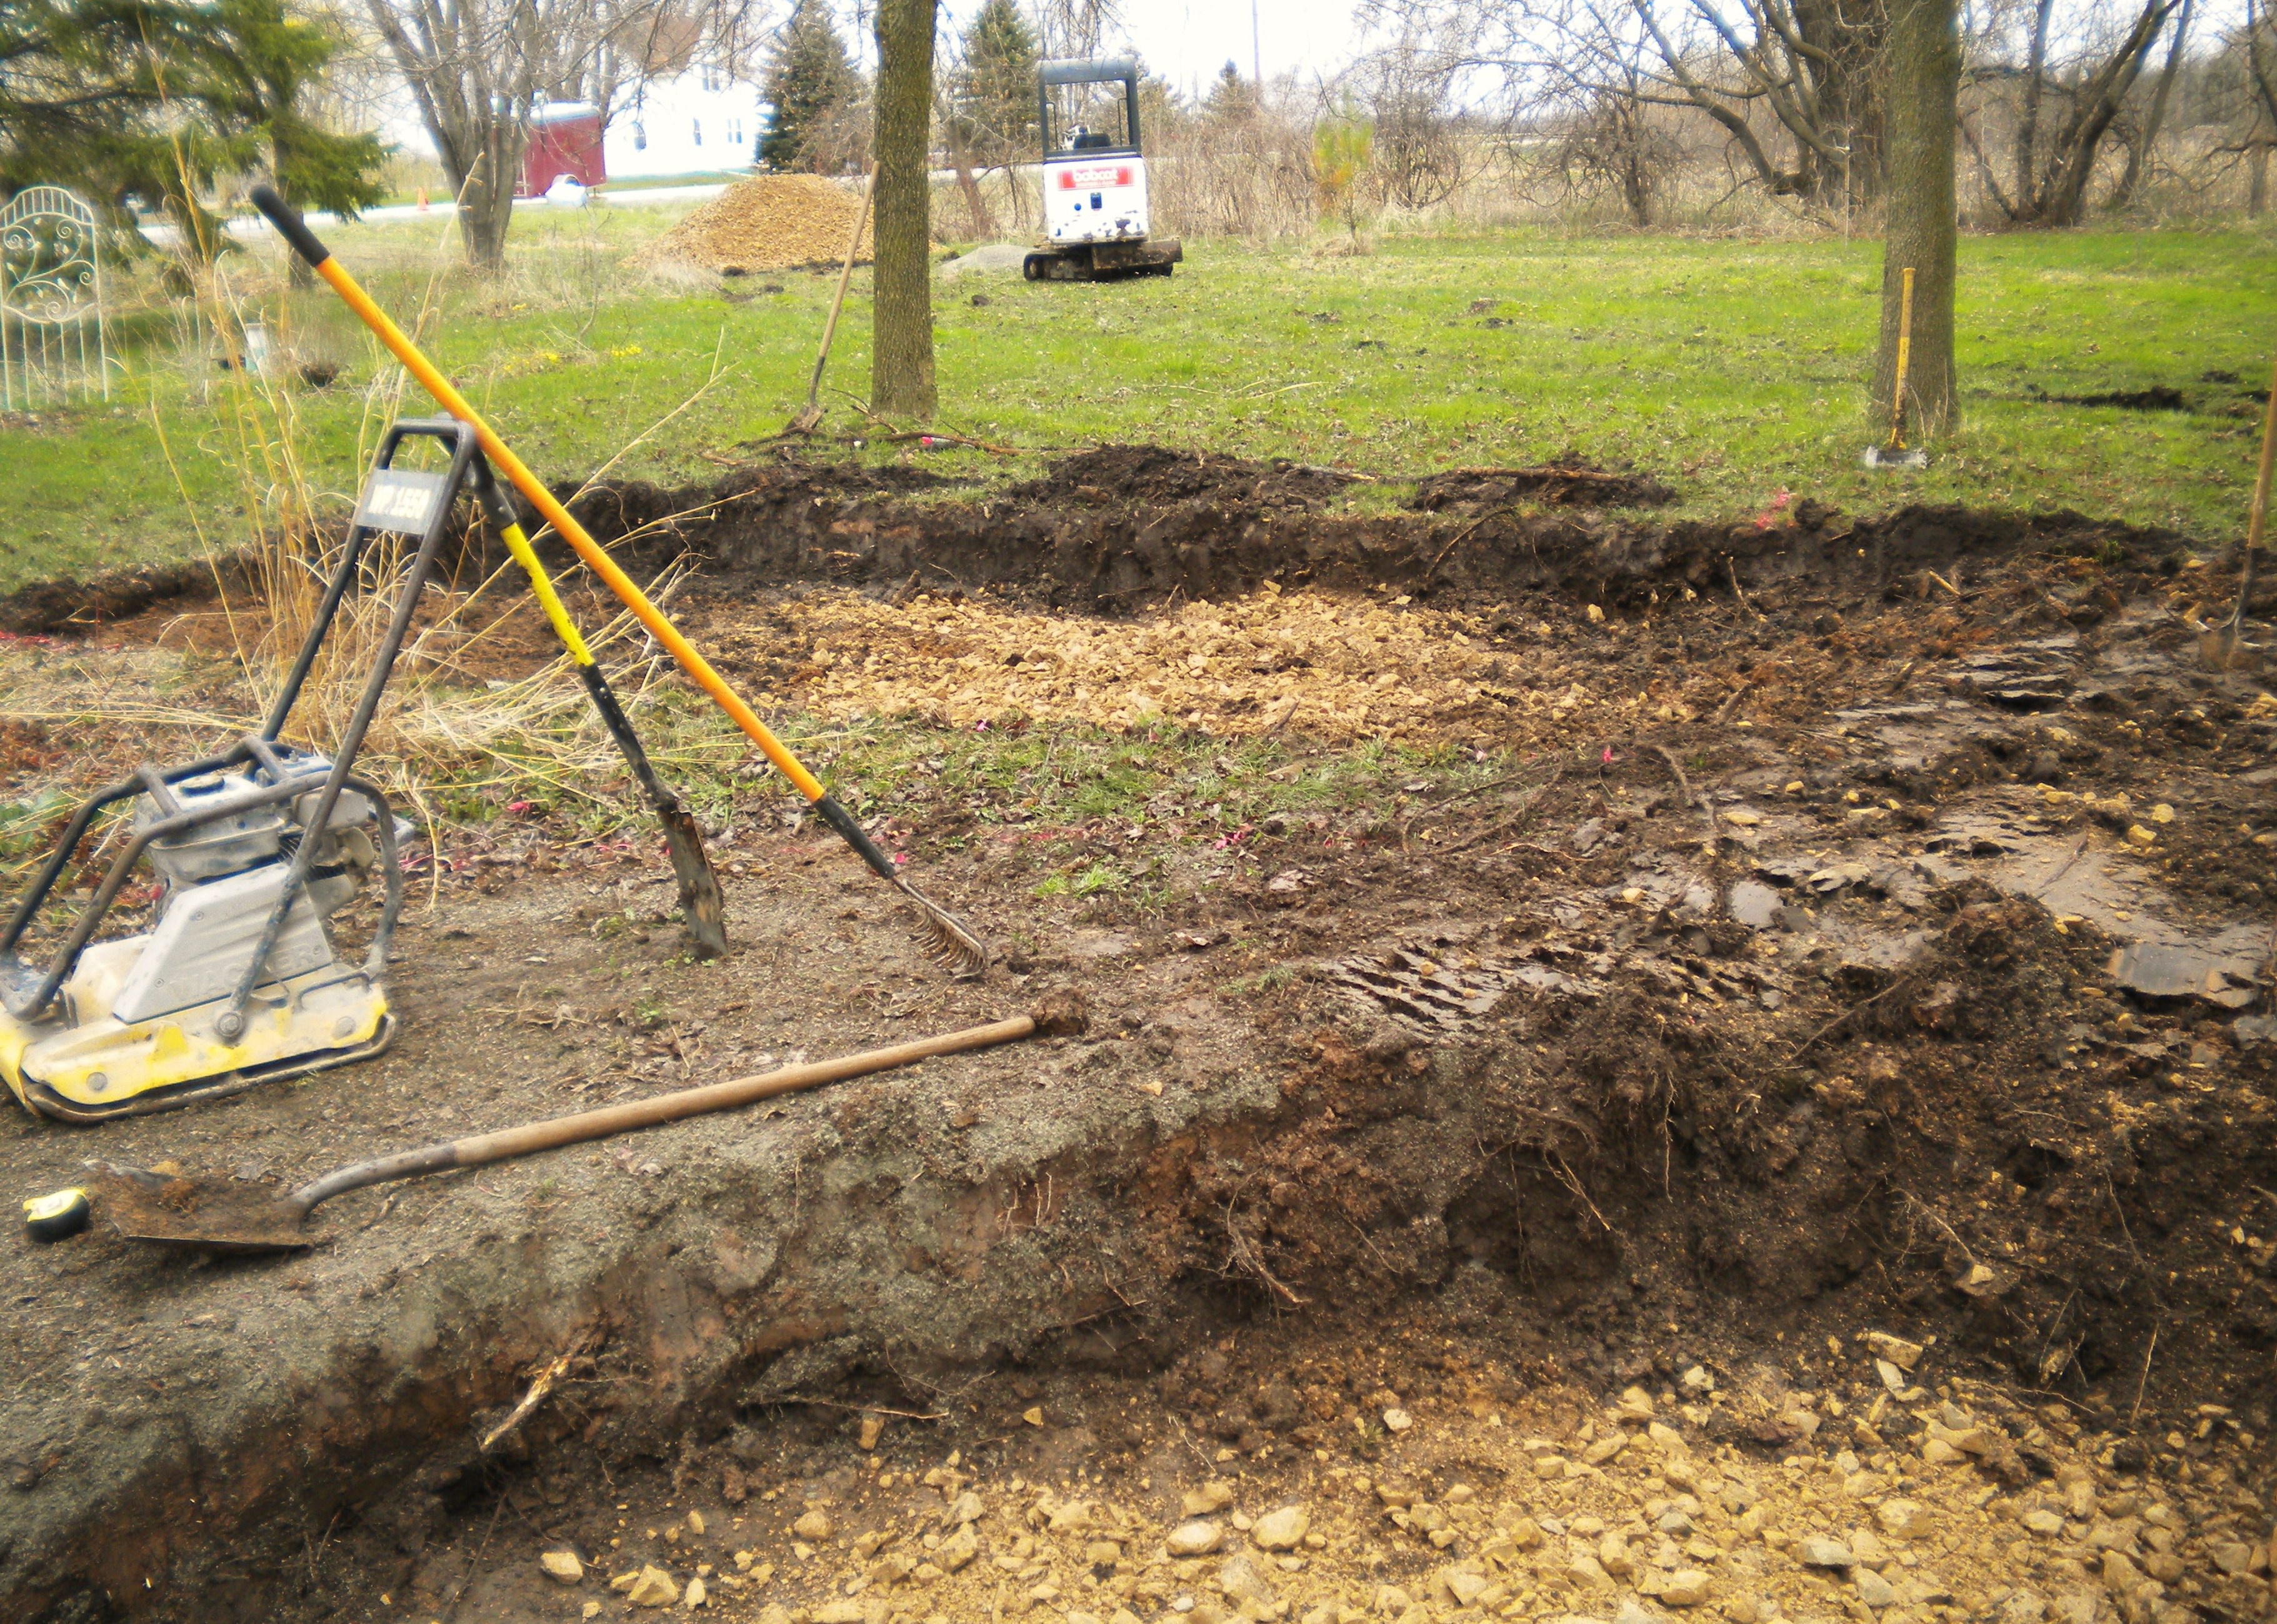
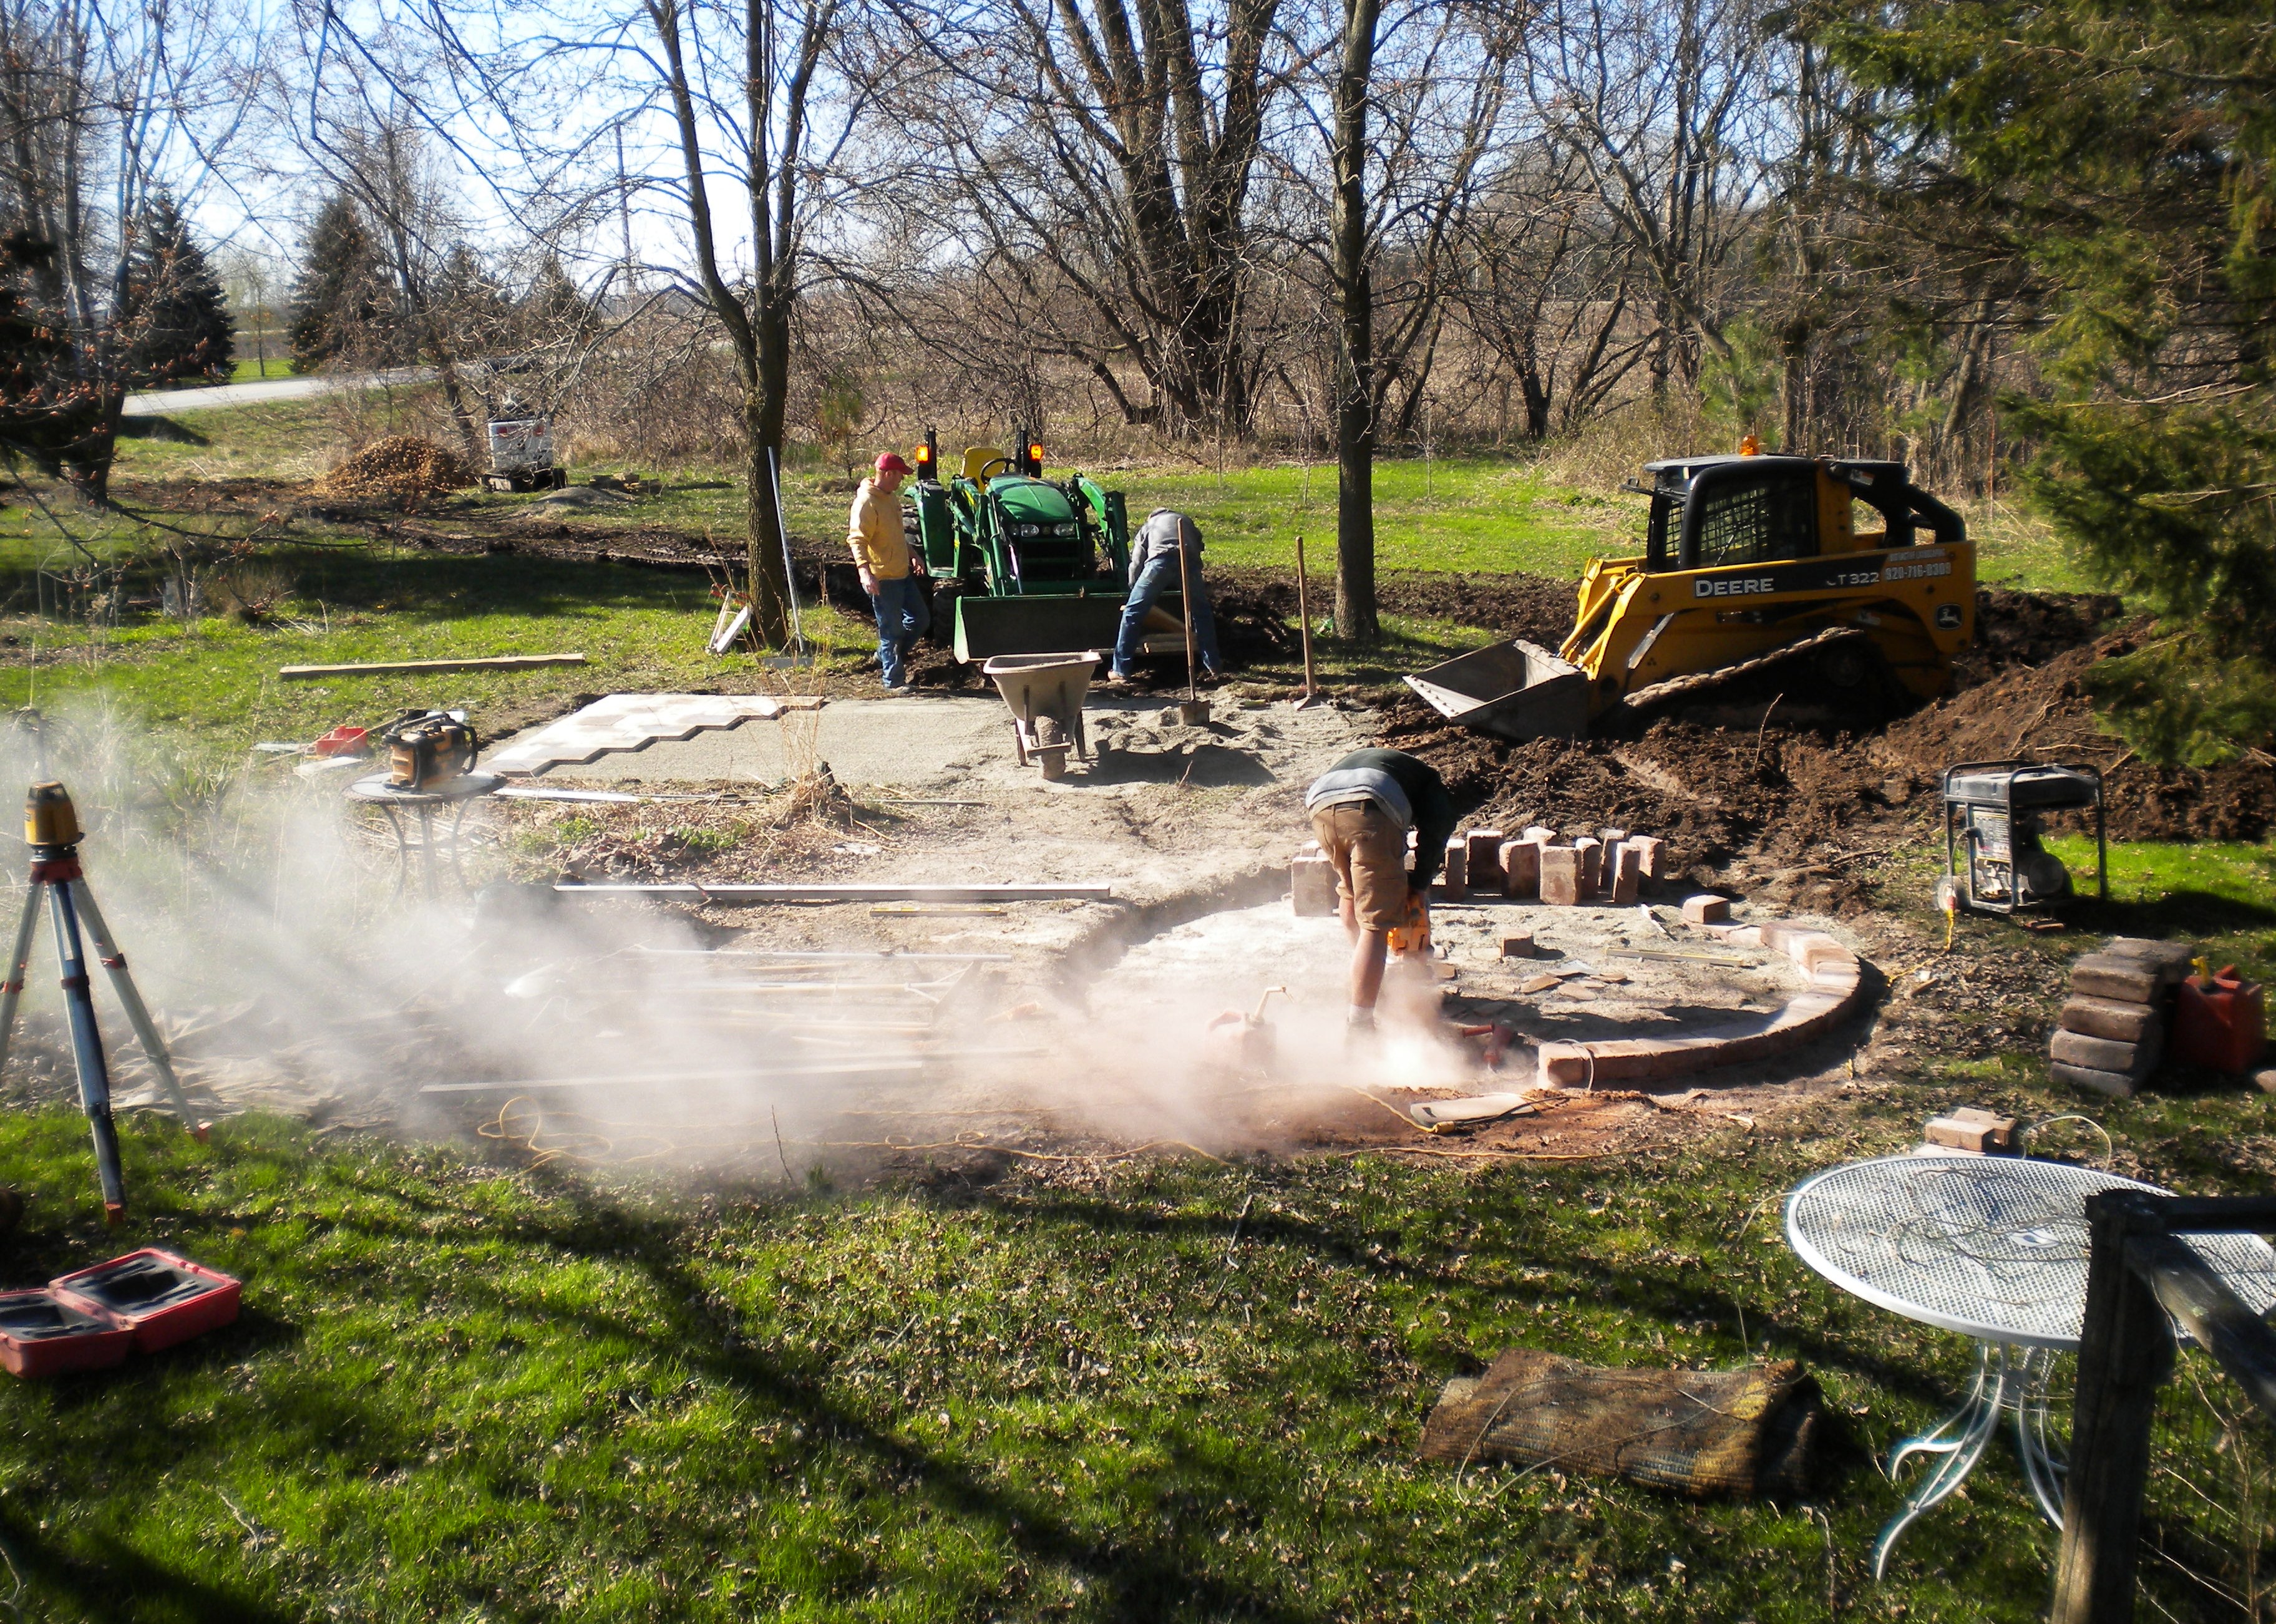
These are giant holes- dug deep past the tree roots and filled with gravel and screenings to ensure a solid base and less heaving of the retaining wall during the deep frost of winter.
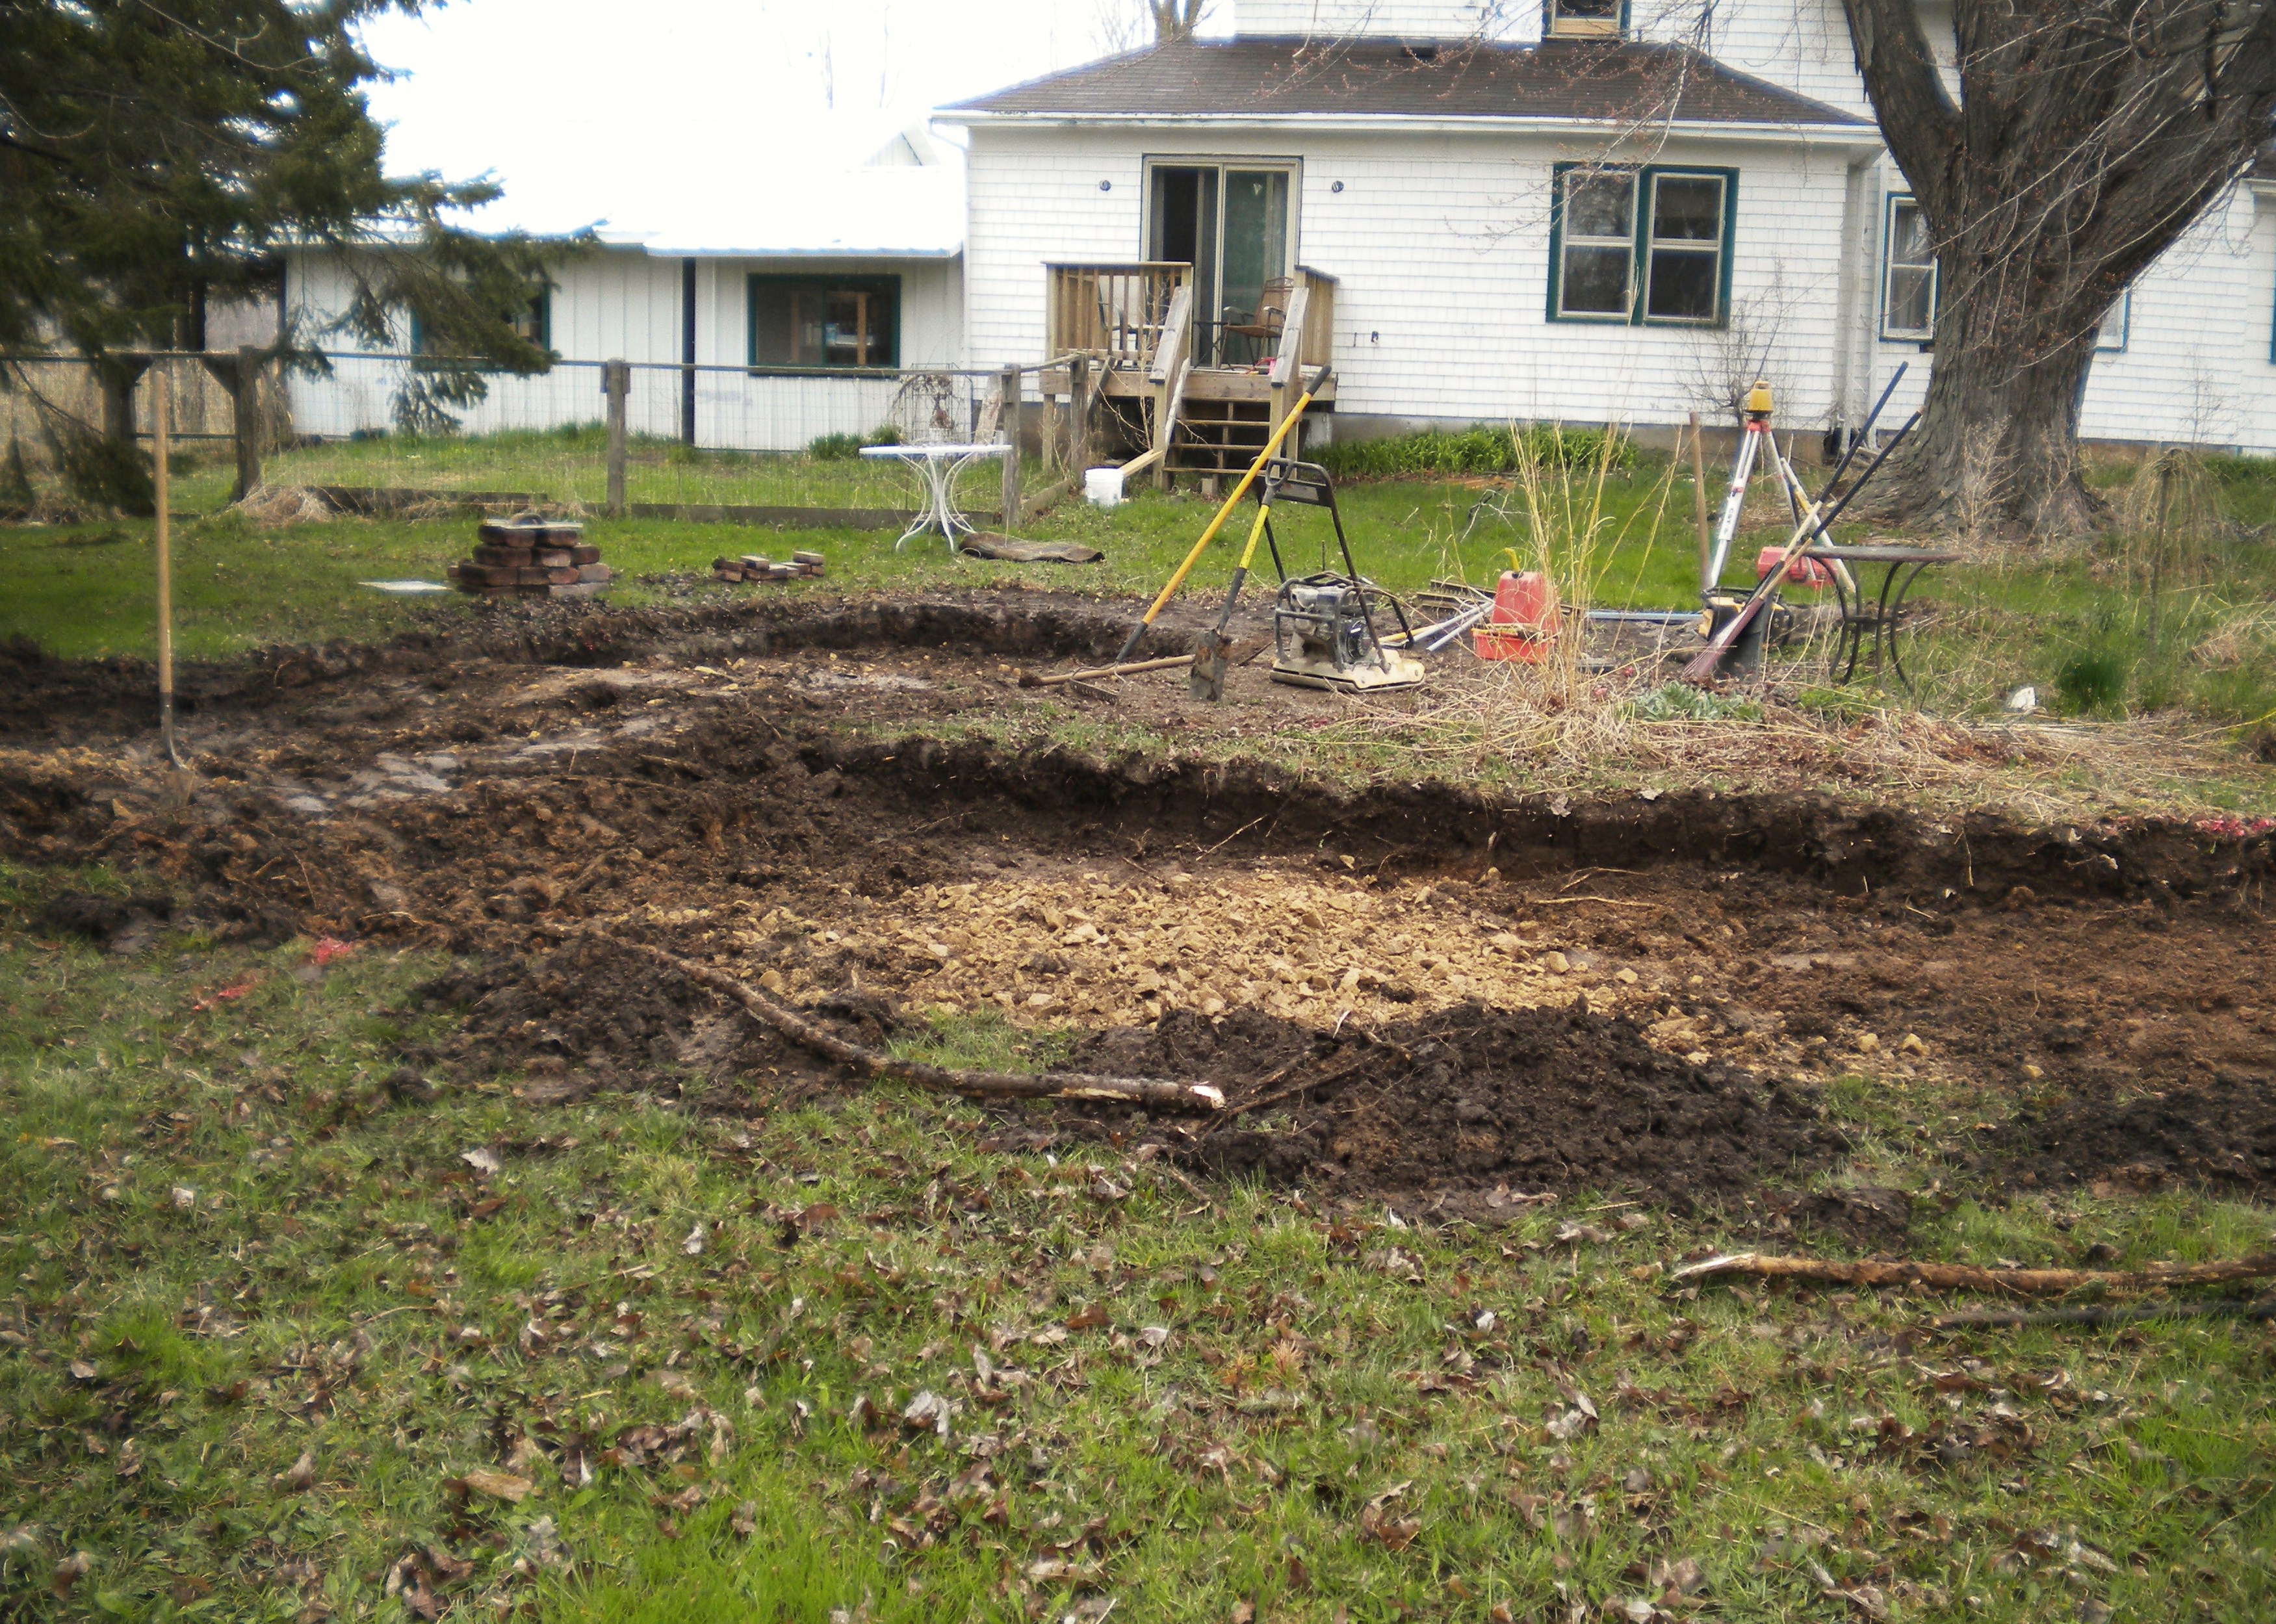
While this is the right way to install a patio, the mess it leaves behind can be daunting.
But let’s back up to the design aspect of this project…
I started with the idea that I wanted a patio big enough to seat the entire family or a large group of friends. I also wanted the presence of some sort of stone wall that would create some privacy and visual division in an otherwise flat yard. Somehow I came up with the idea to have one large rectagular patio connected to a smaller round one with a sitting wall.
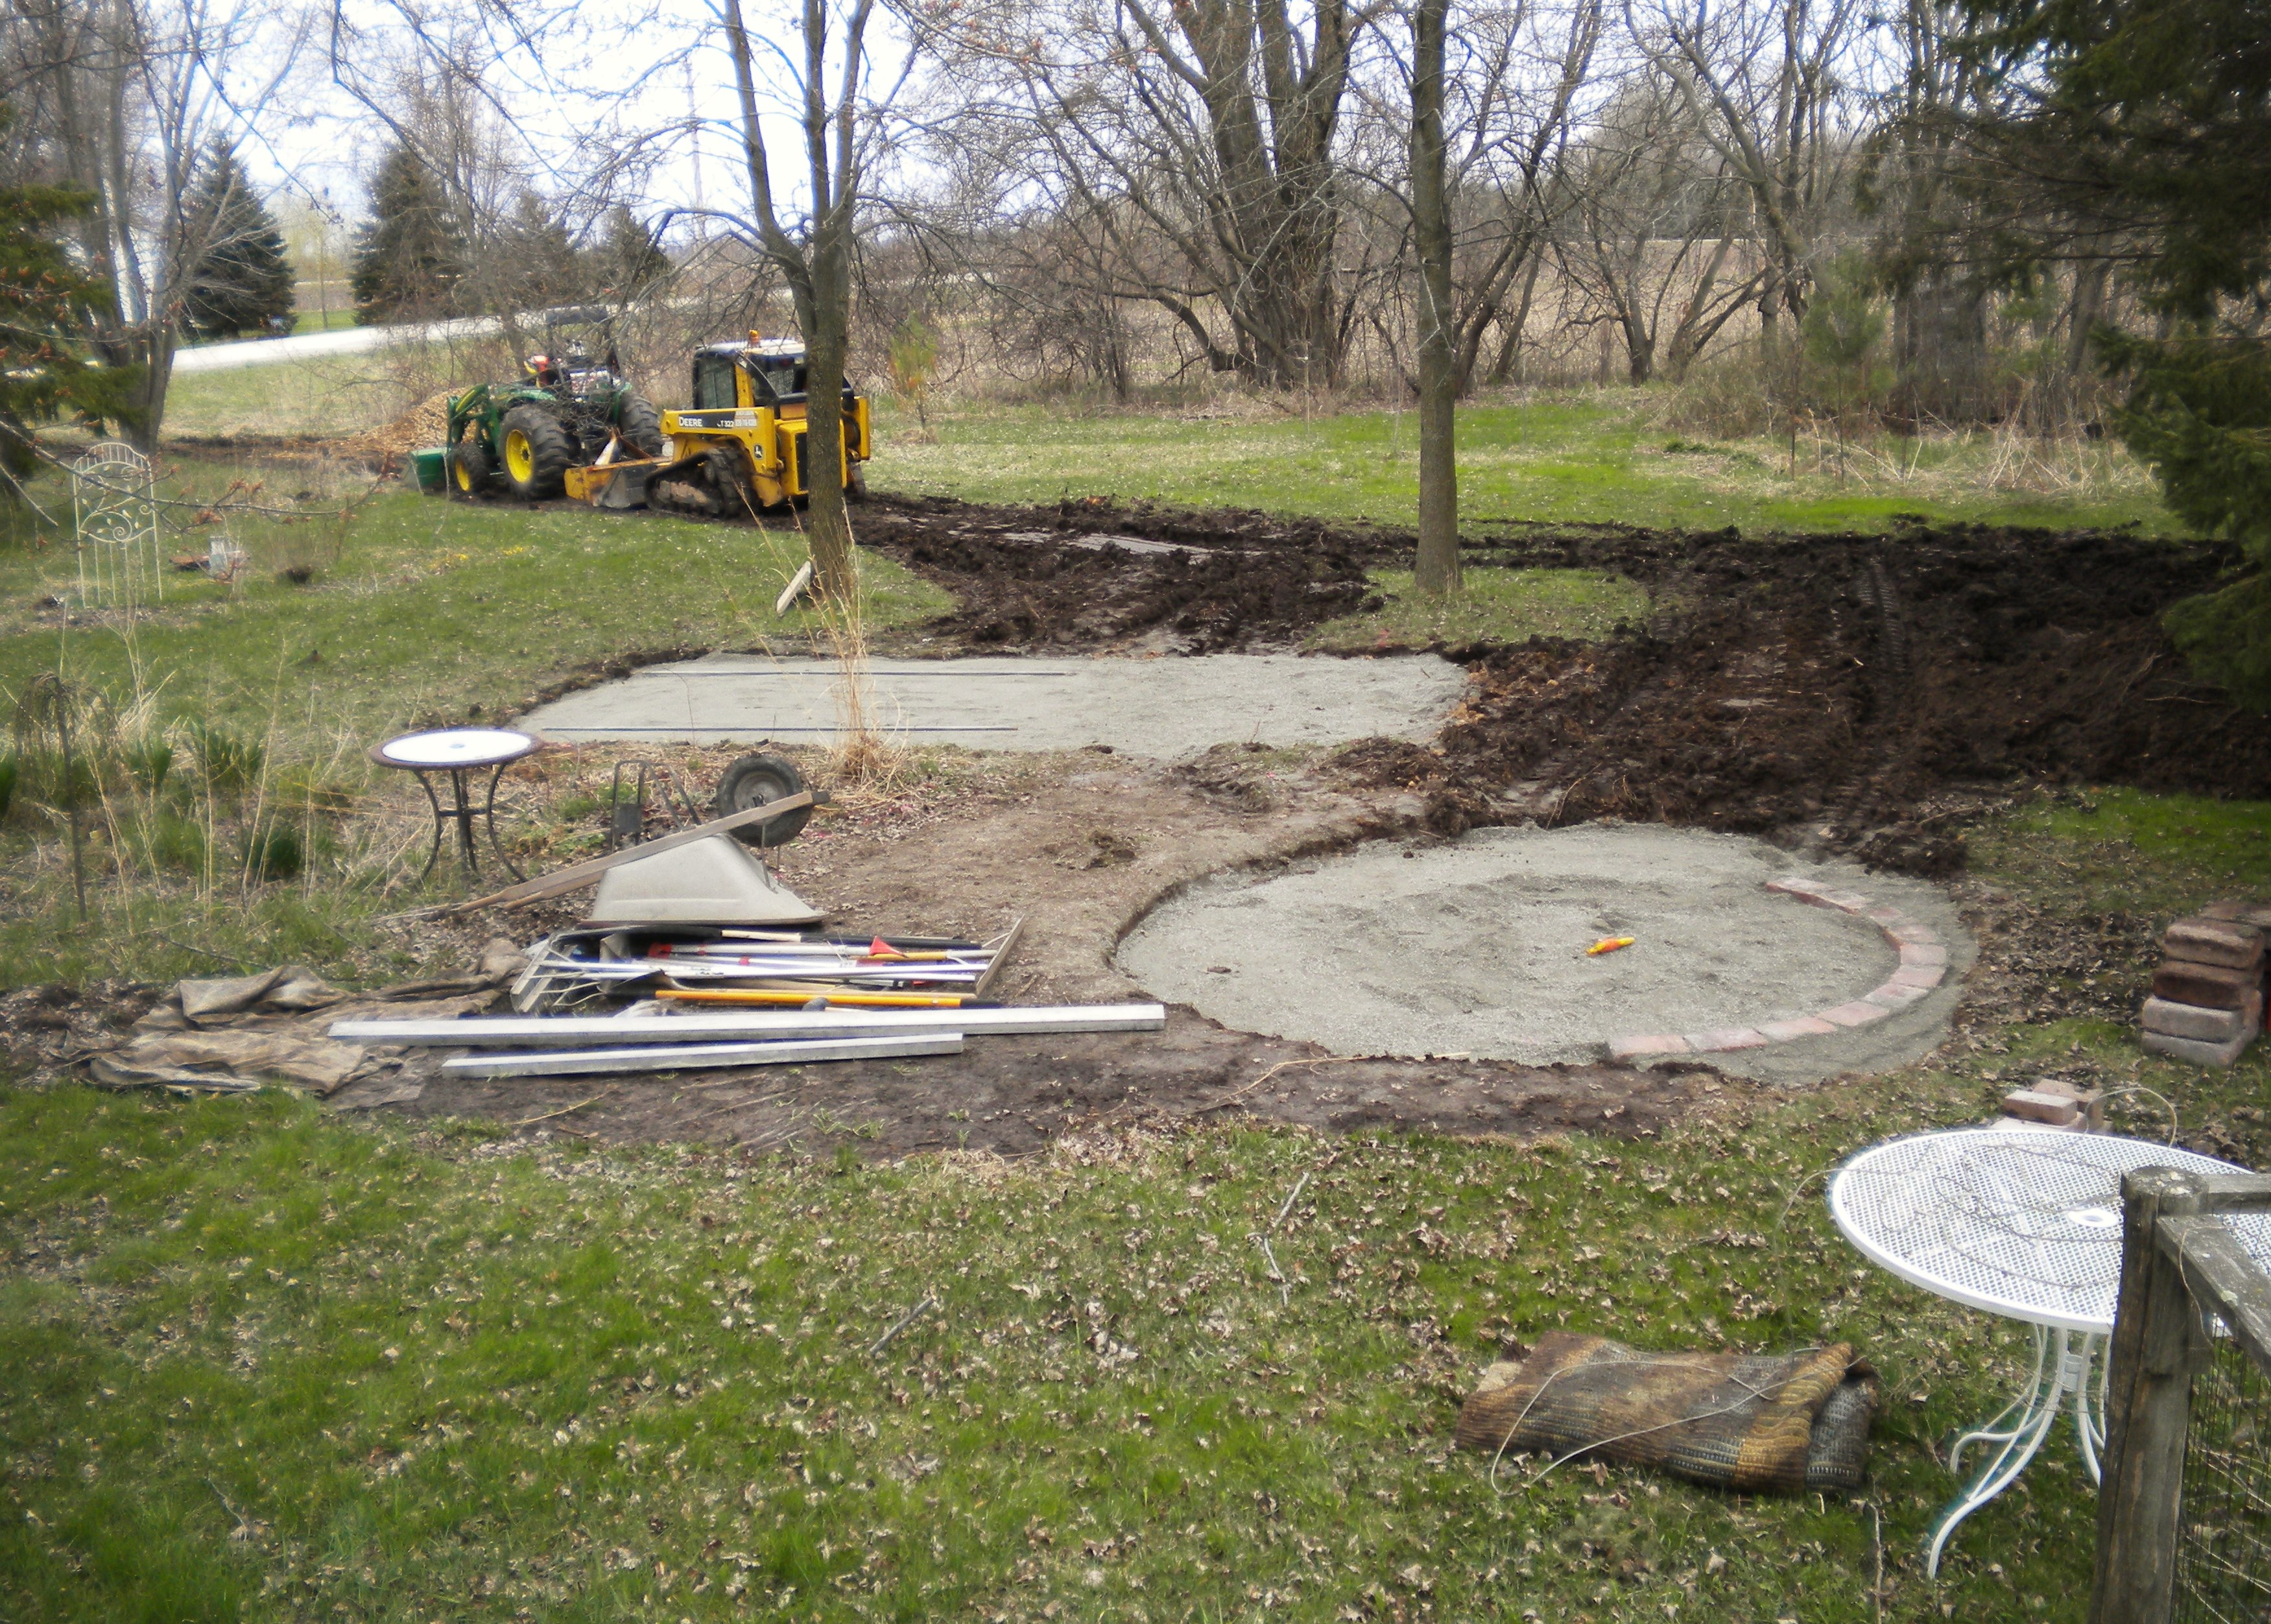
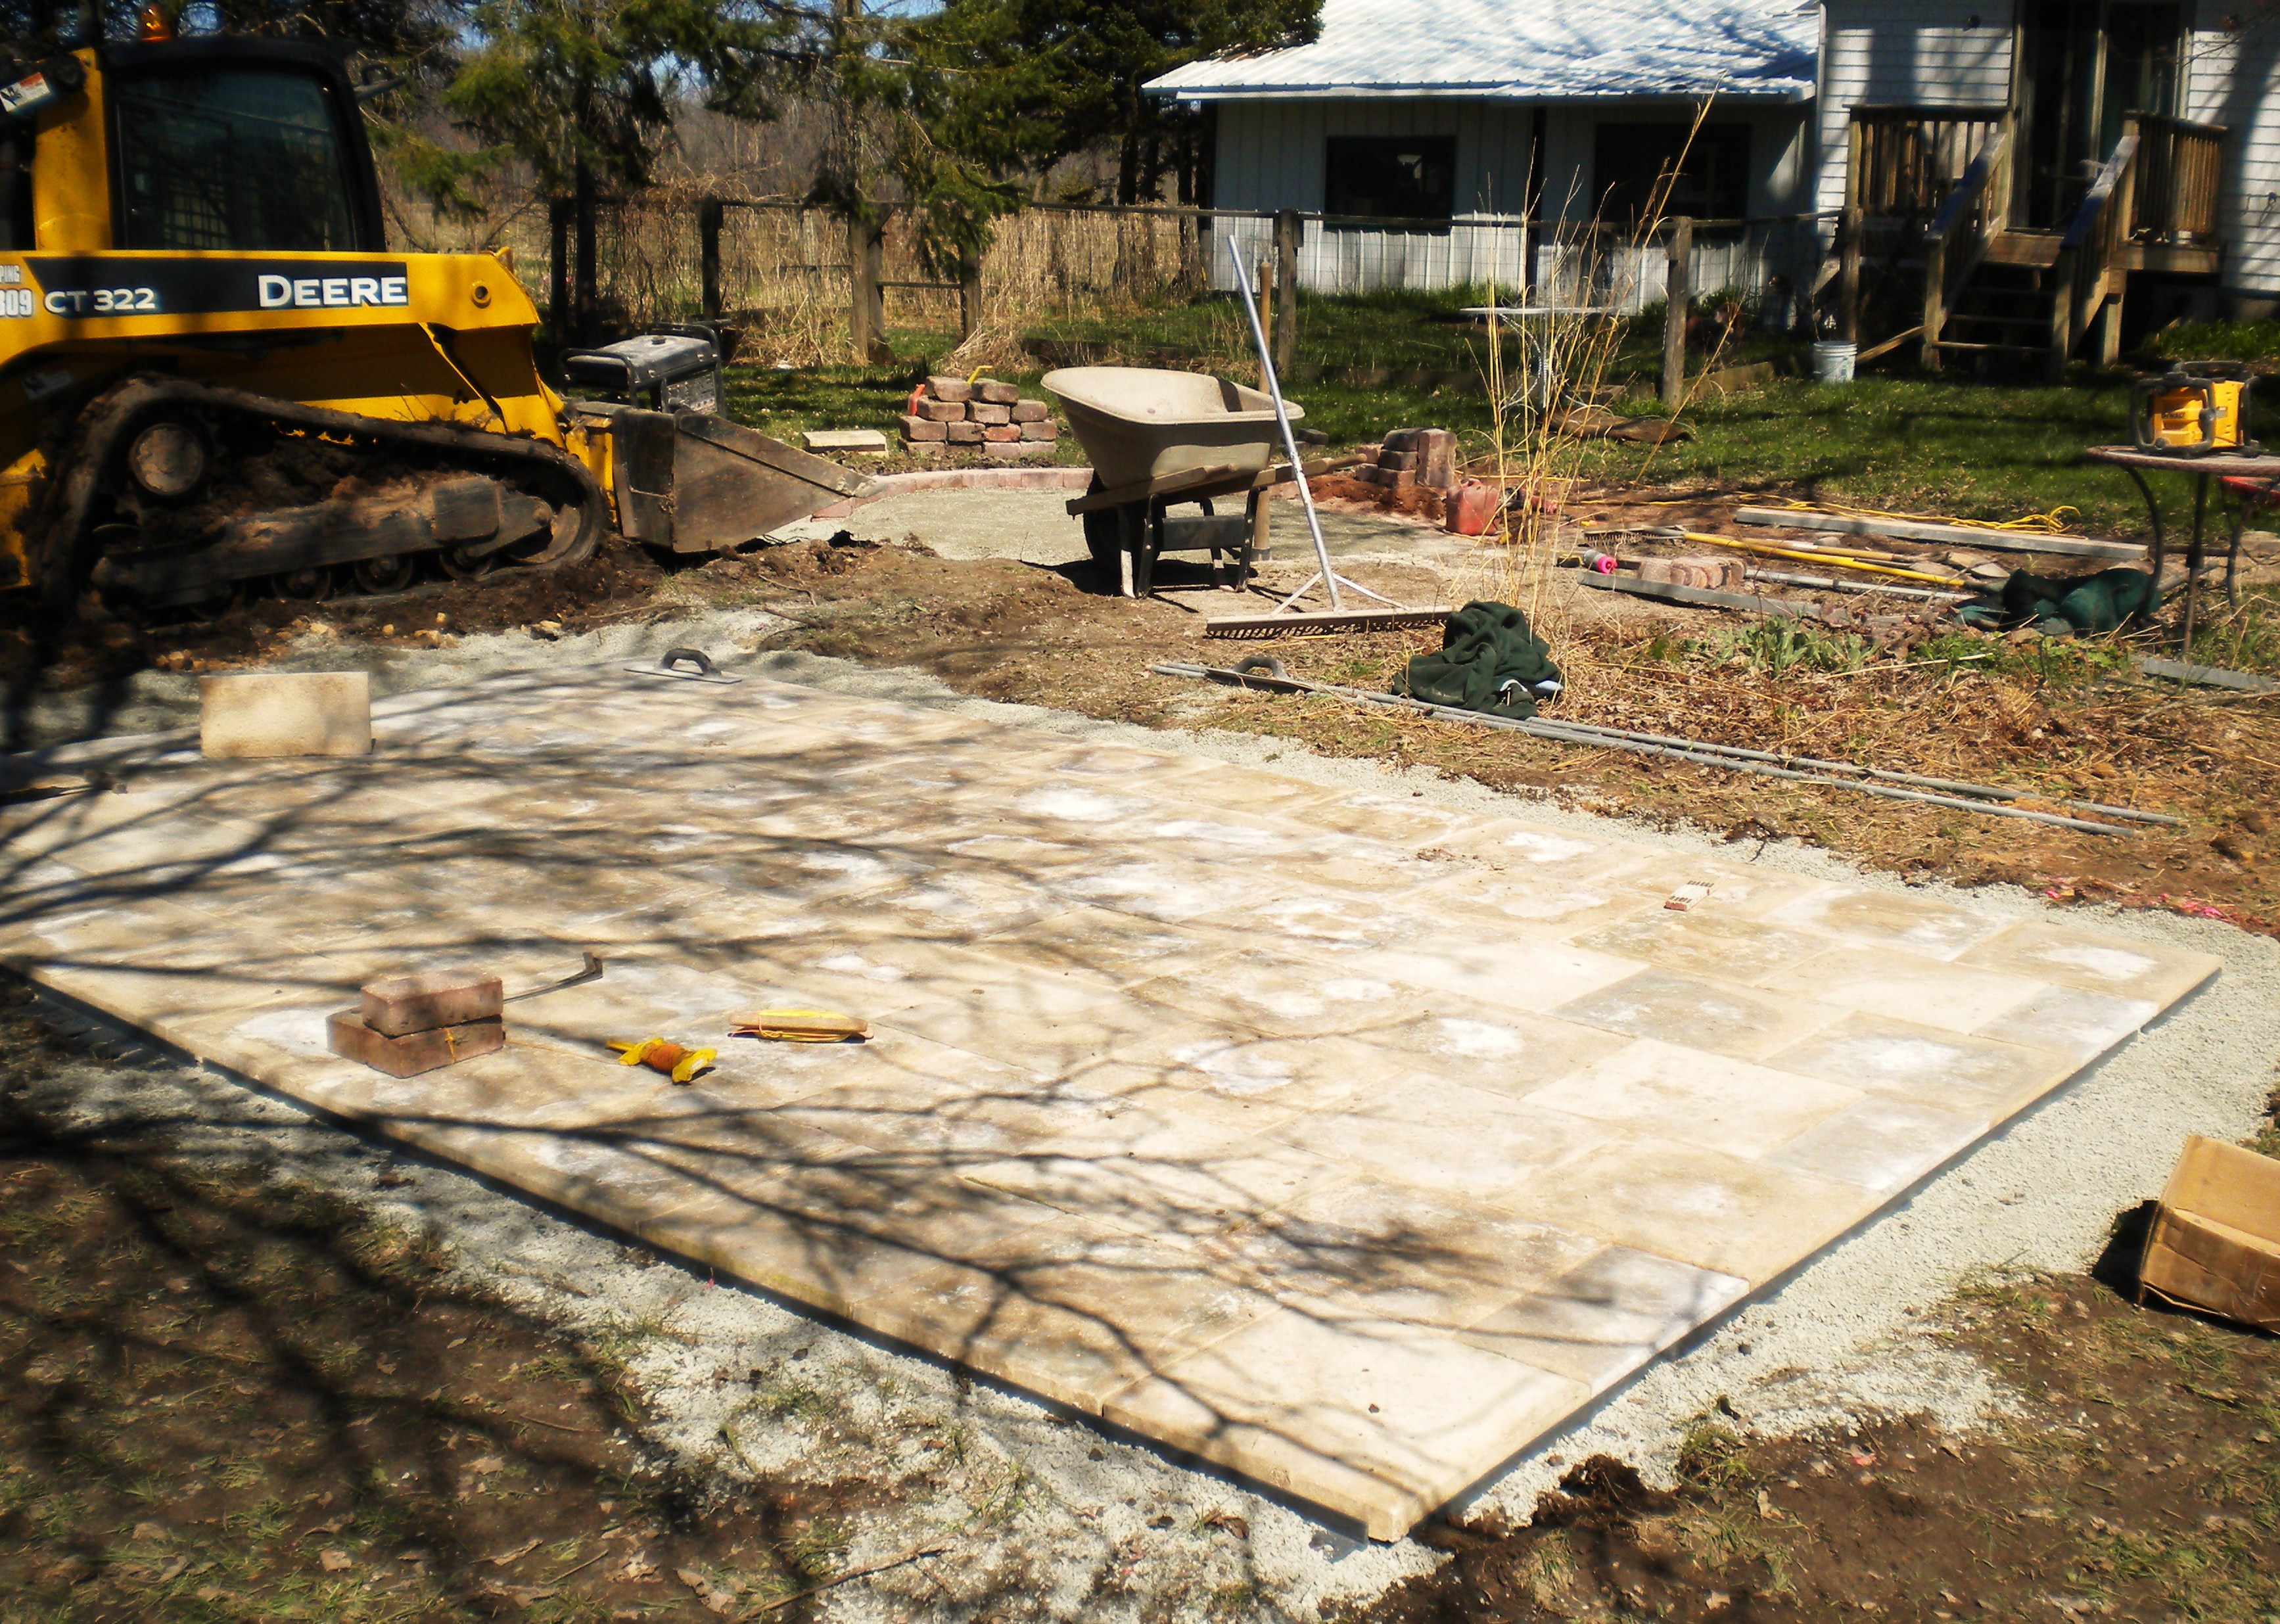
You can see the two areas defined by the prep work in this picture.
For the larger patio I wanted a tile “floor” feeling.
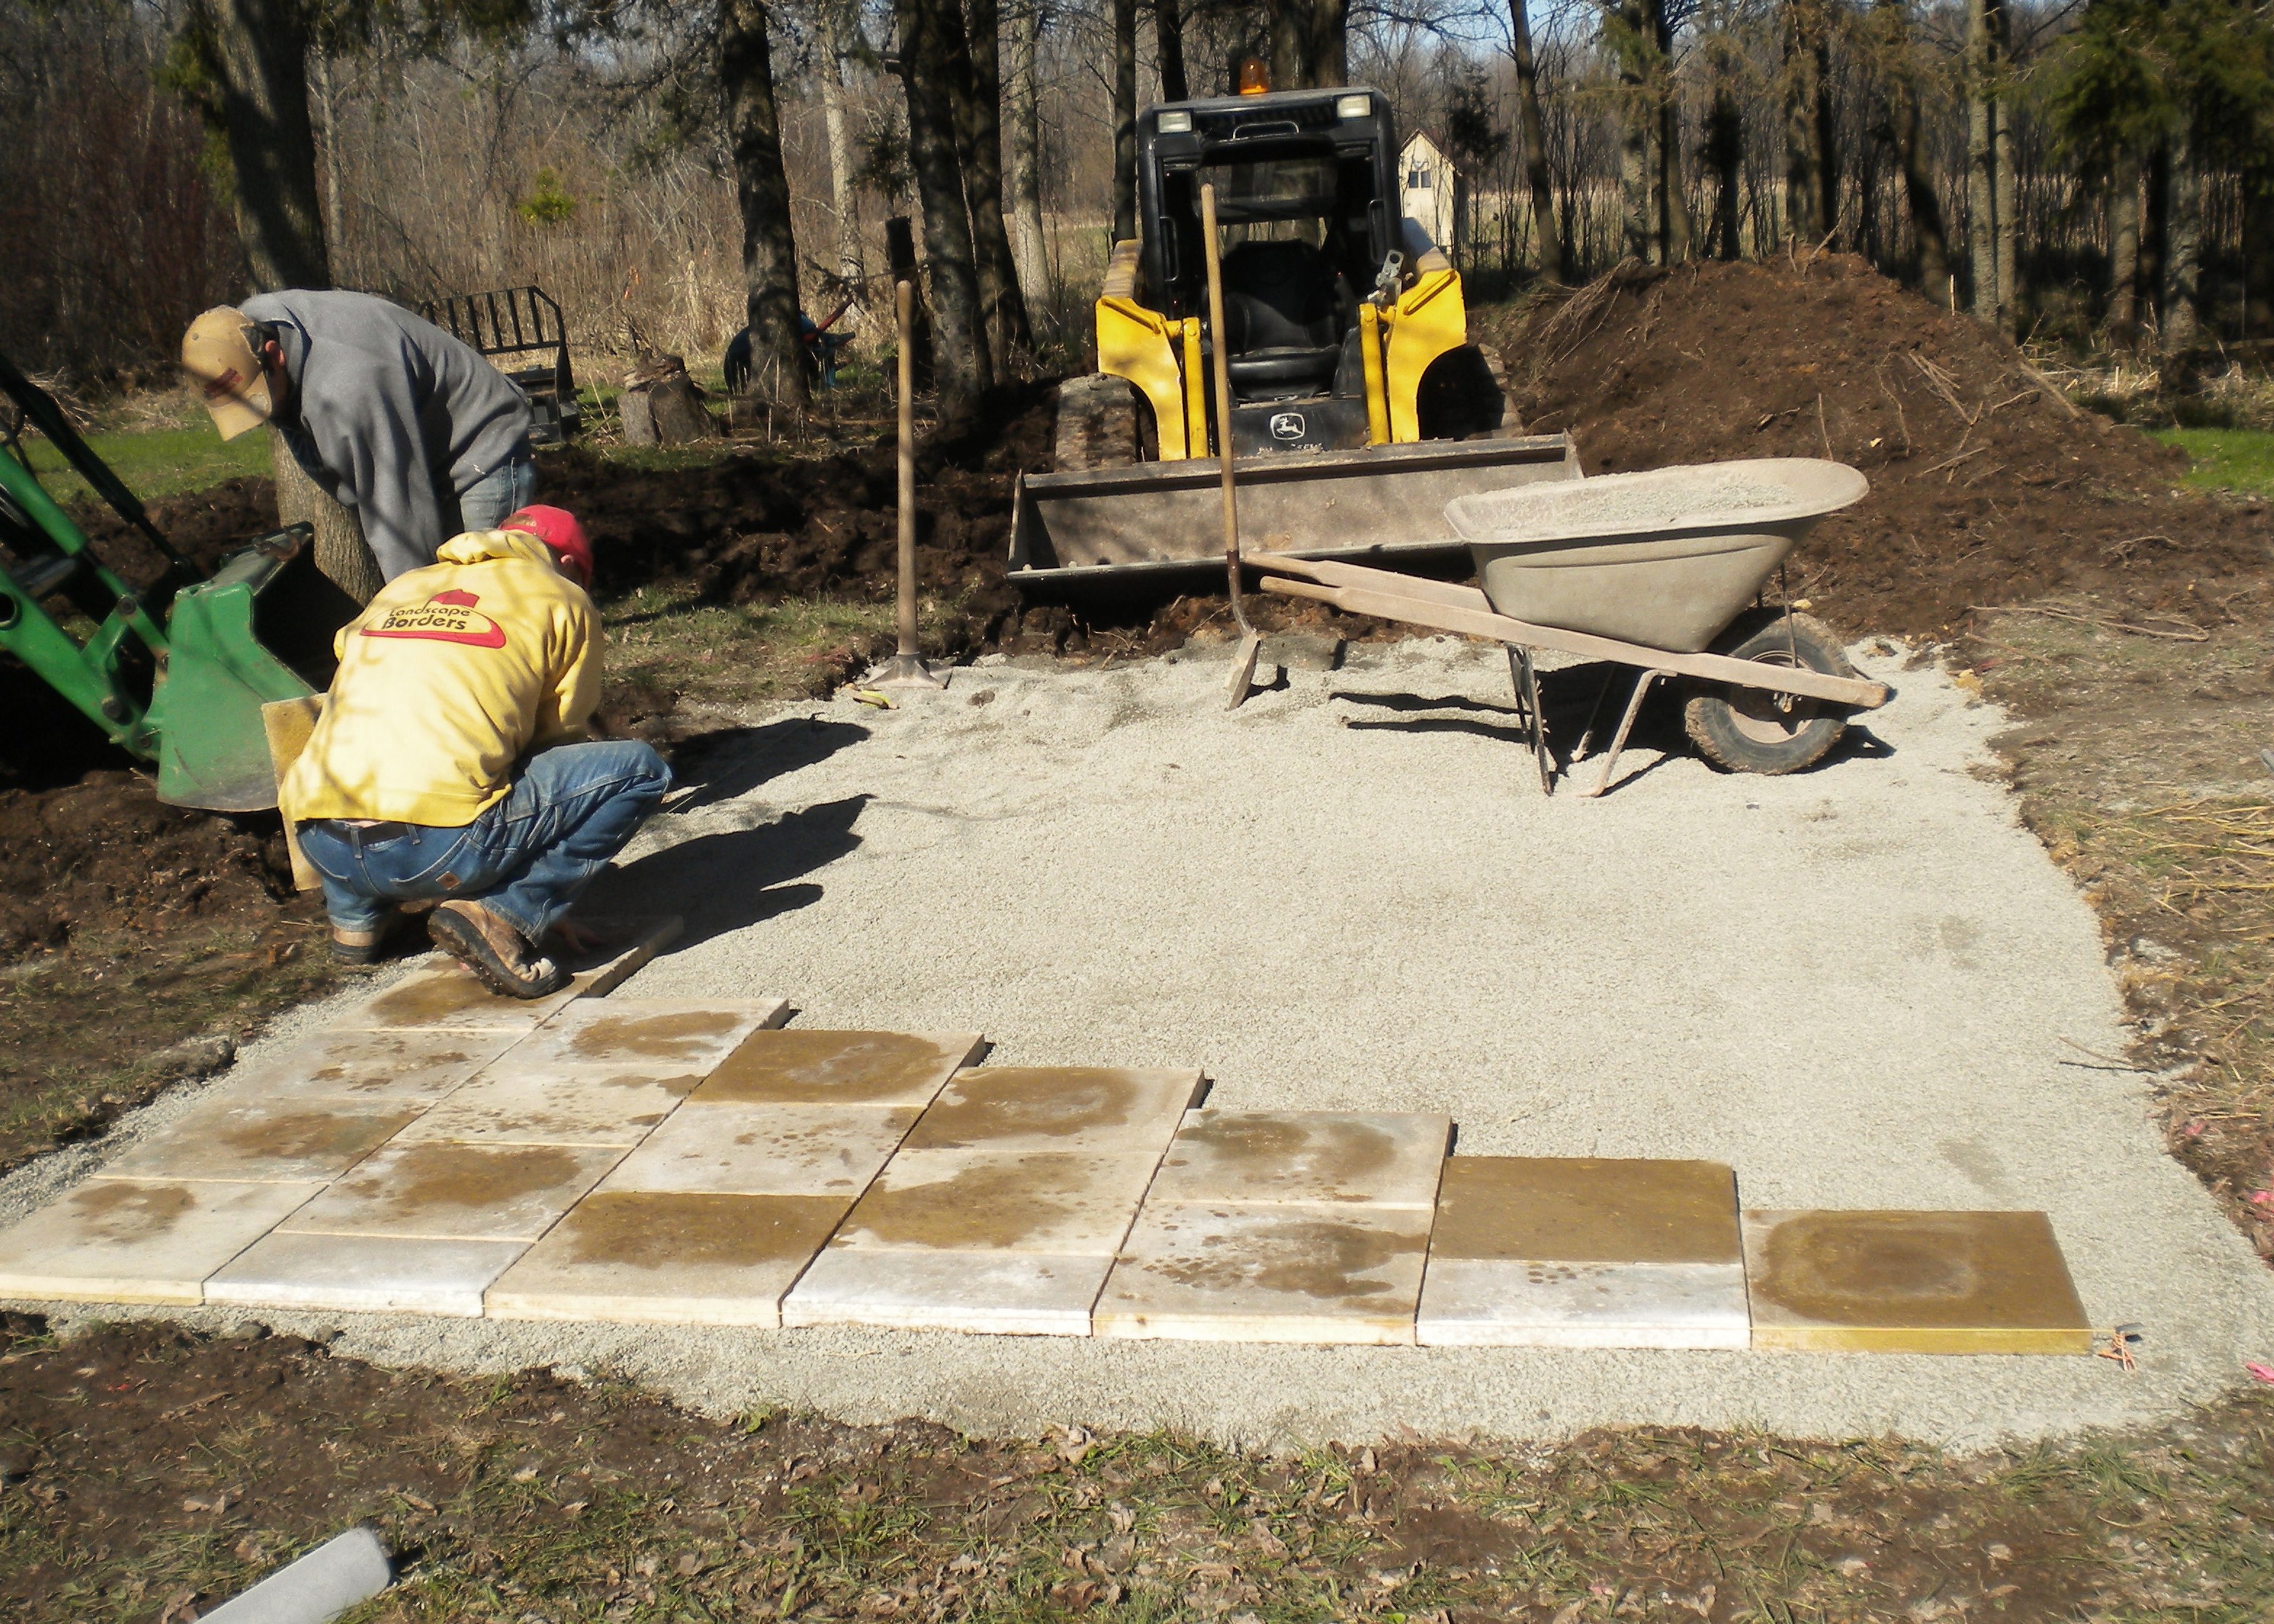
I found these 14×14 square travertine-colored patio blocks and had them installed “brick-set.” Which is the pattern of off-setting them so that the spaces between them don’t line up, but rather mimic the staggered effect of laying bricks.
This product was only availabe in tan or grey, so I used my round sitting area for a pop of color.

I wanted a color I could find in a few years if I added more pillars or walls, so I went with a pretty classic red.
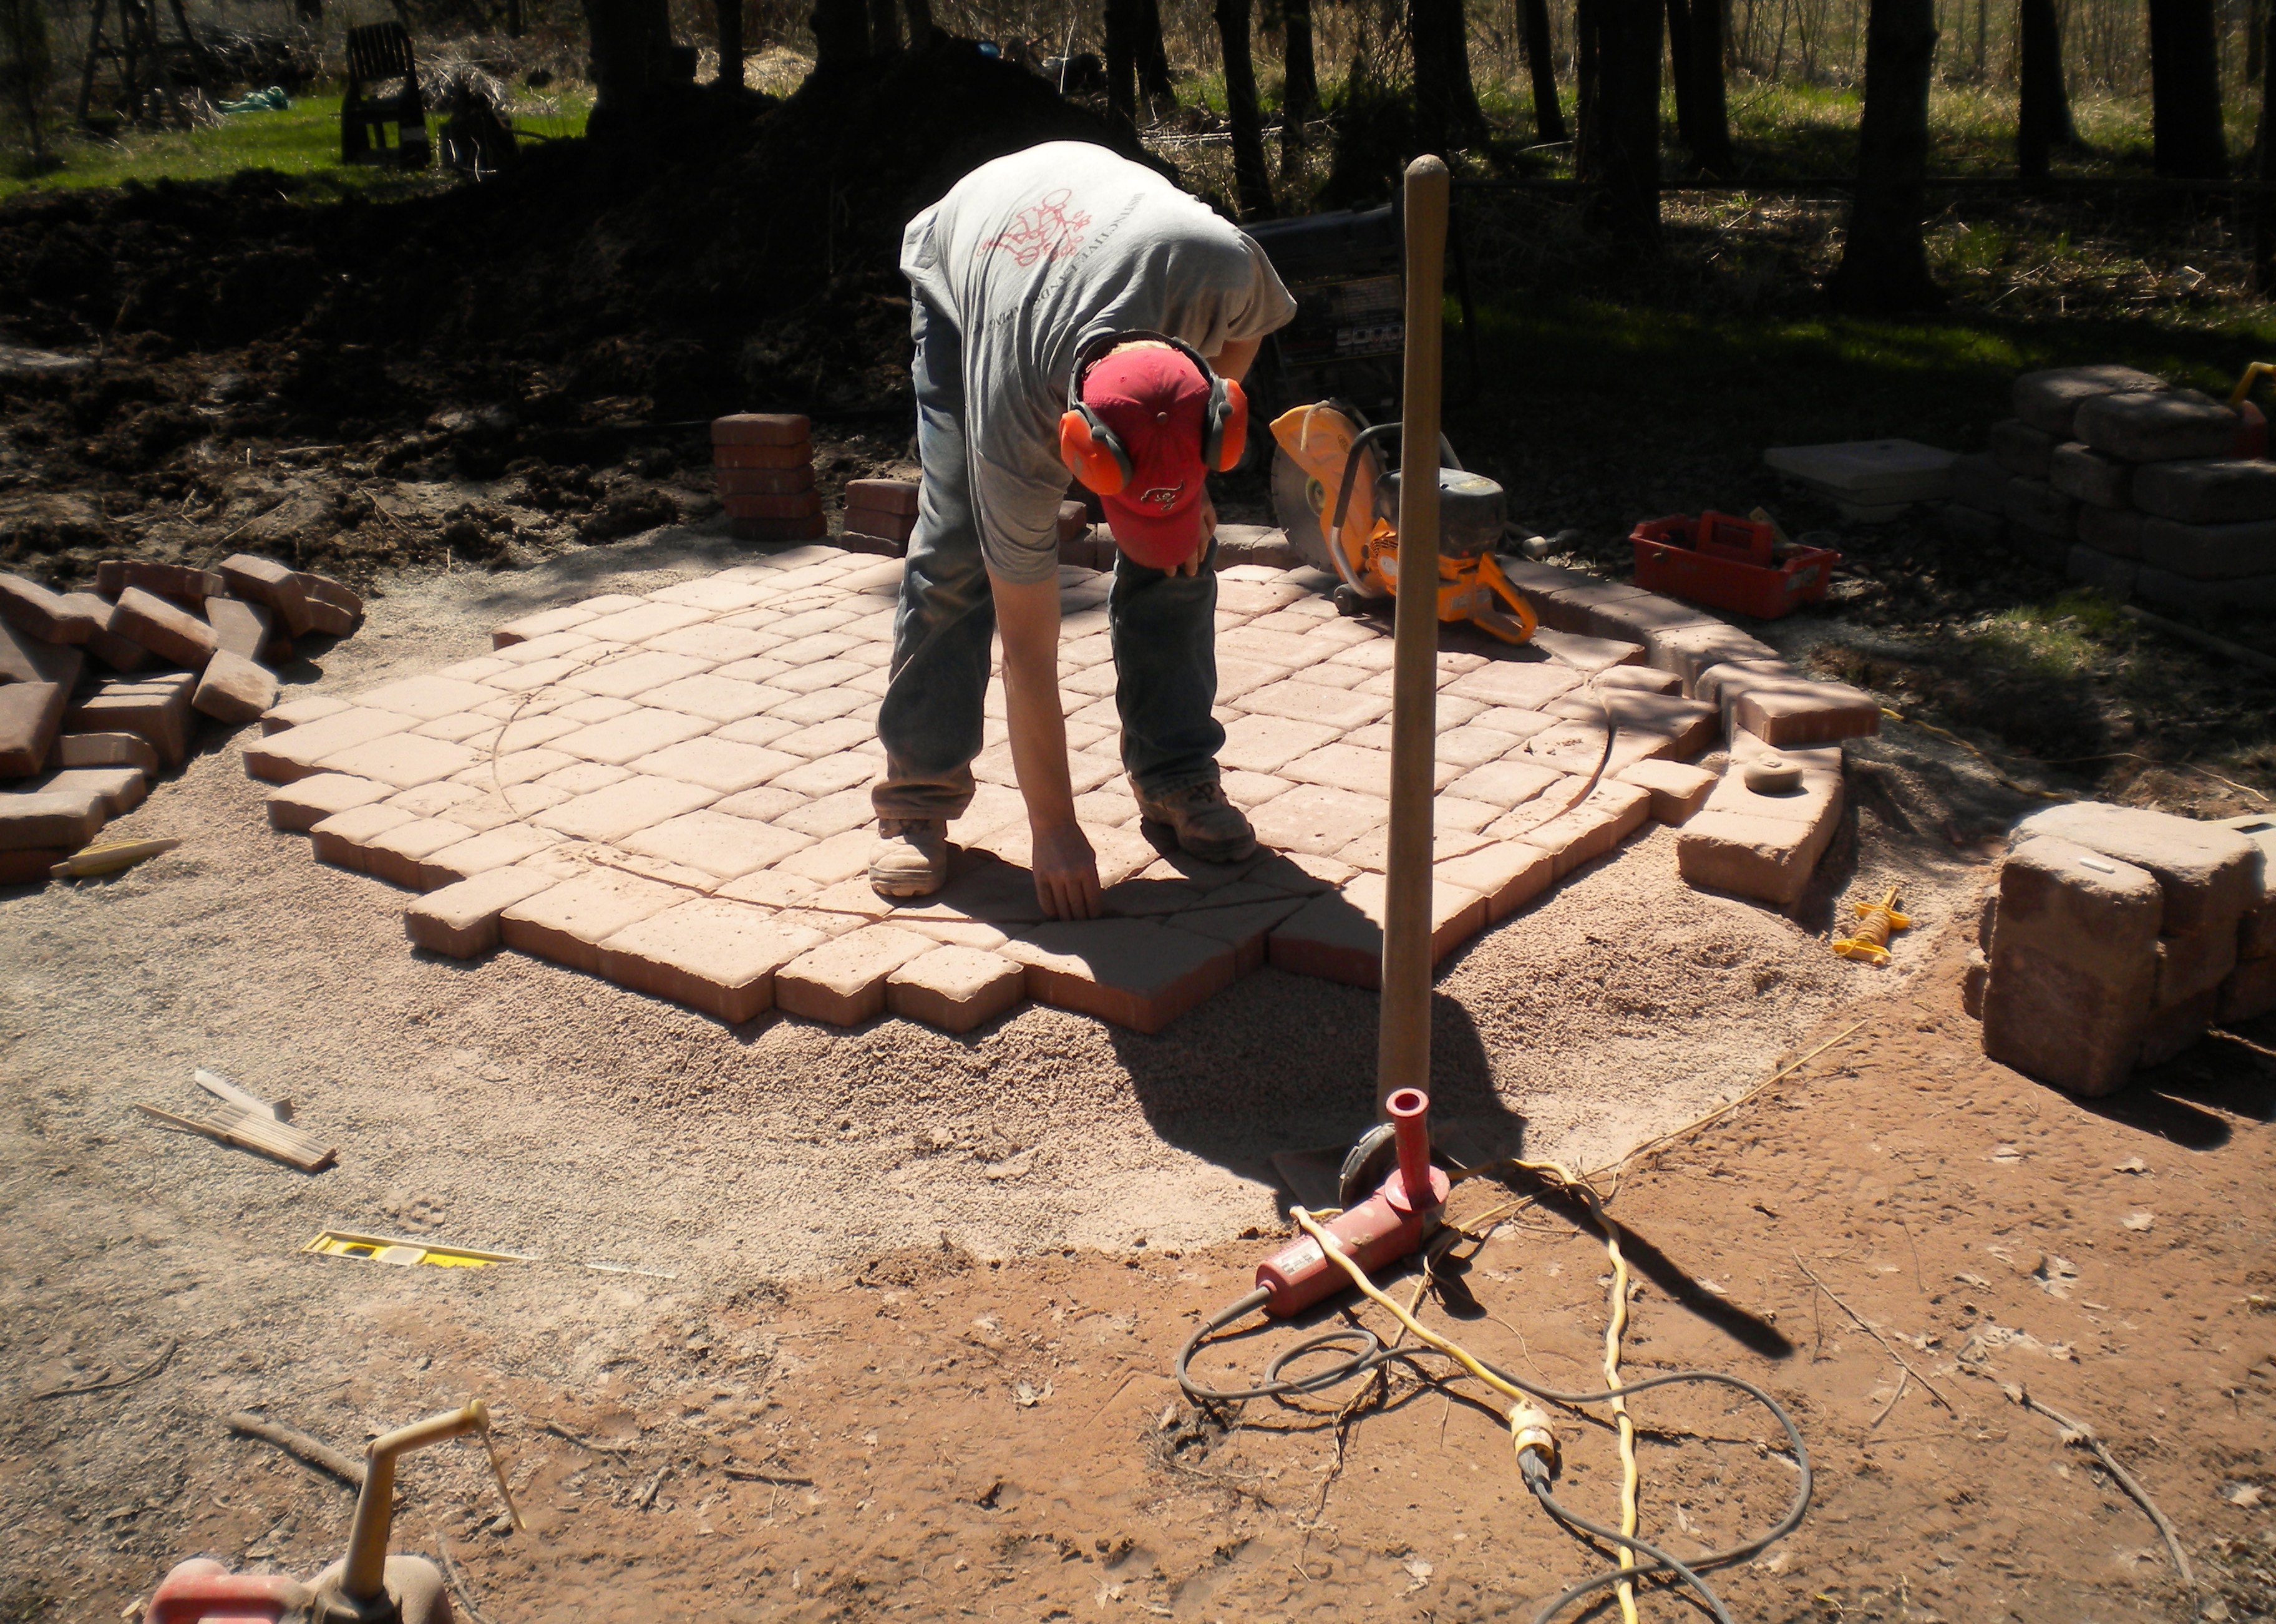
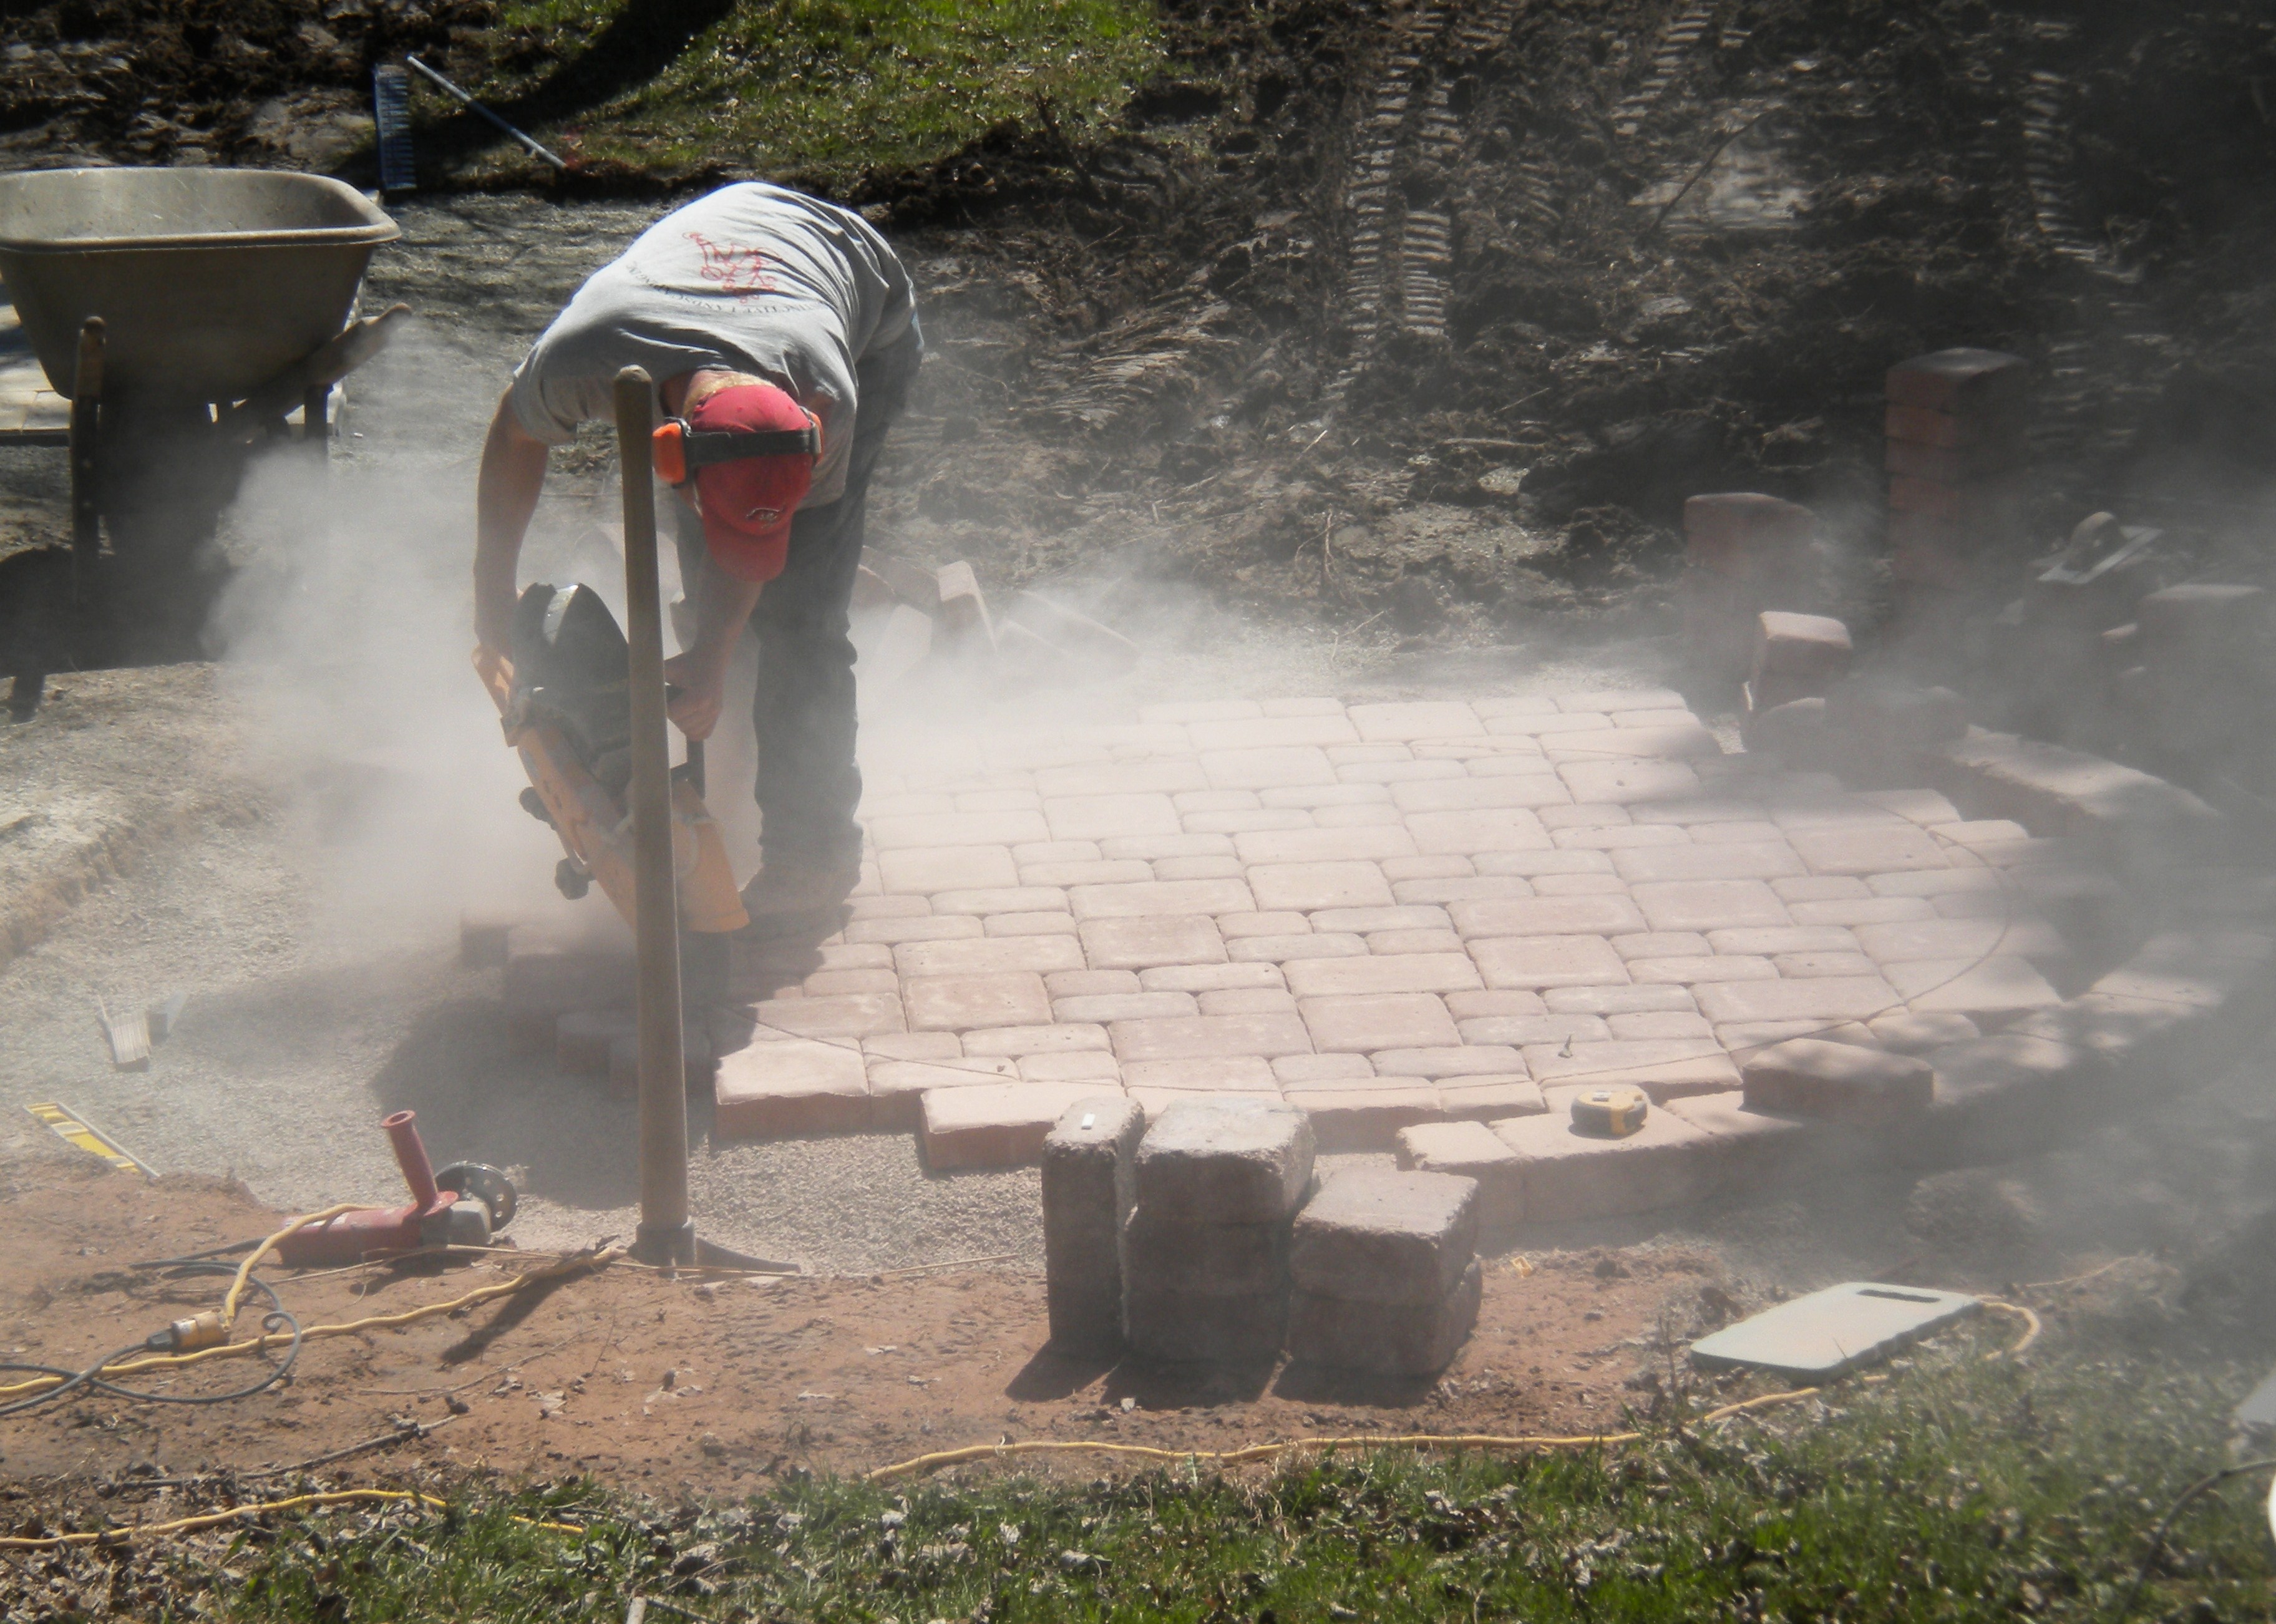
Here they are cutting the bricks to make the round shape.
Before:
During:
After:
Almost.
Stay tuned for more details on when we added our grilling station and this years’s summer project: a water feature!
And see how we used this patio to host my parents 40th Wedding Anniversary last year! Coming Monday to the Blog!
How about you? Do your AFTERS drag out for years???
Leave a Reply