The day we helped chink a log cabin
I can say I never thought I would be asked to help chink a log cabin.
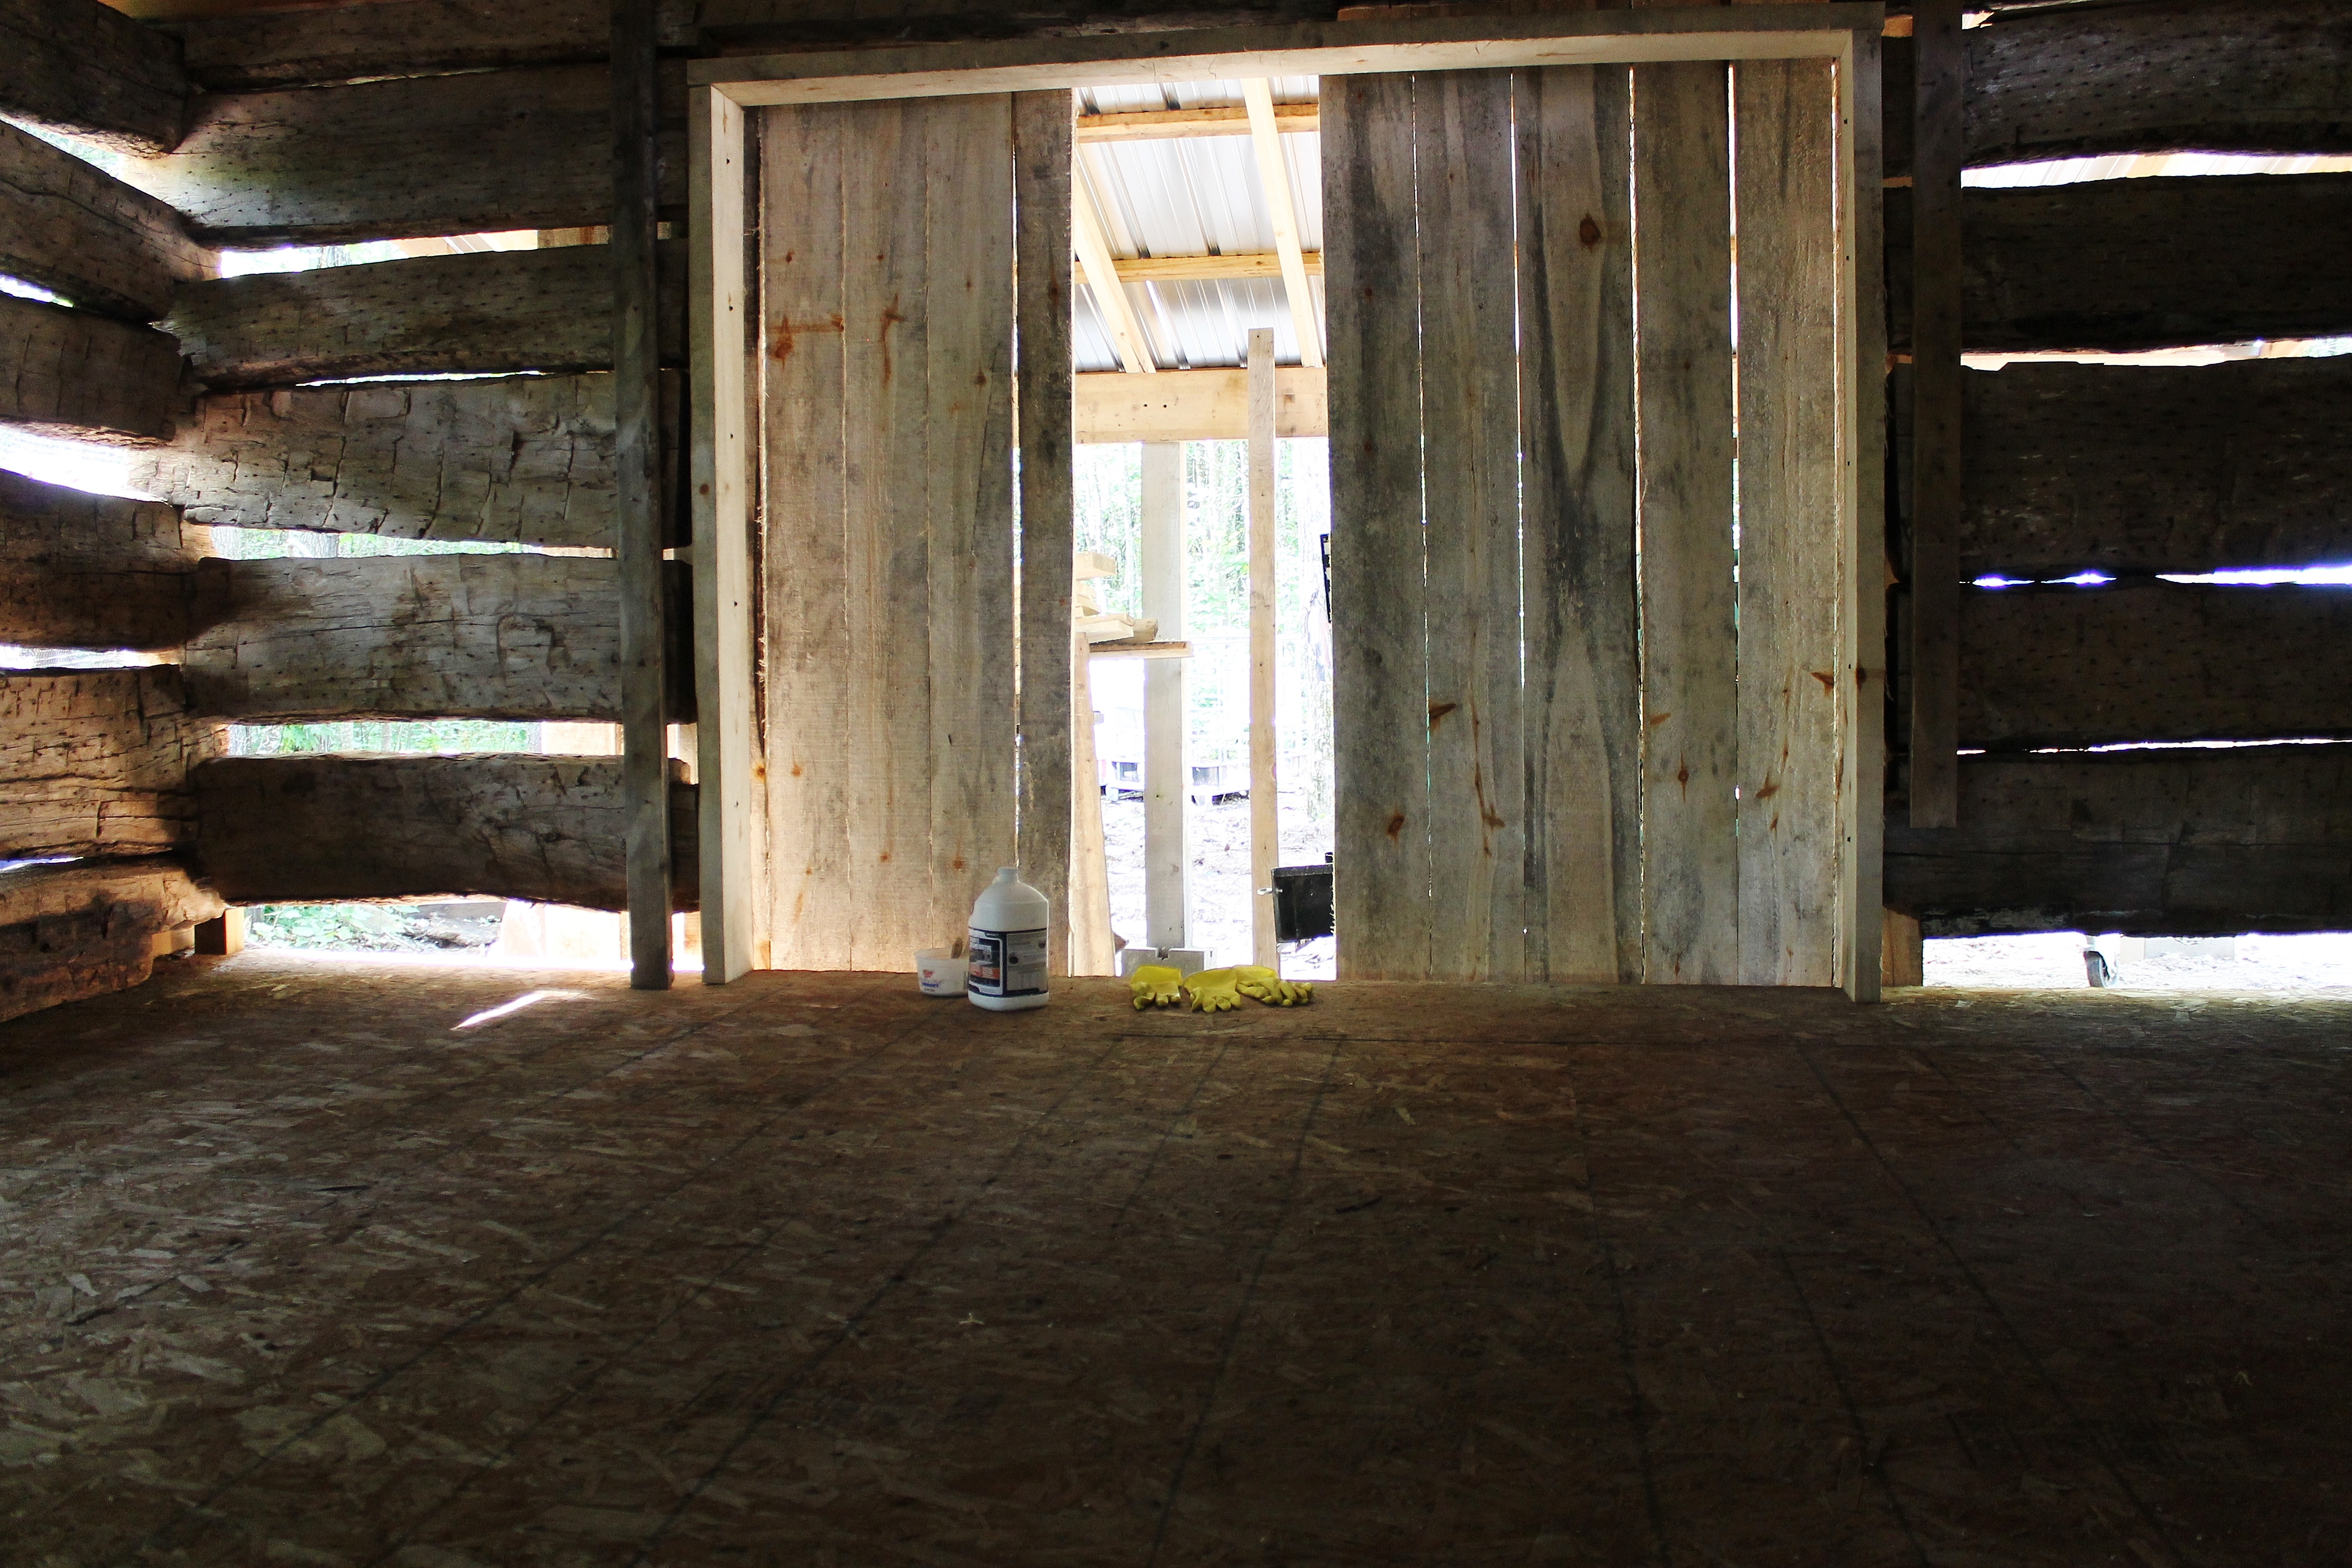
But a good friend of ours purchased an old 1855 log structure, took it down all “Barnwood Builder” style and reassembled it at his north woods retreat as a place for his sawmill. Since we have enjoyed the benefit of being friends with someone who owns their own portable sawmill, we were- all in- when asked to help with this project.
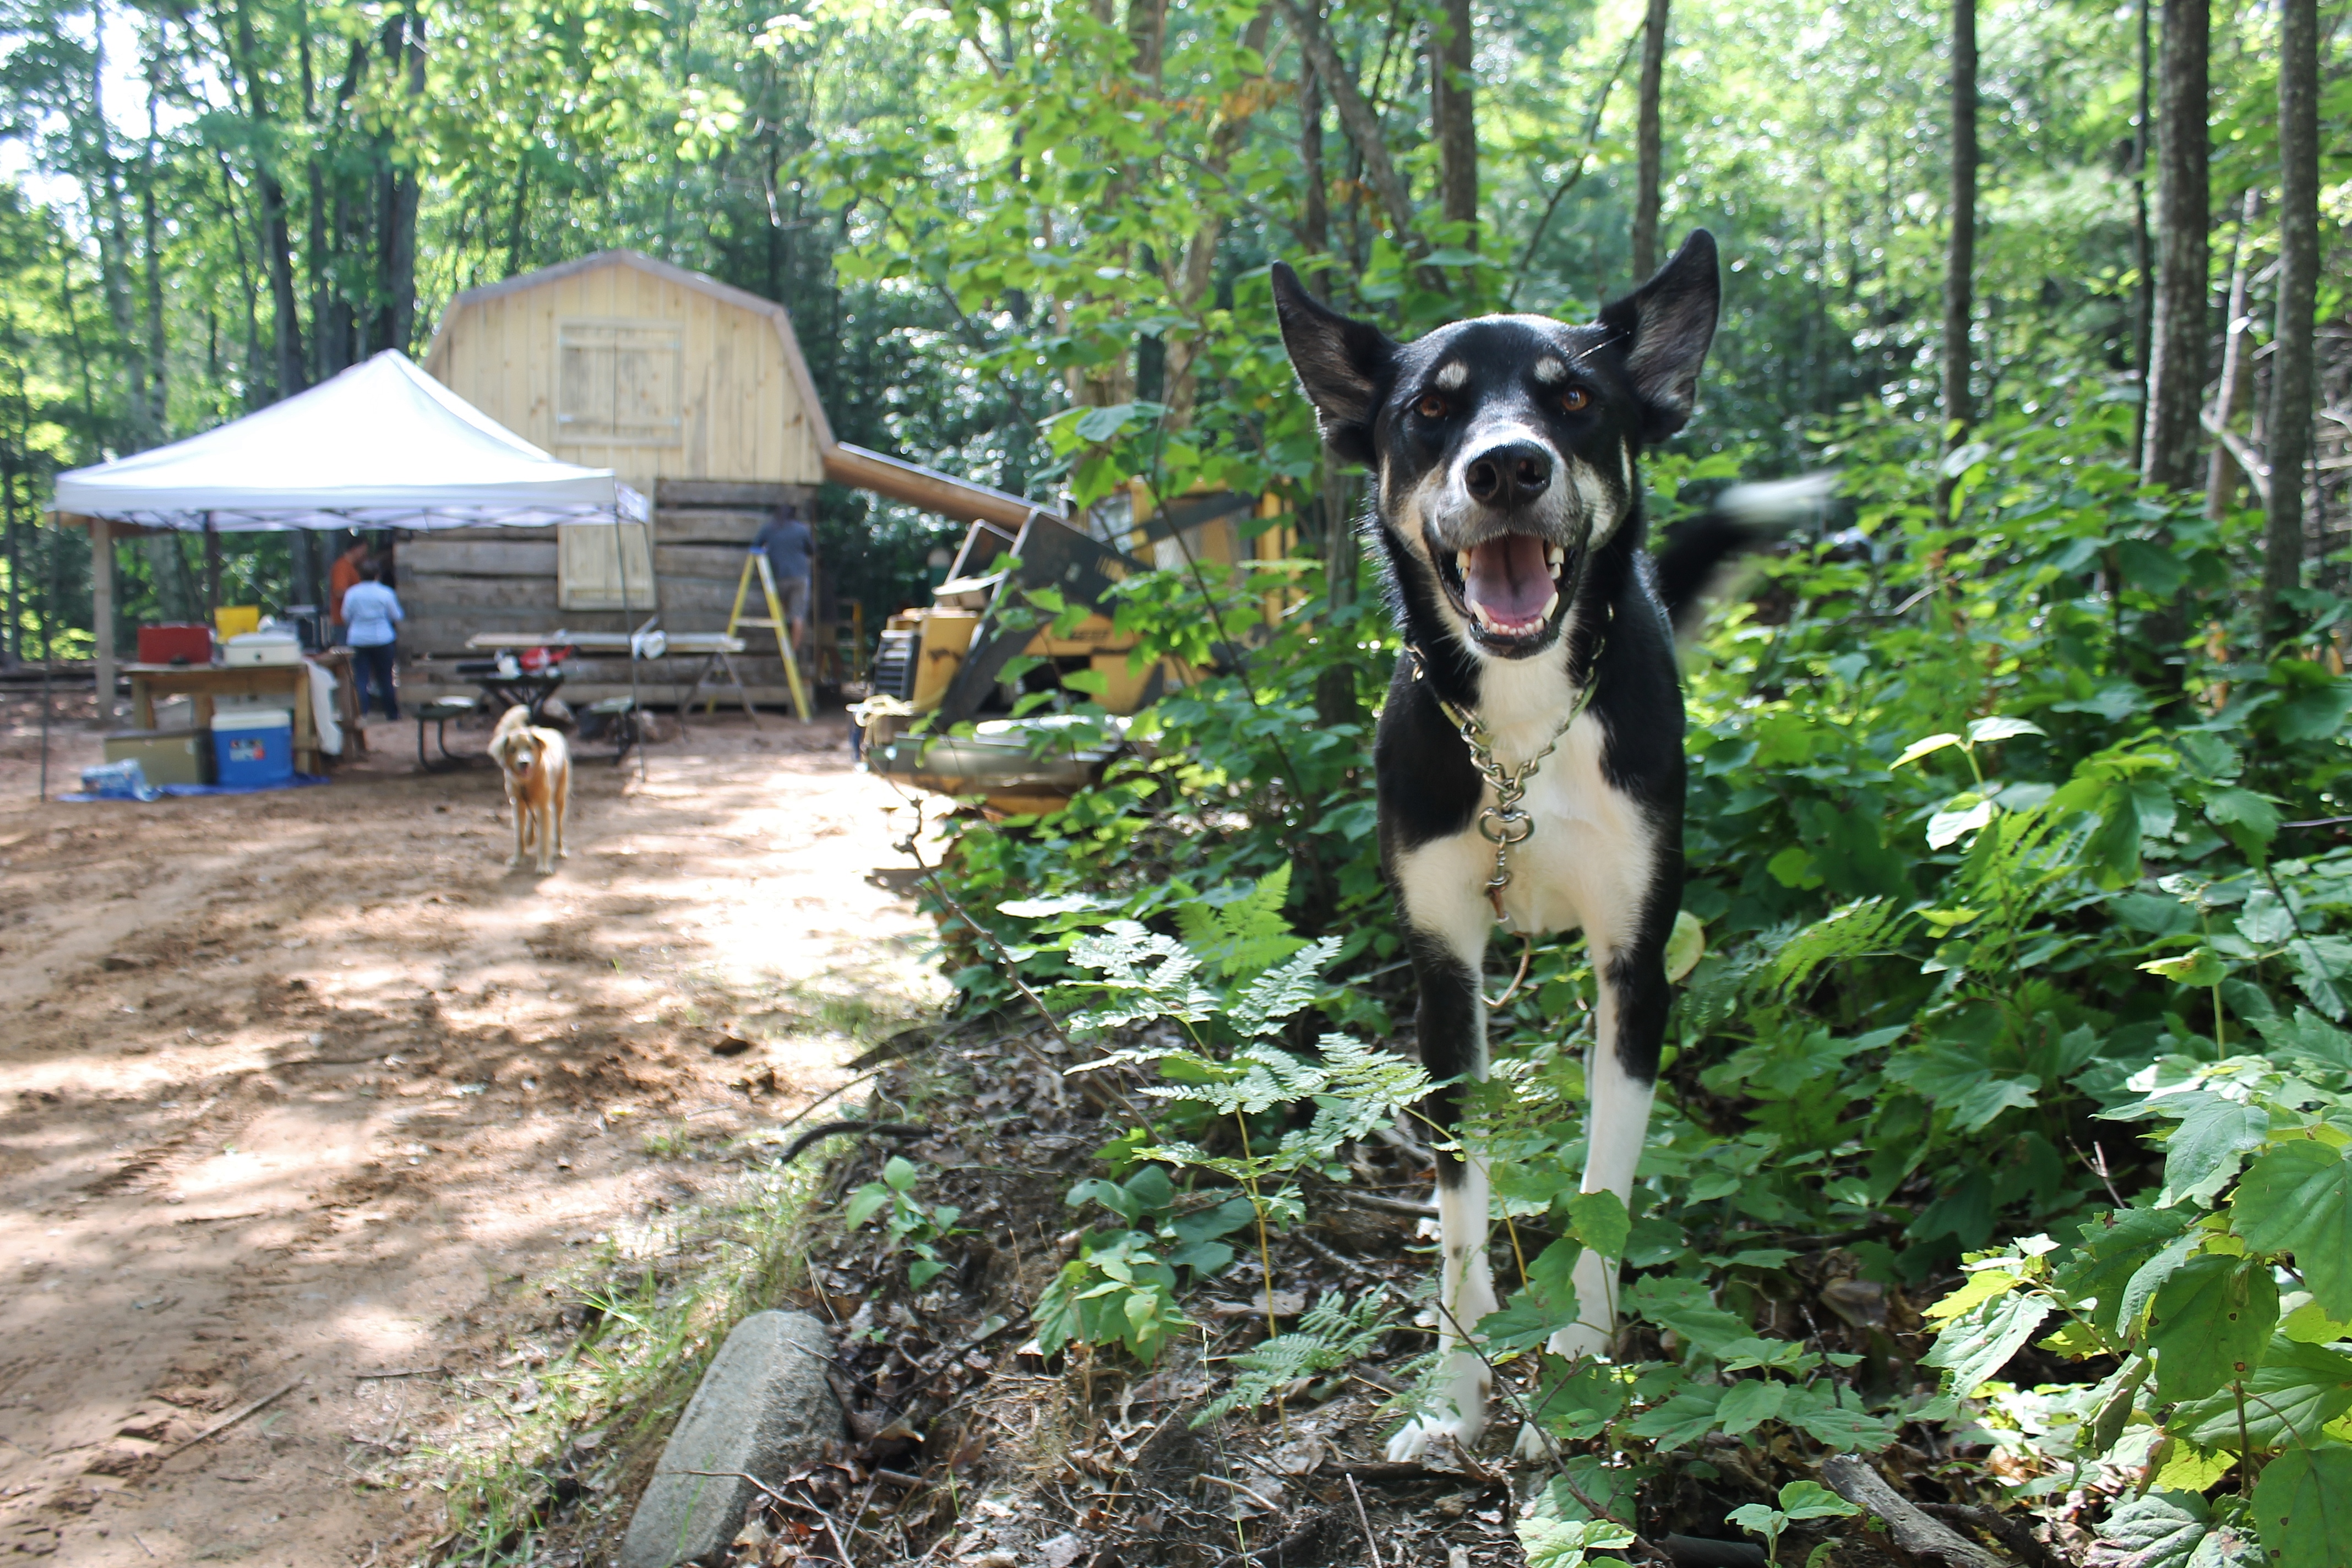
Even Josie was excited to come along to check out the project and meet their dog Holly!
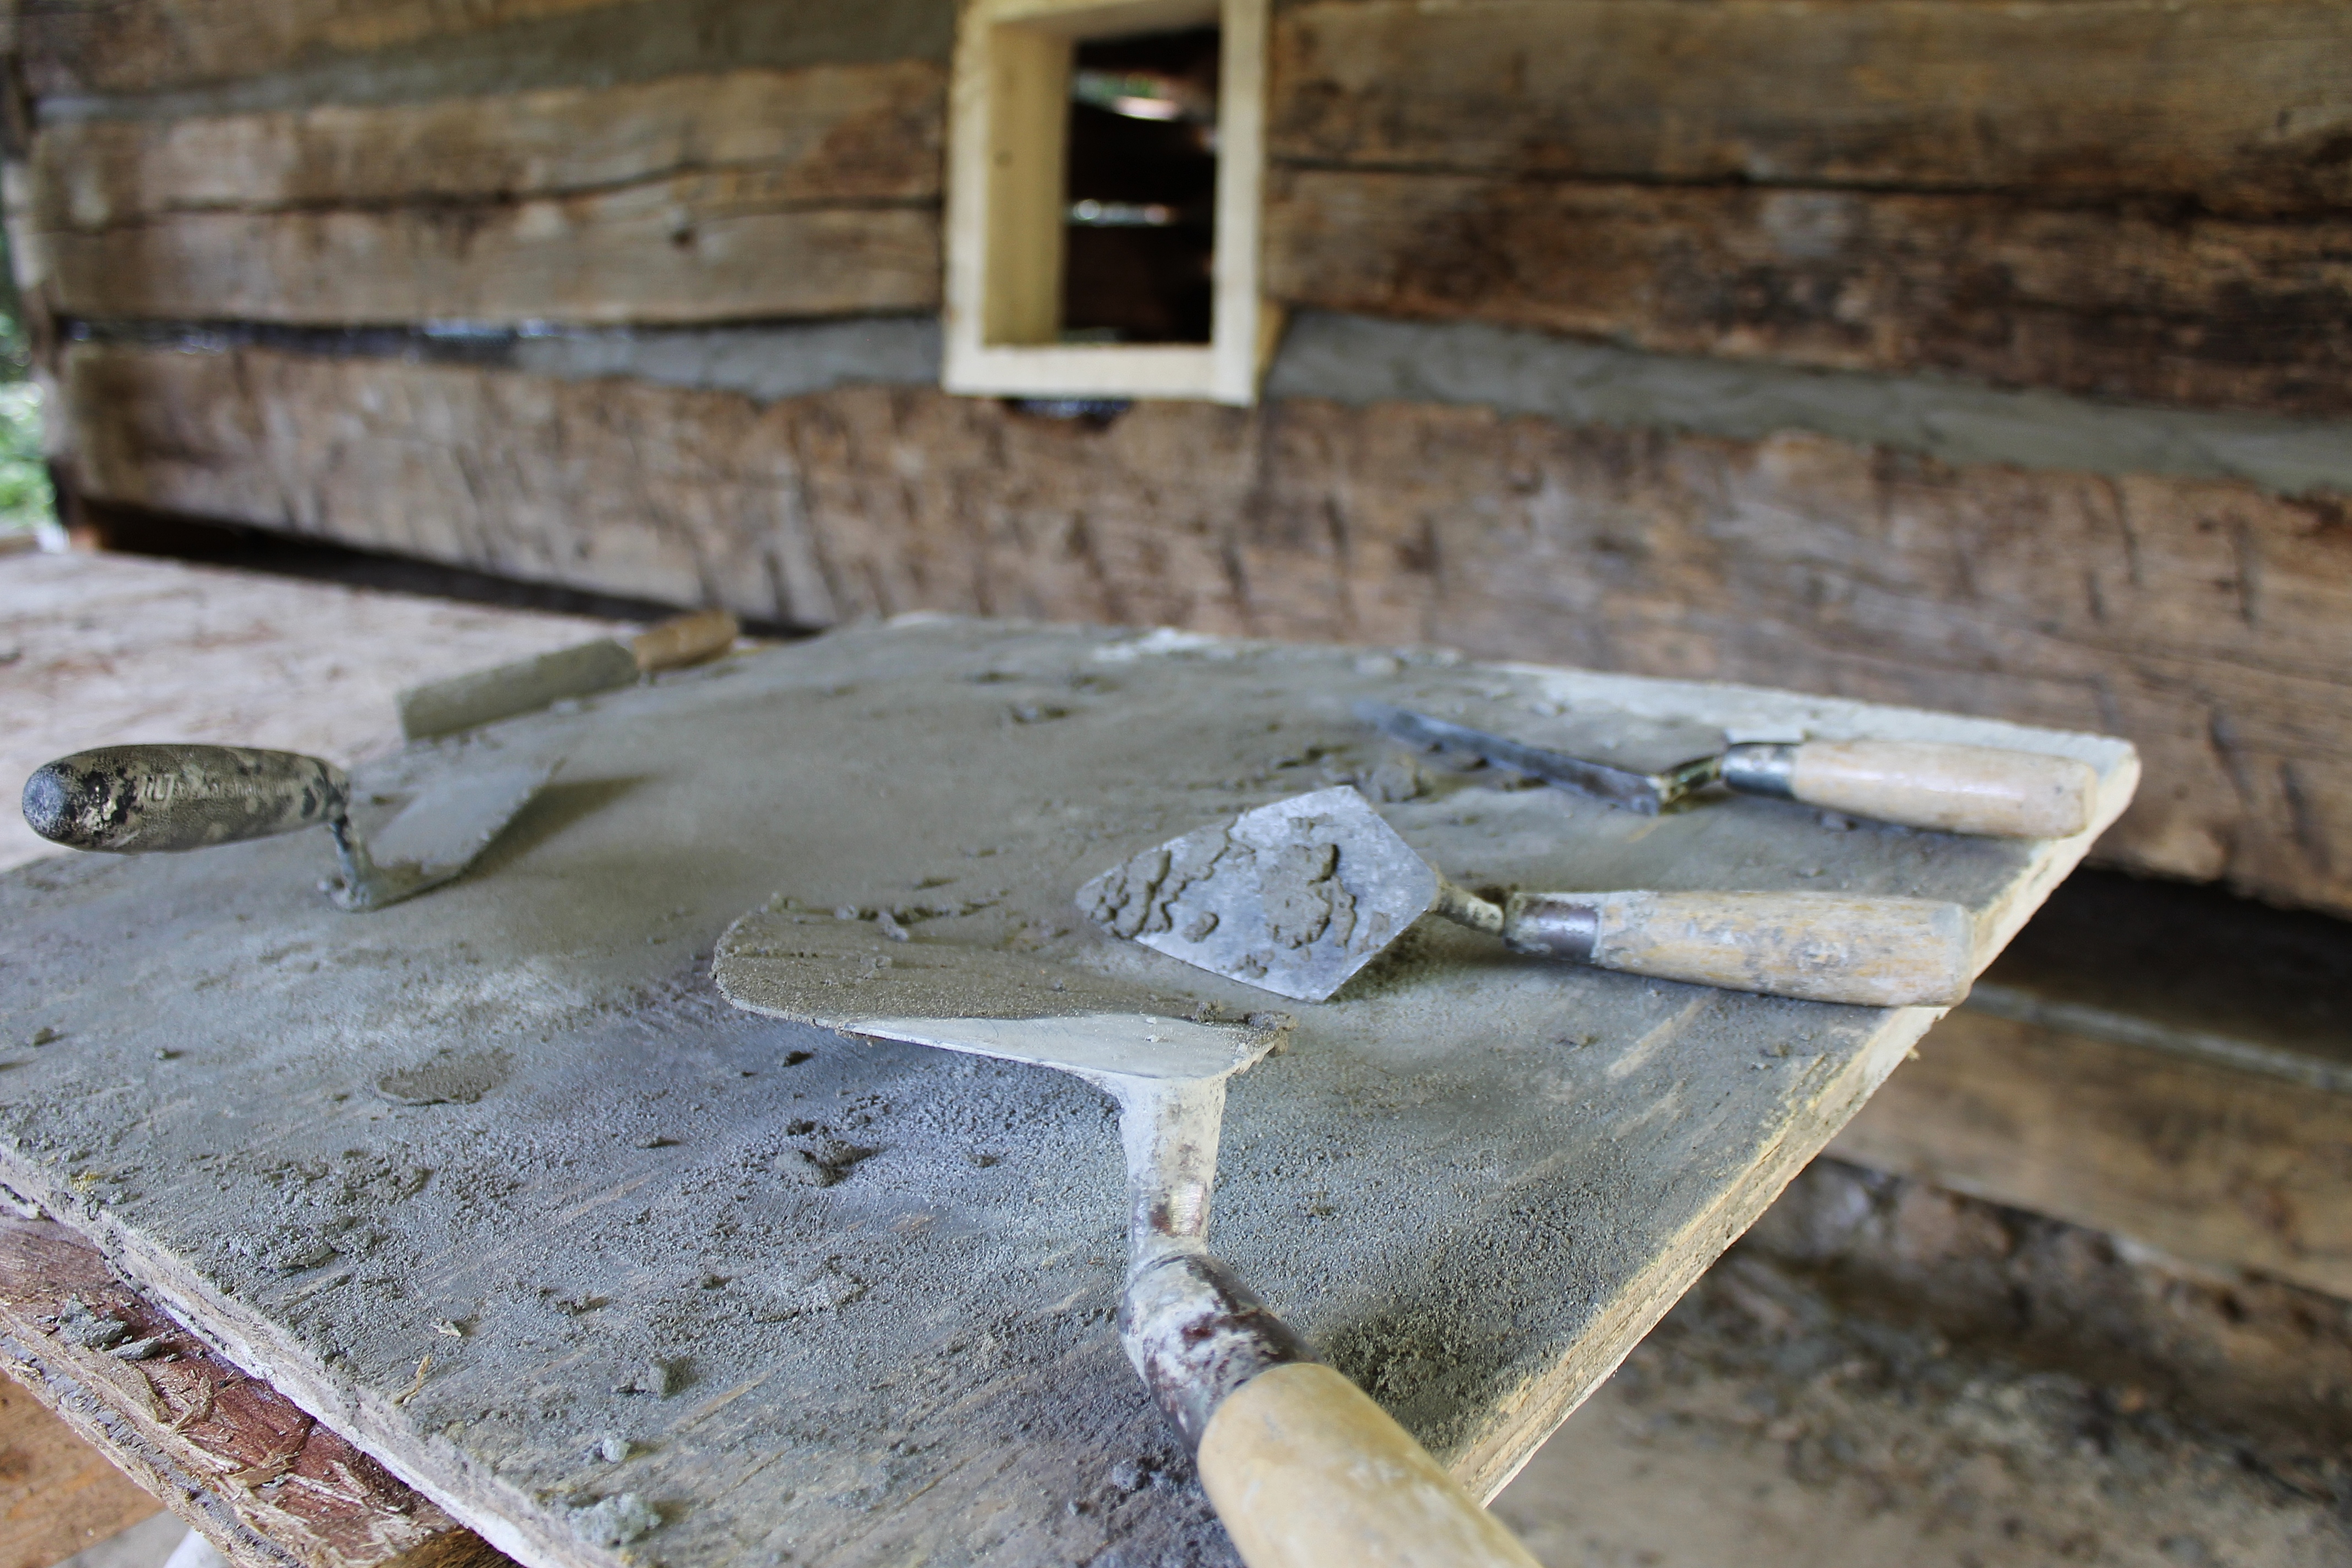
When we arrived to the site the masonry instructor at NWTC was there, mixing mortar and ready to assist with directions. I was intrigued by the chinking process.
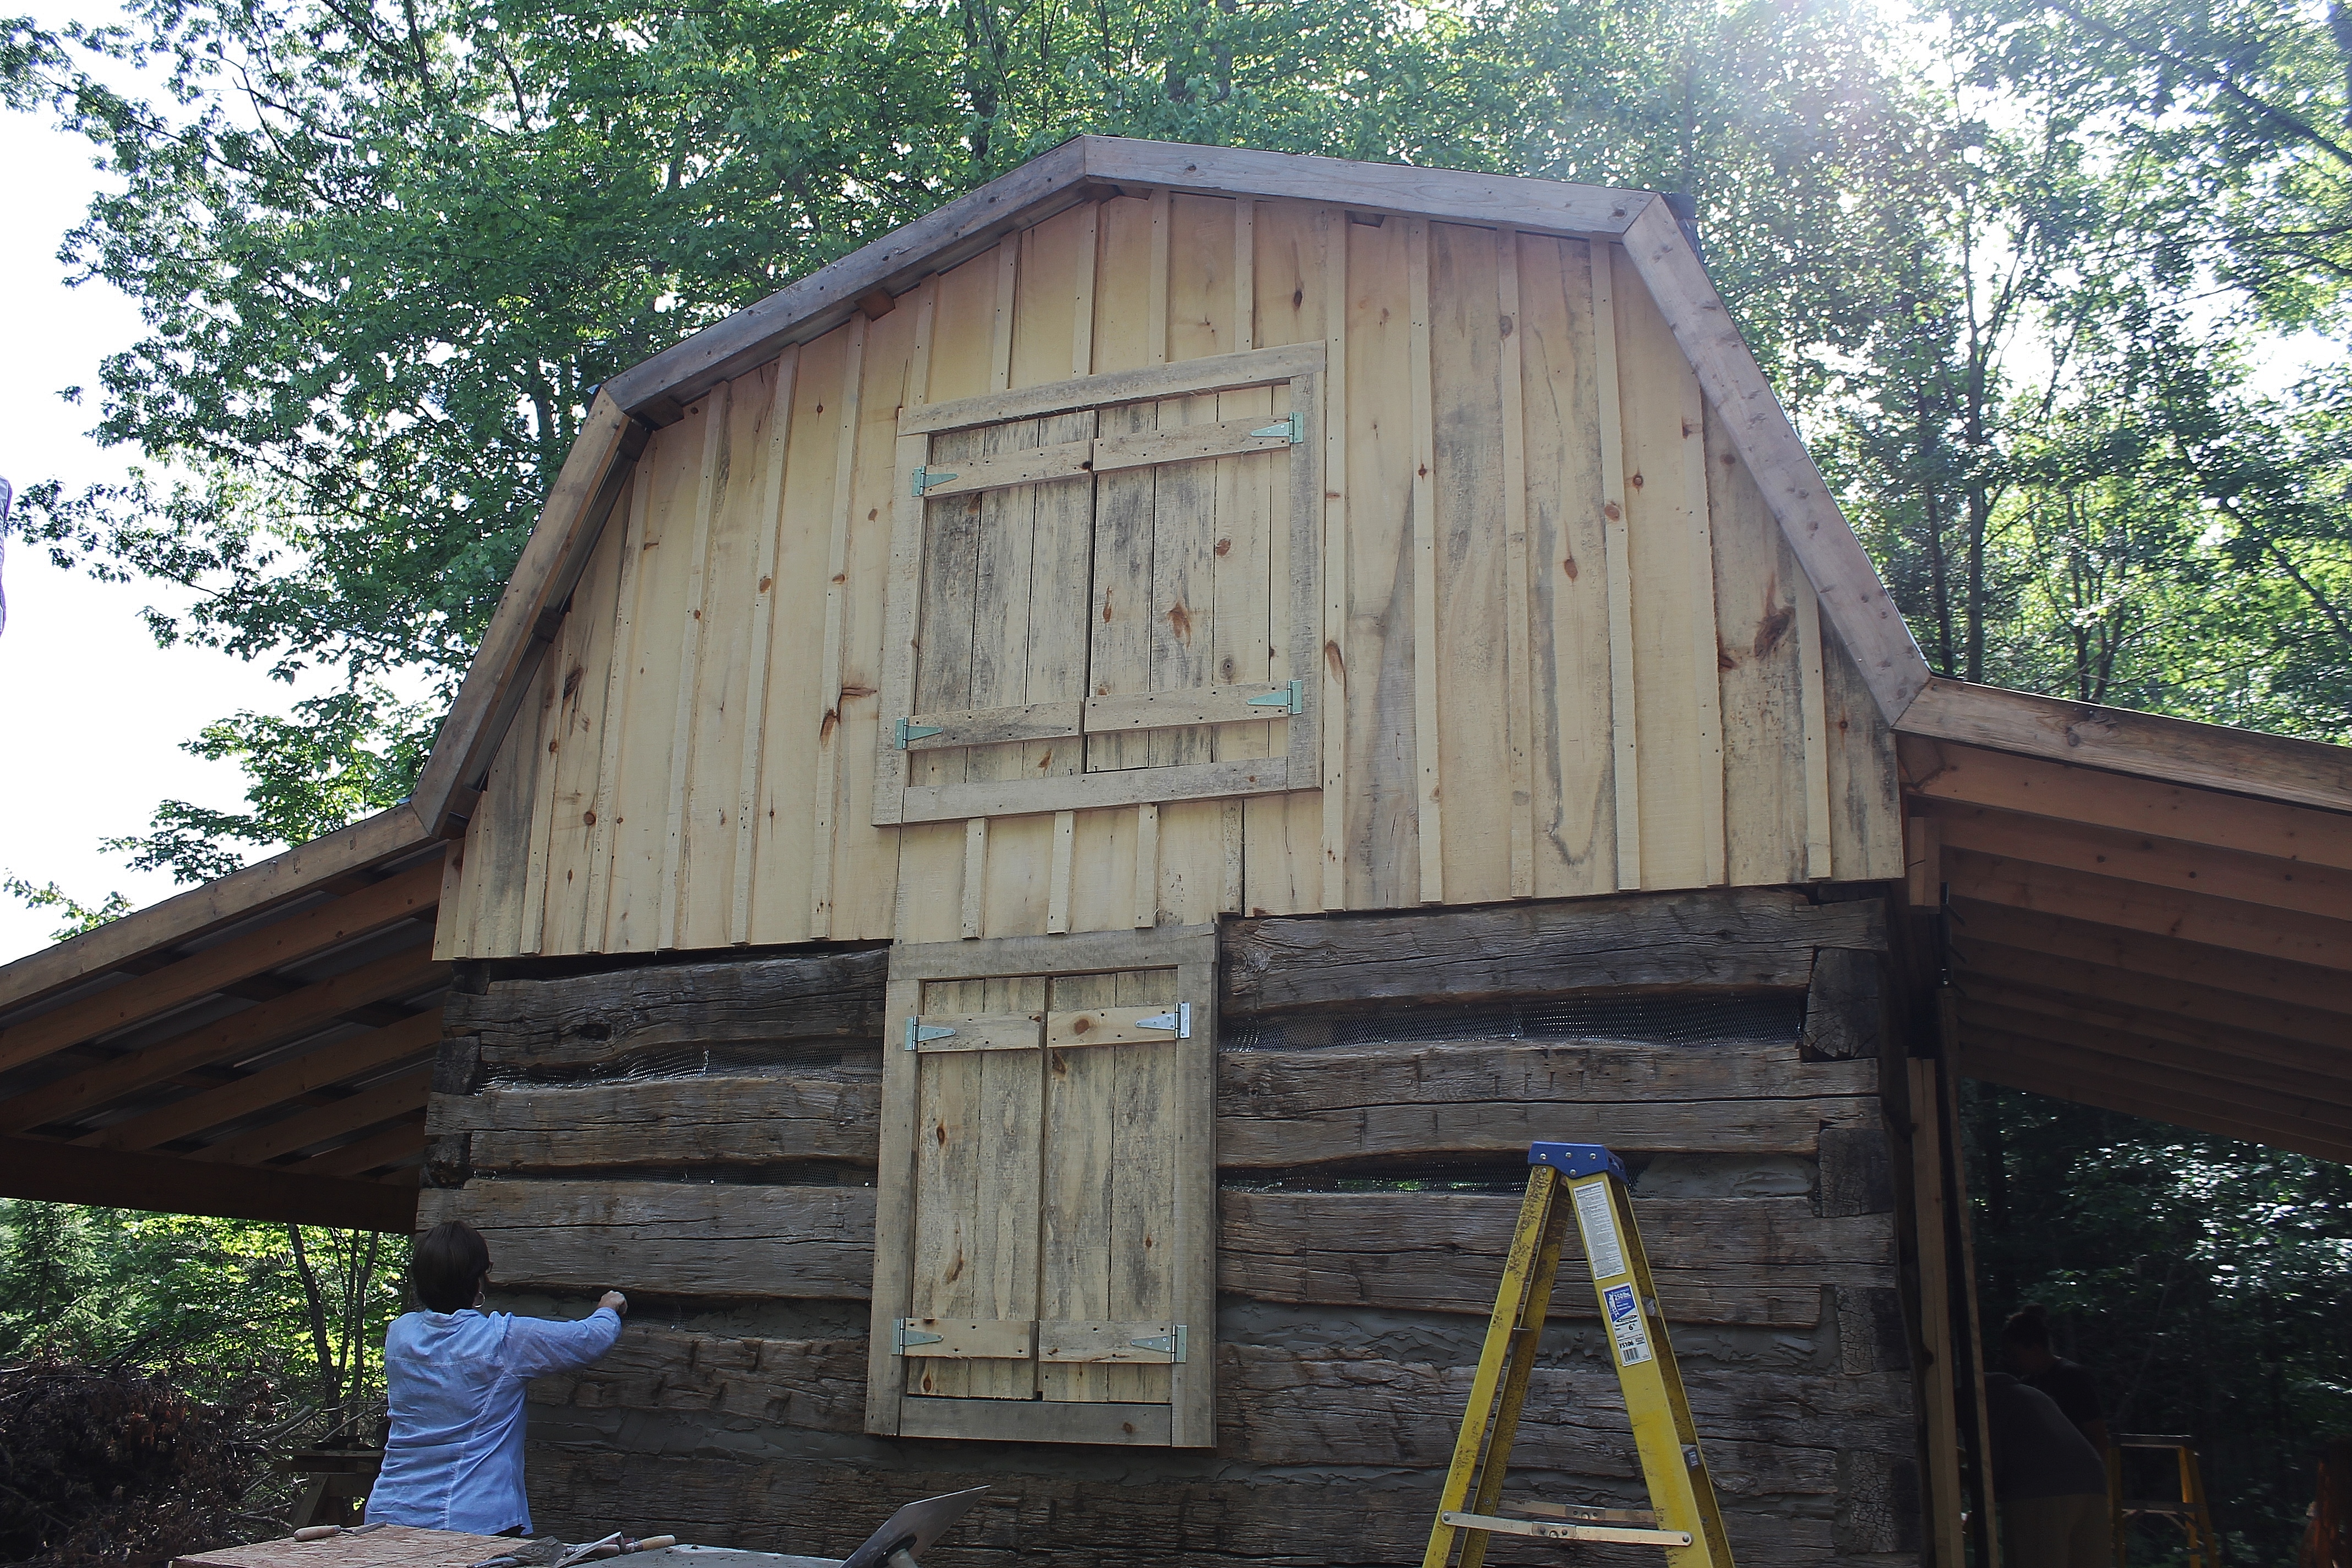
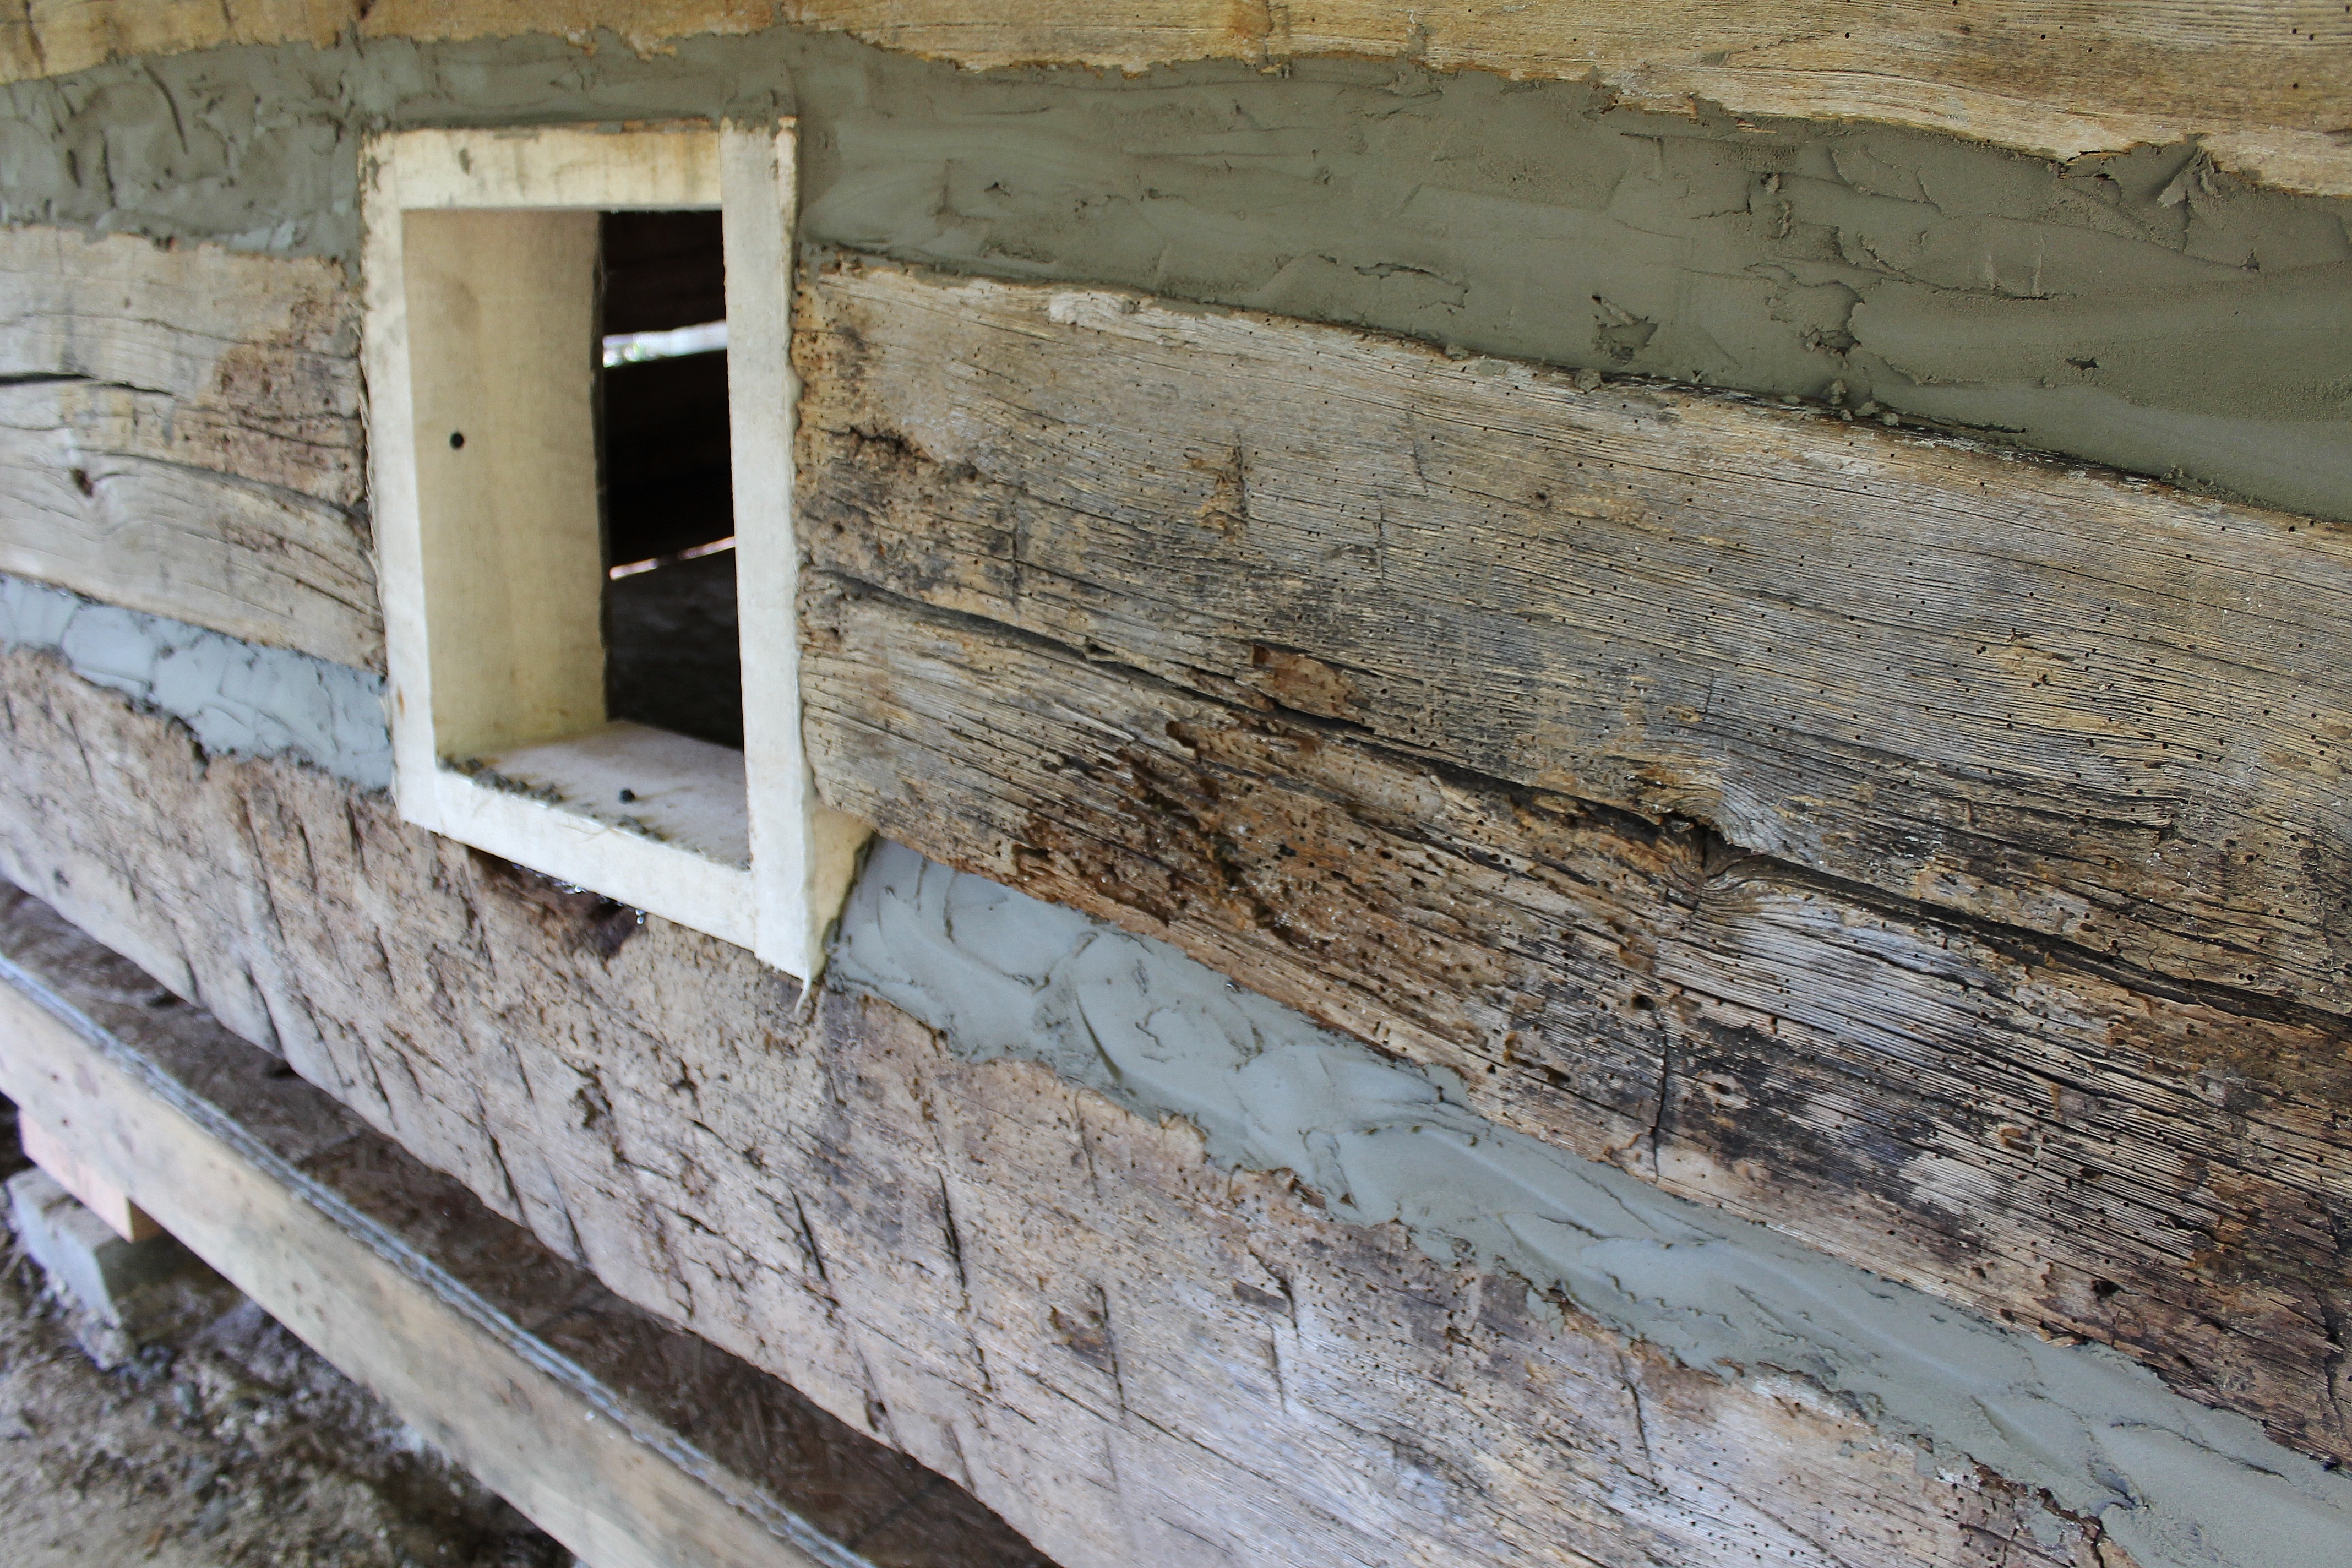
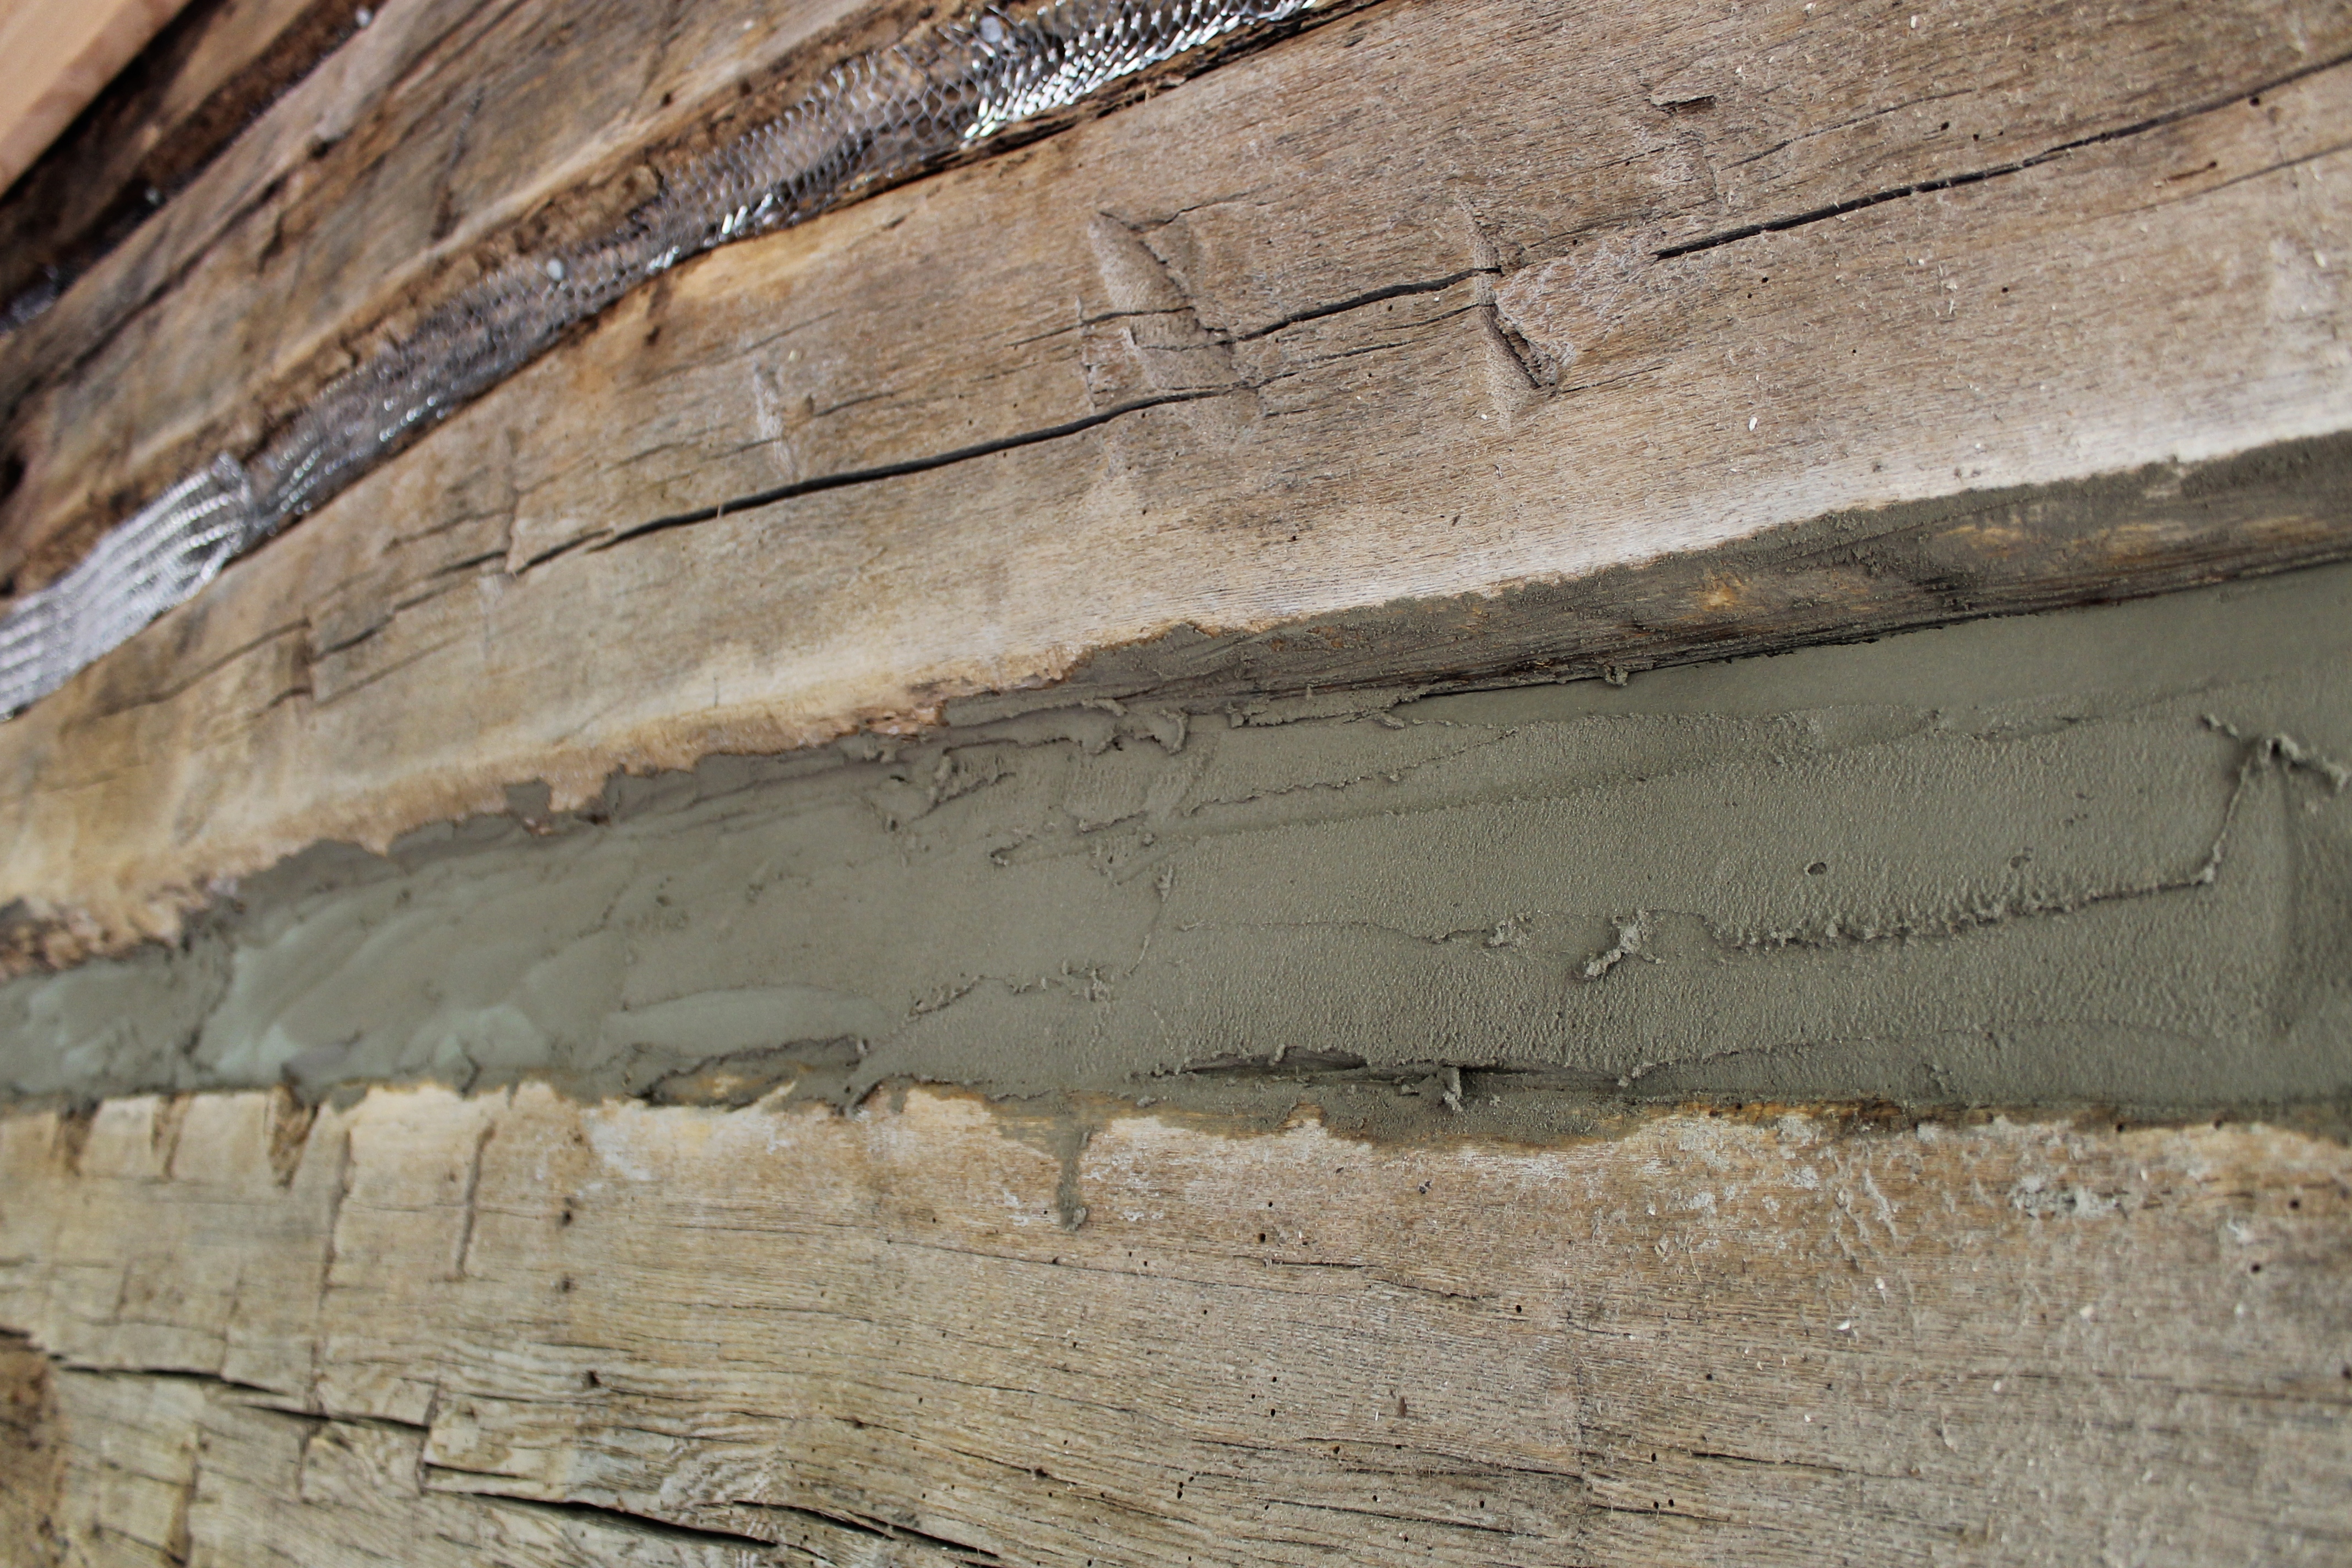
While one crew nailed wire mesh to the gaps between the logs, we filled them with the mortar mix. First applying it heavily and sloppily before going back to smooth it out and add more coverage to the larger expanses.
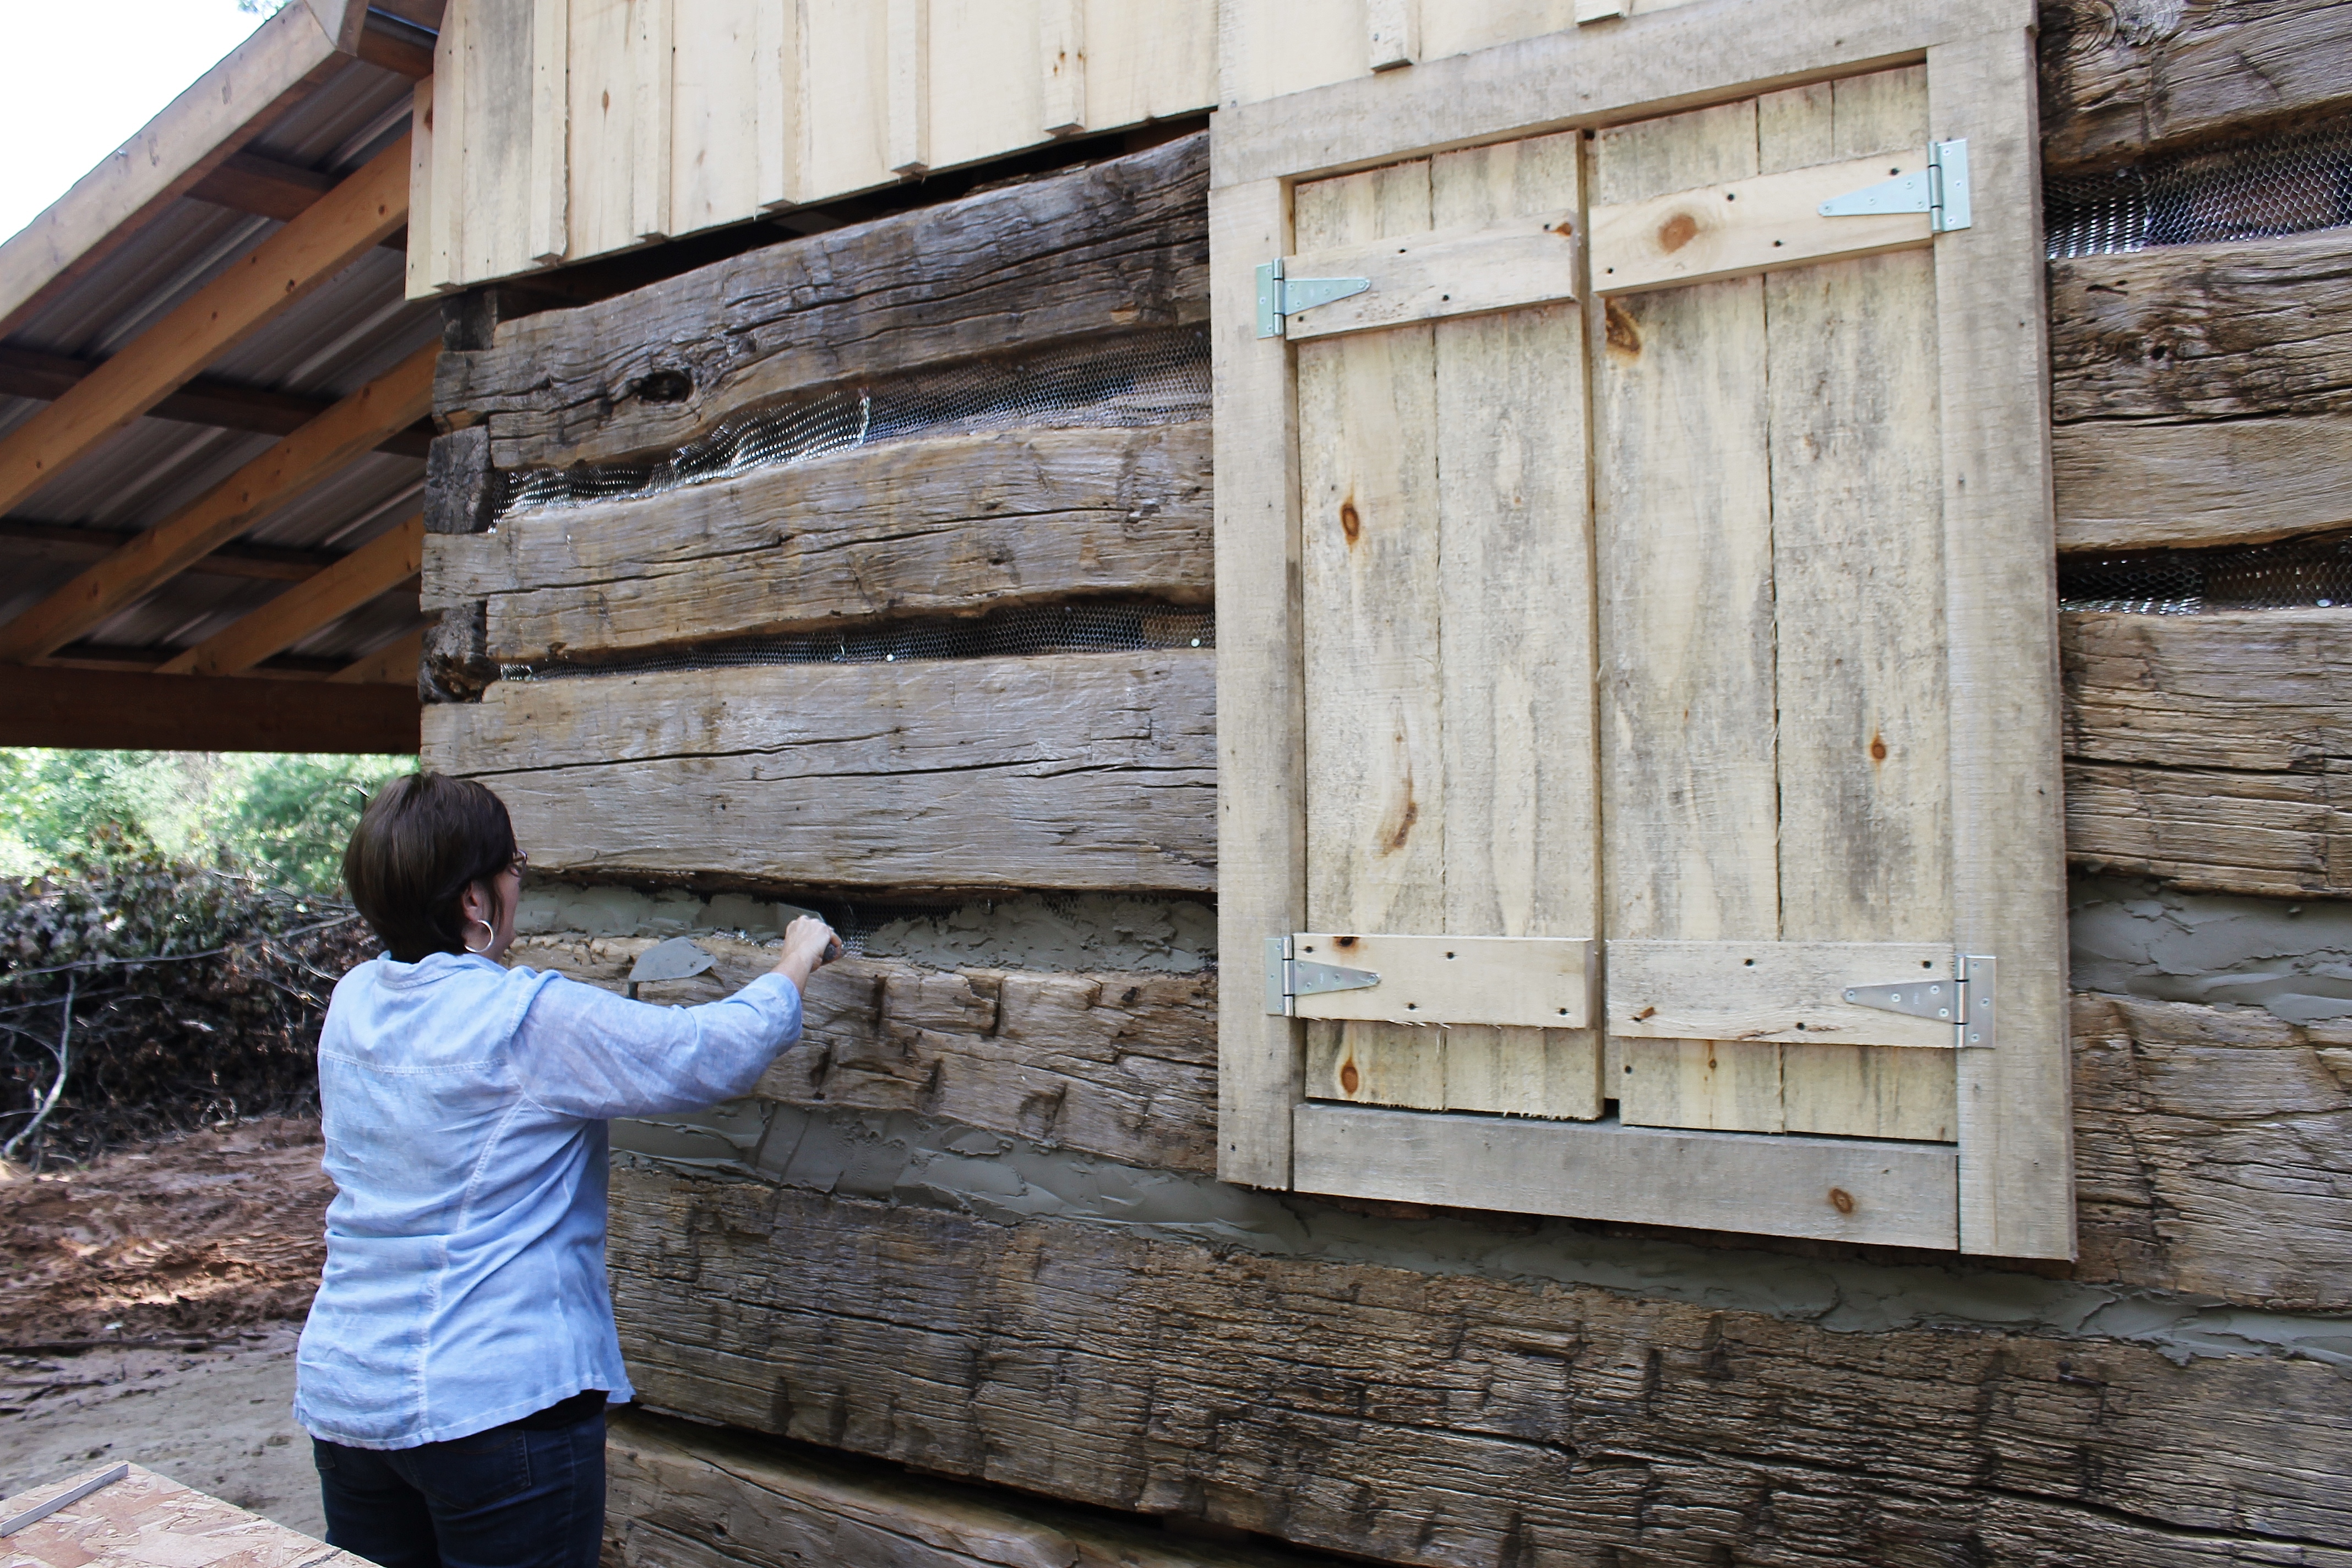
What started out looking like this required multiple more coats throughout the day.
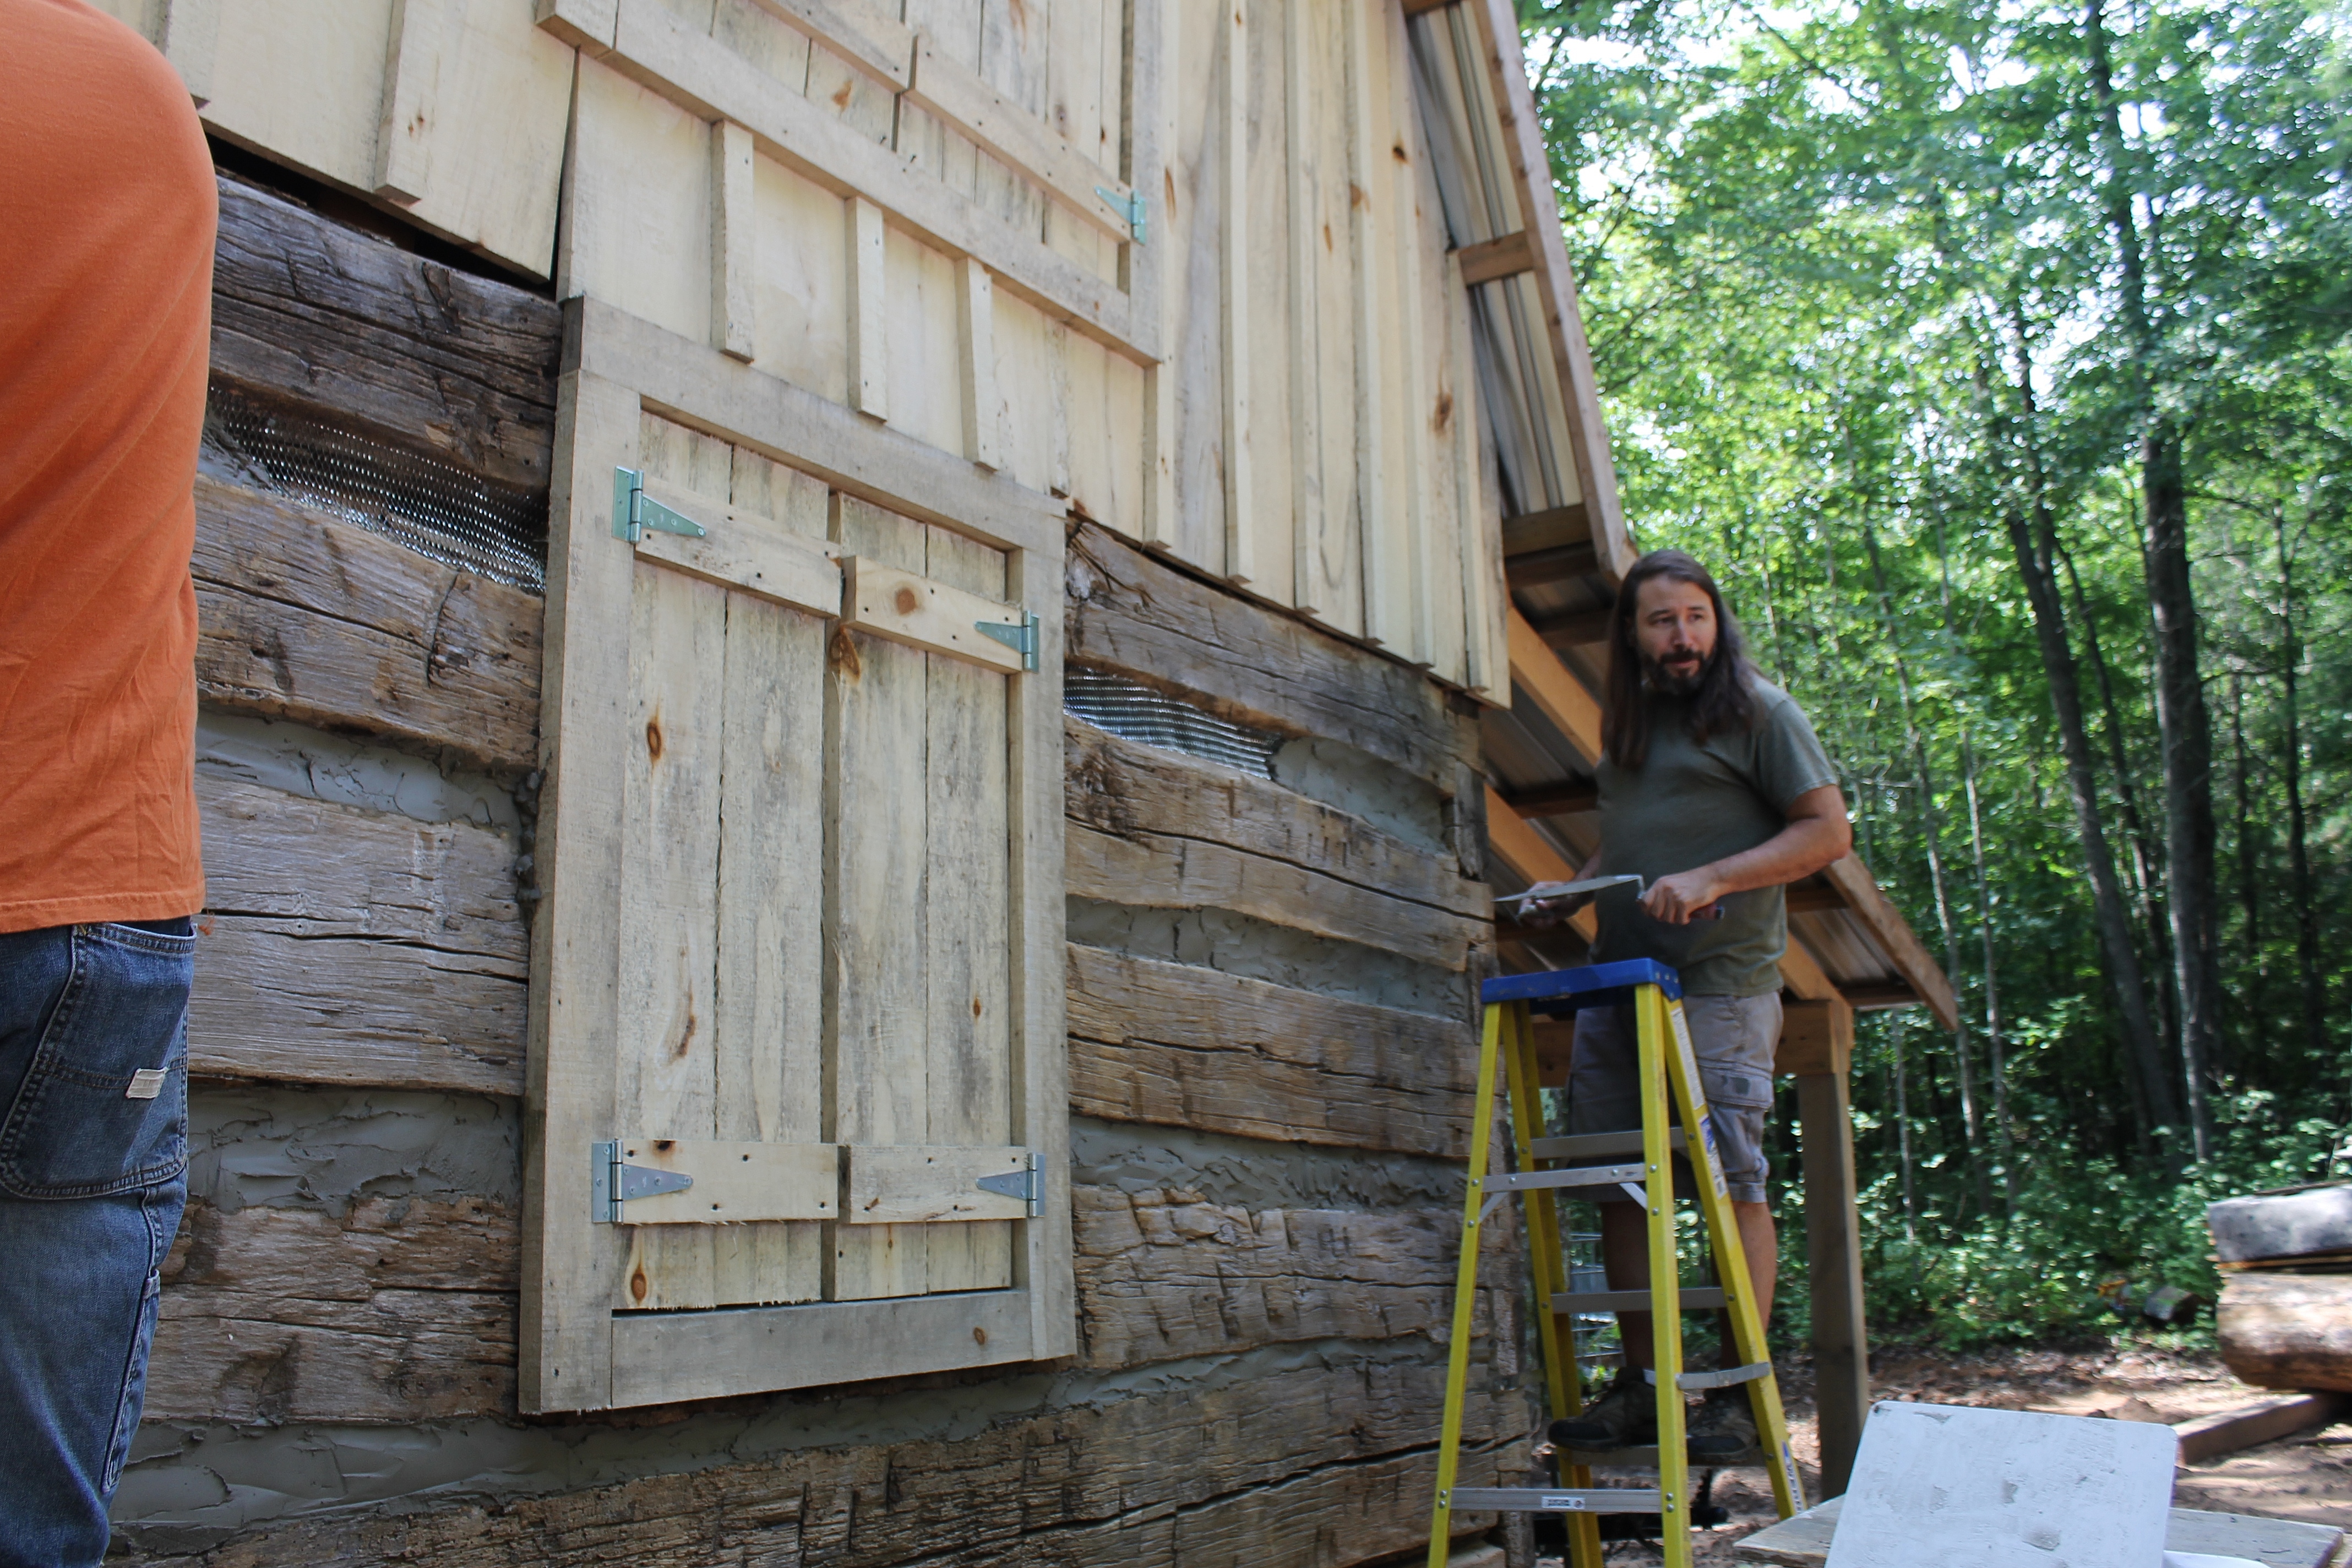
Later in the process, halfway point:
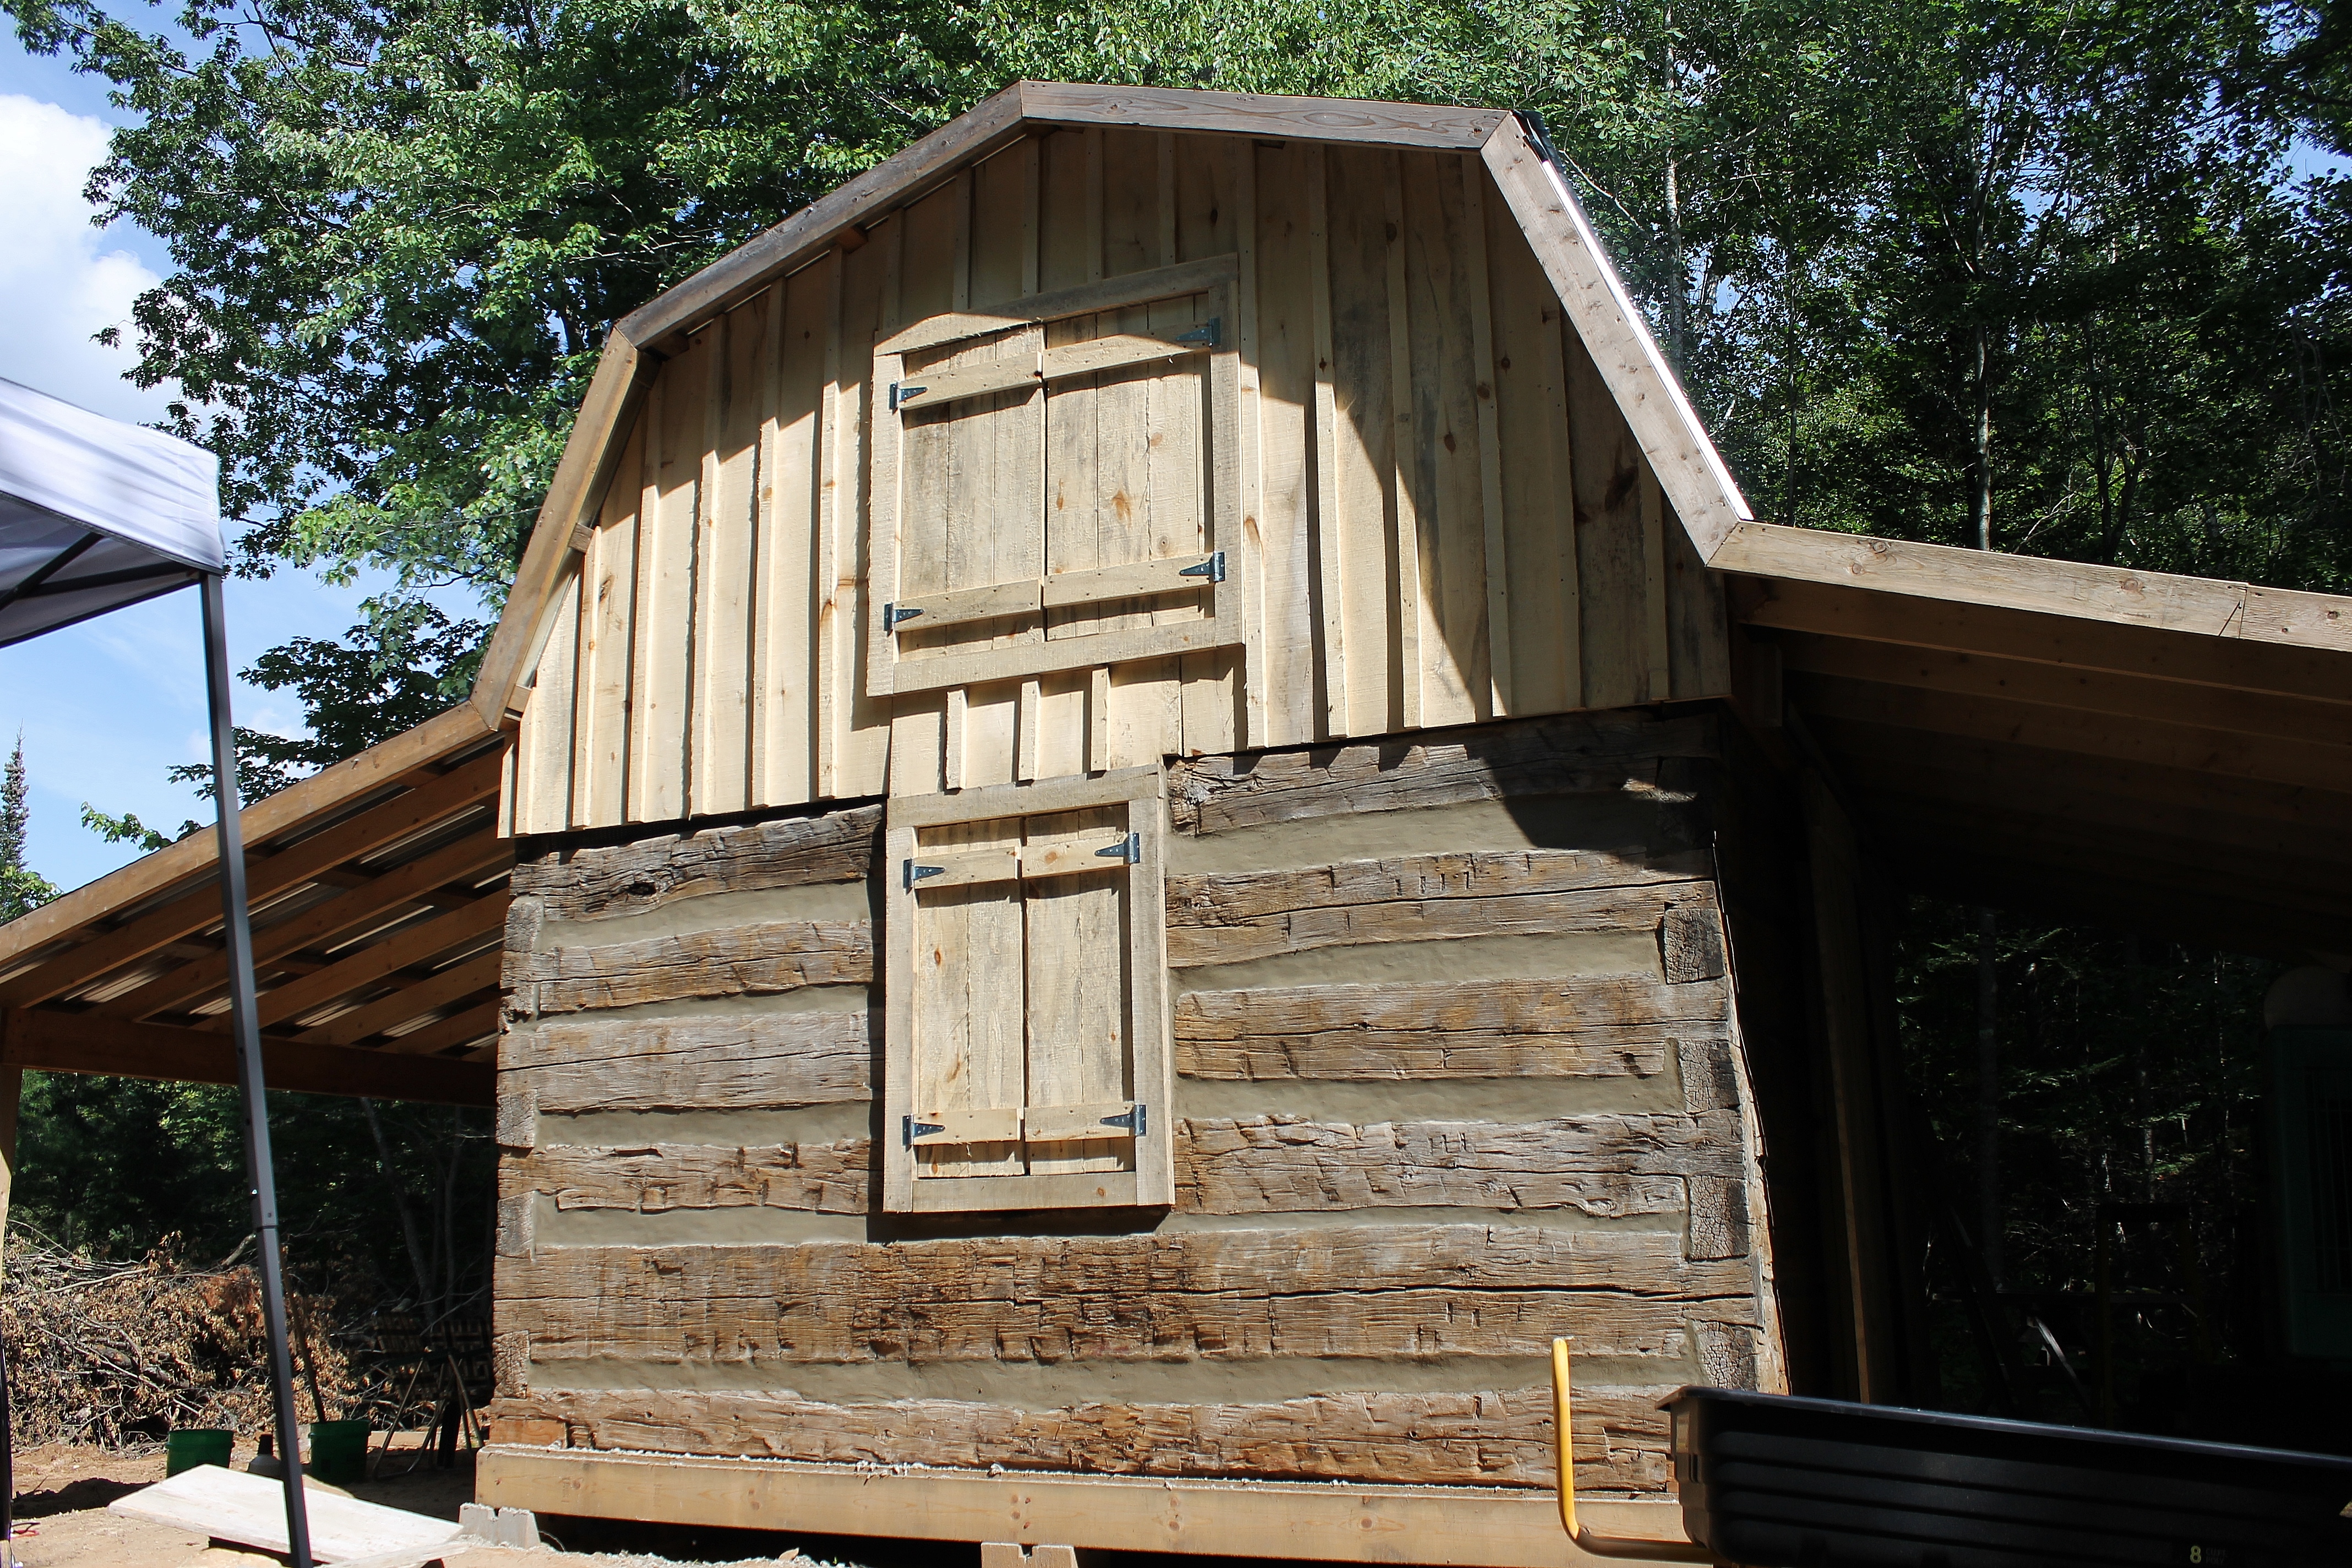
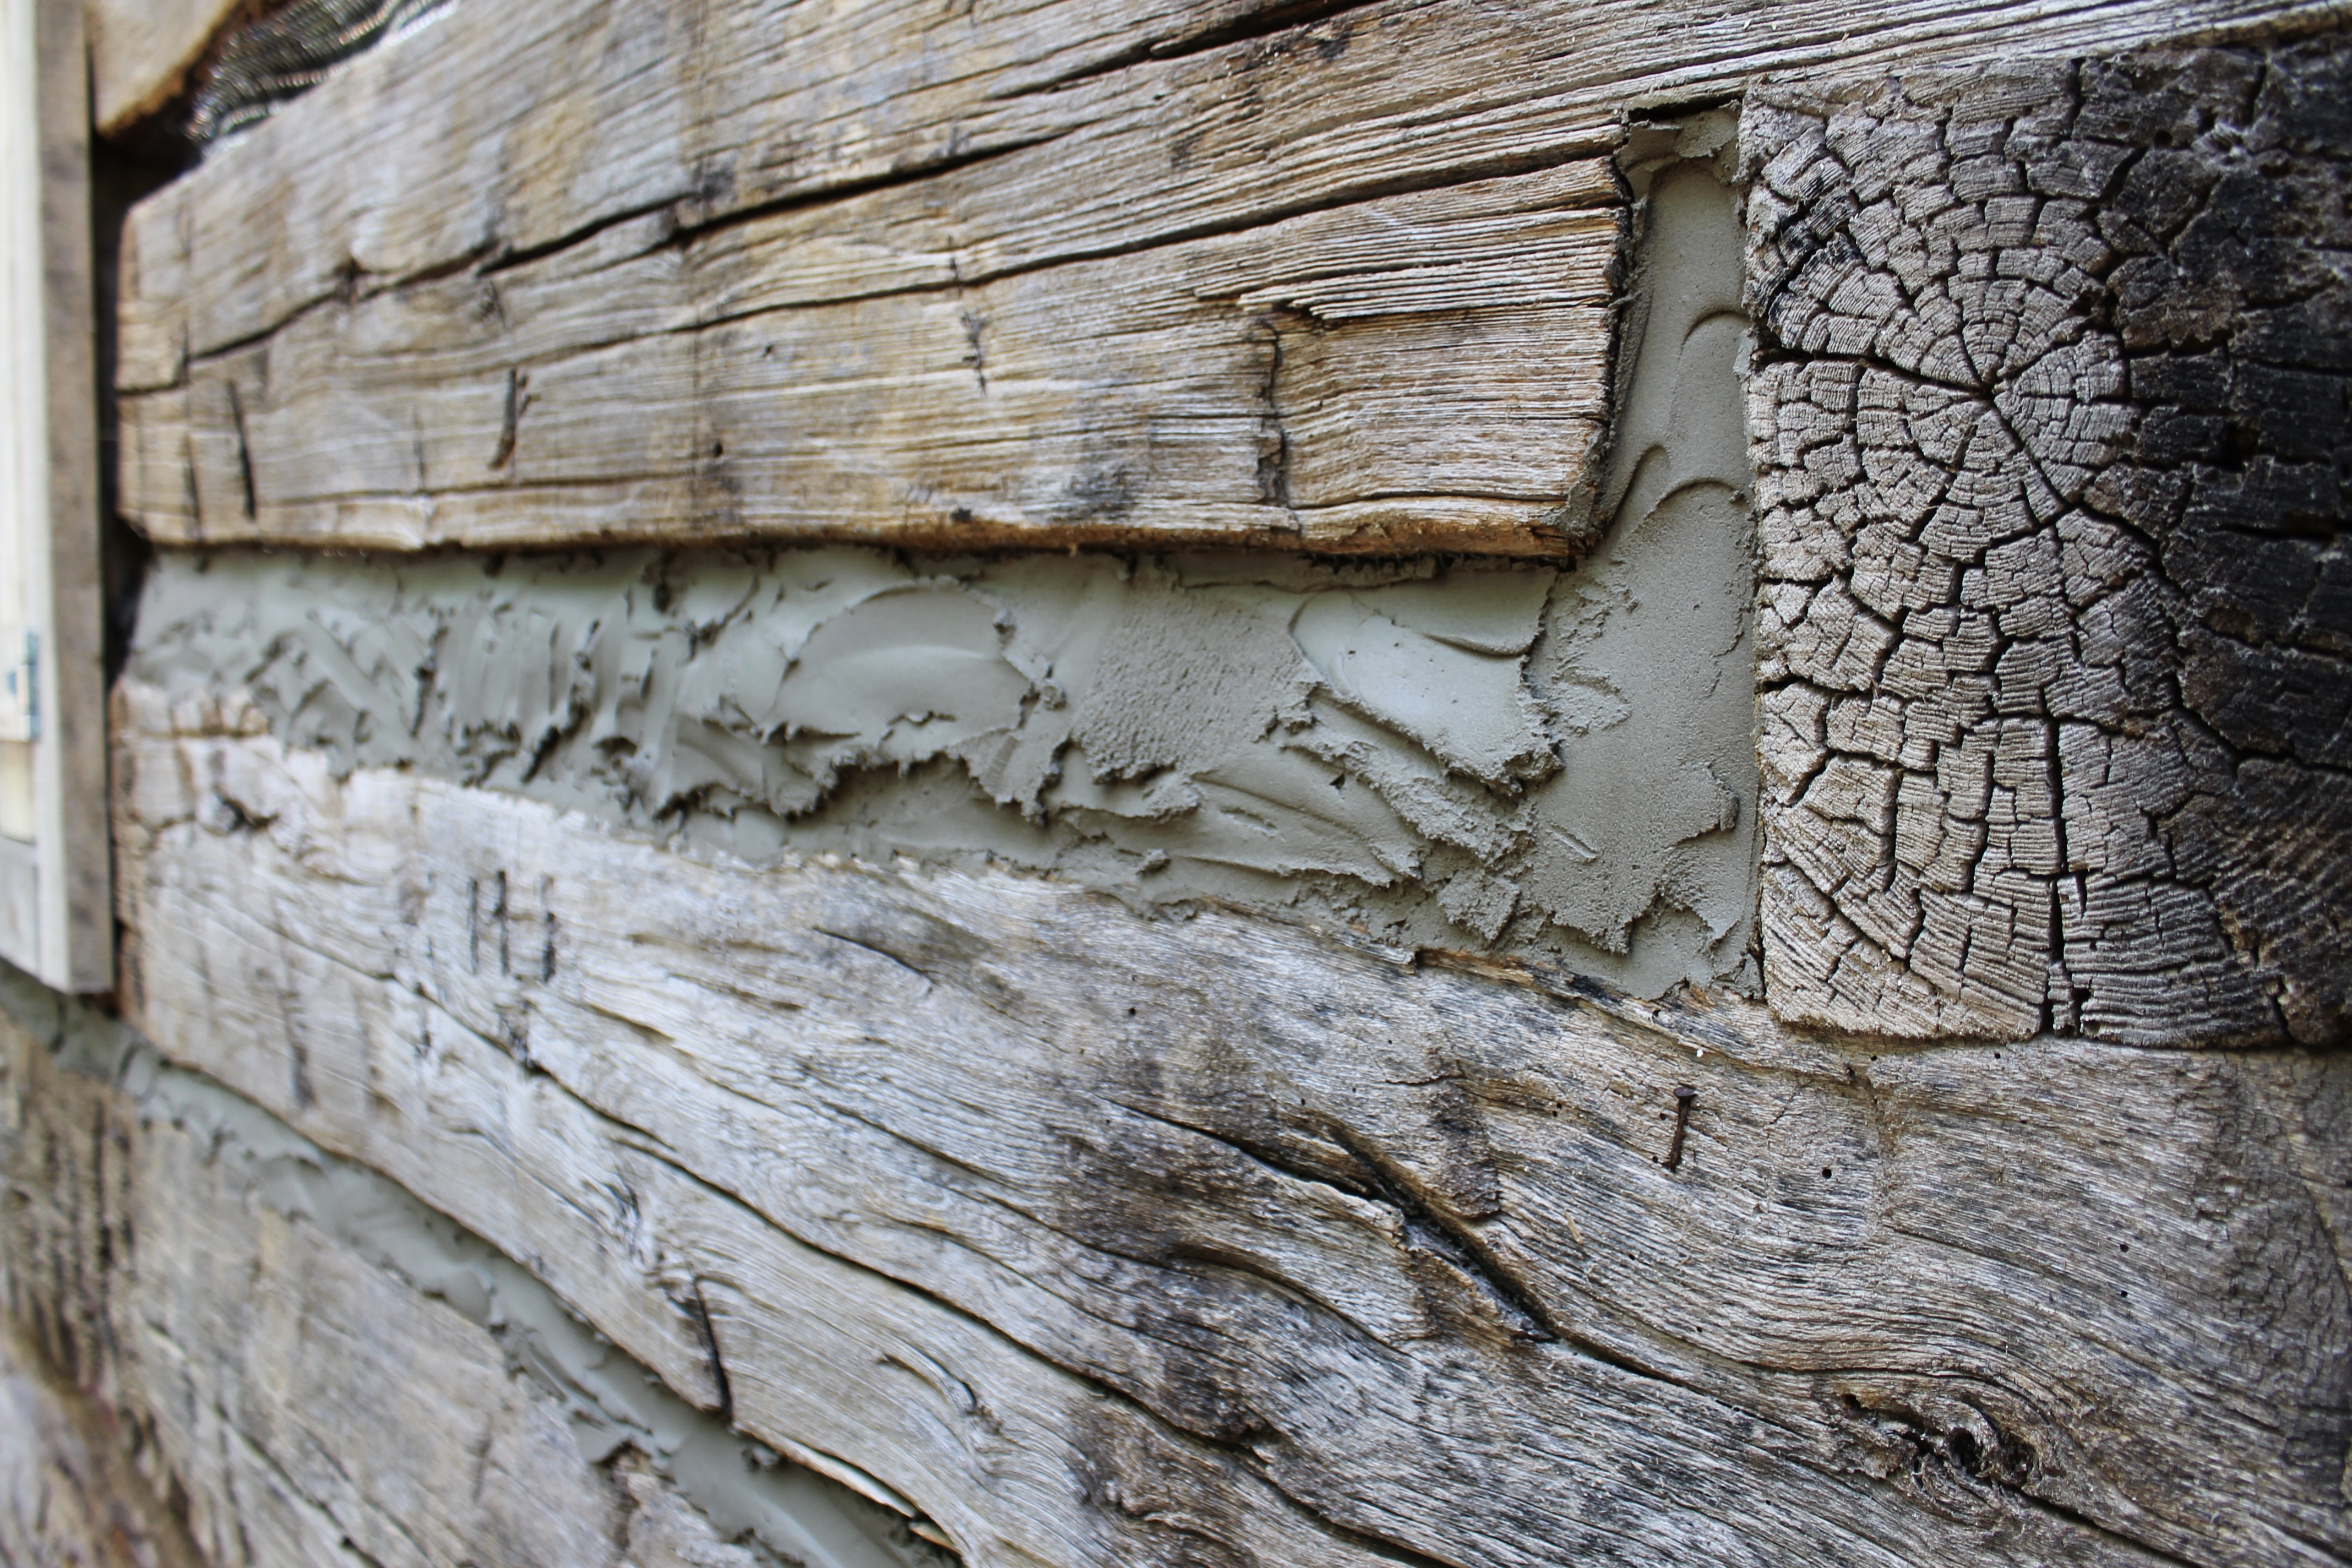
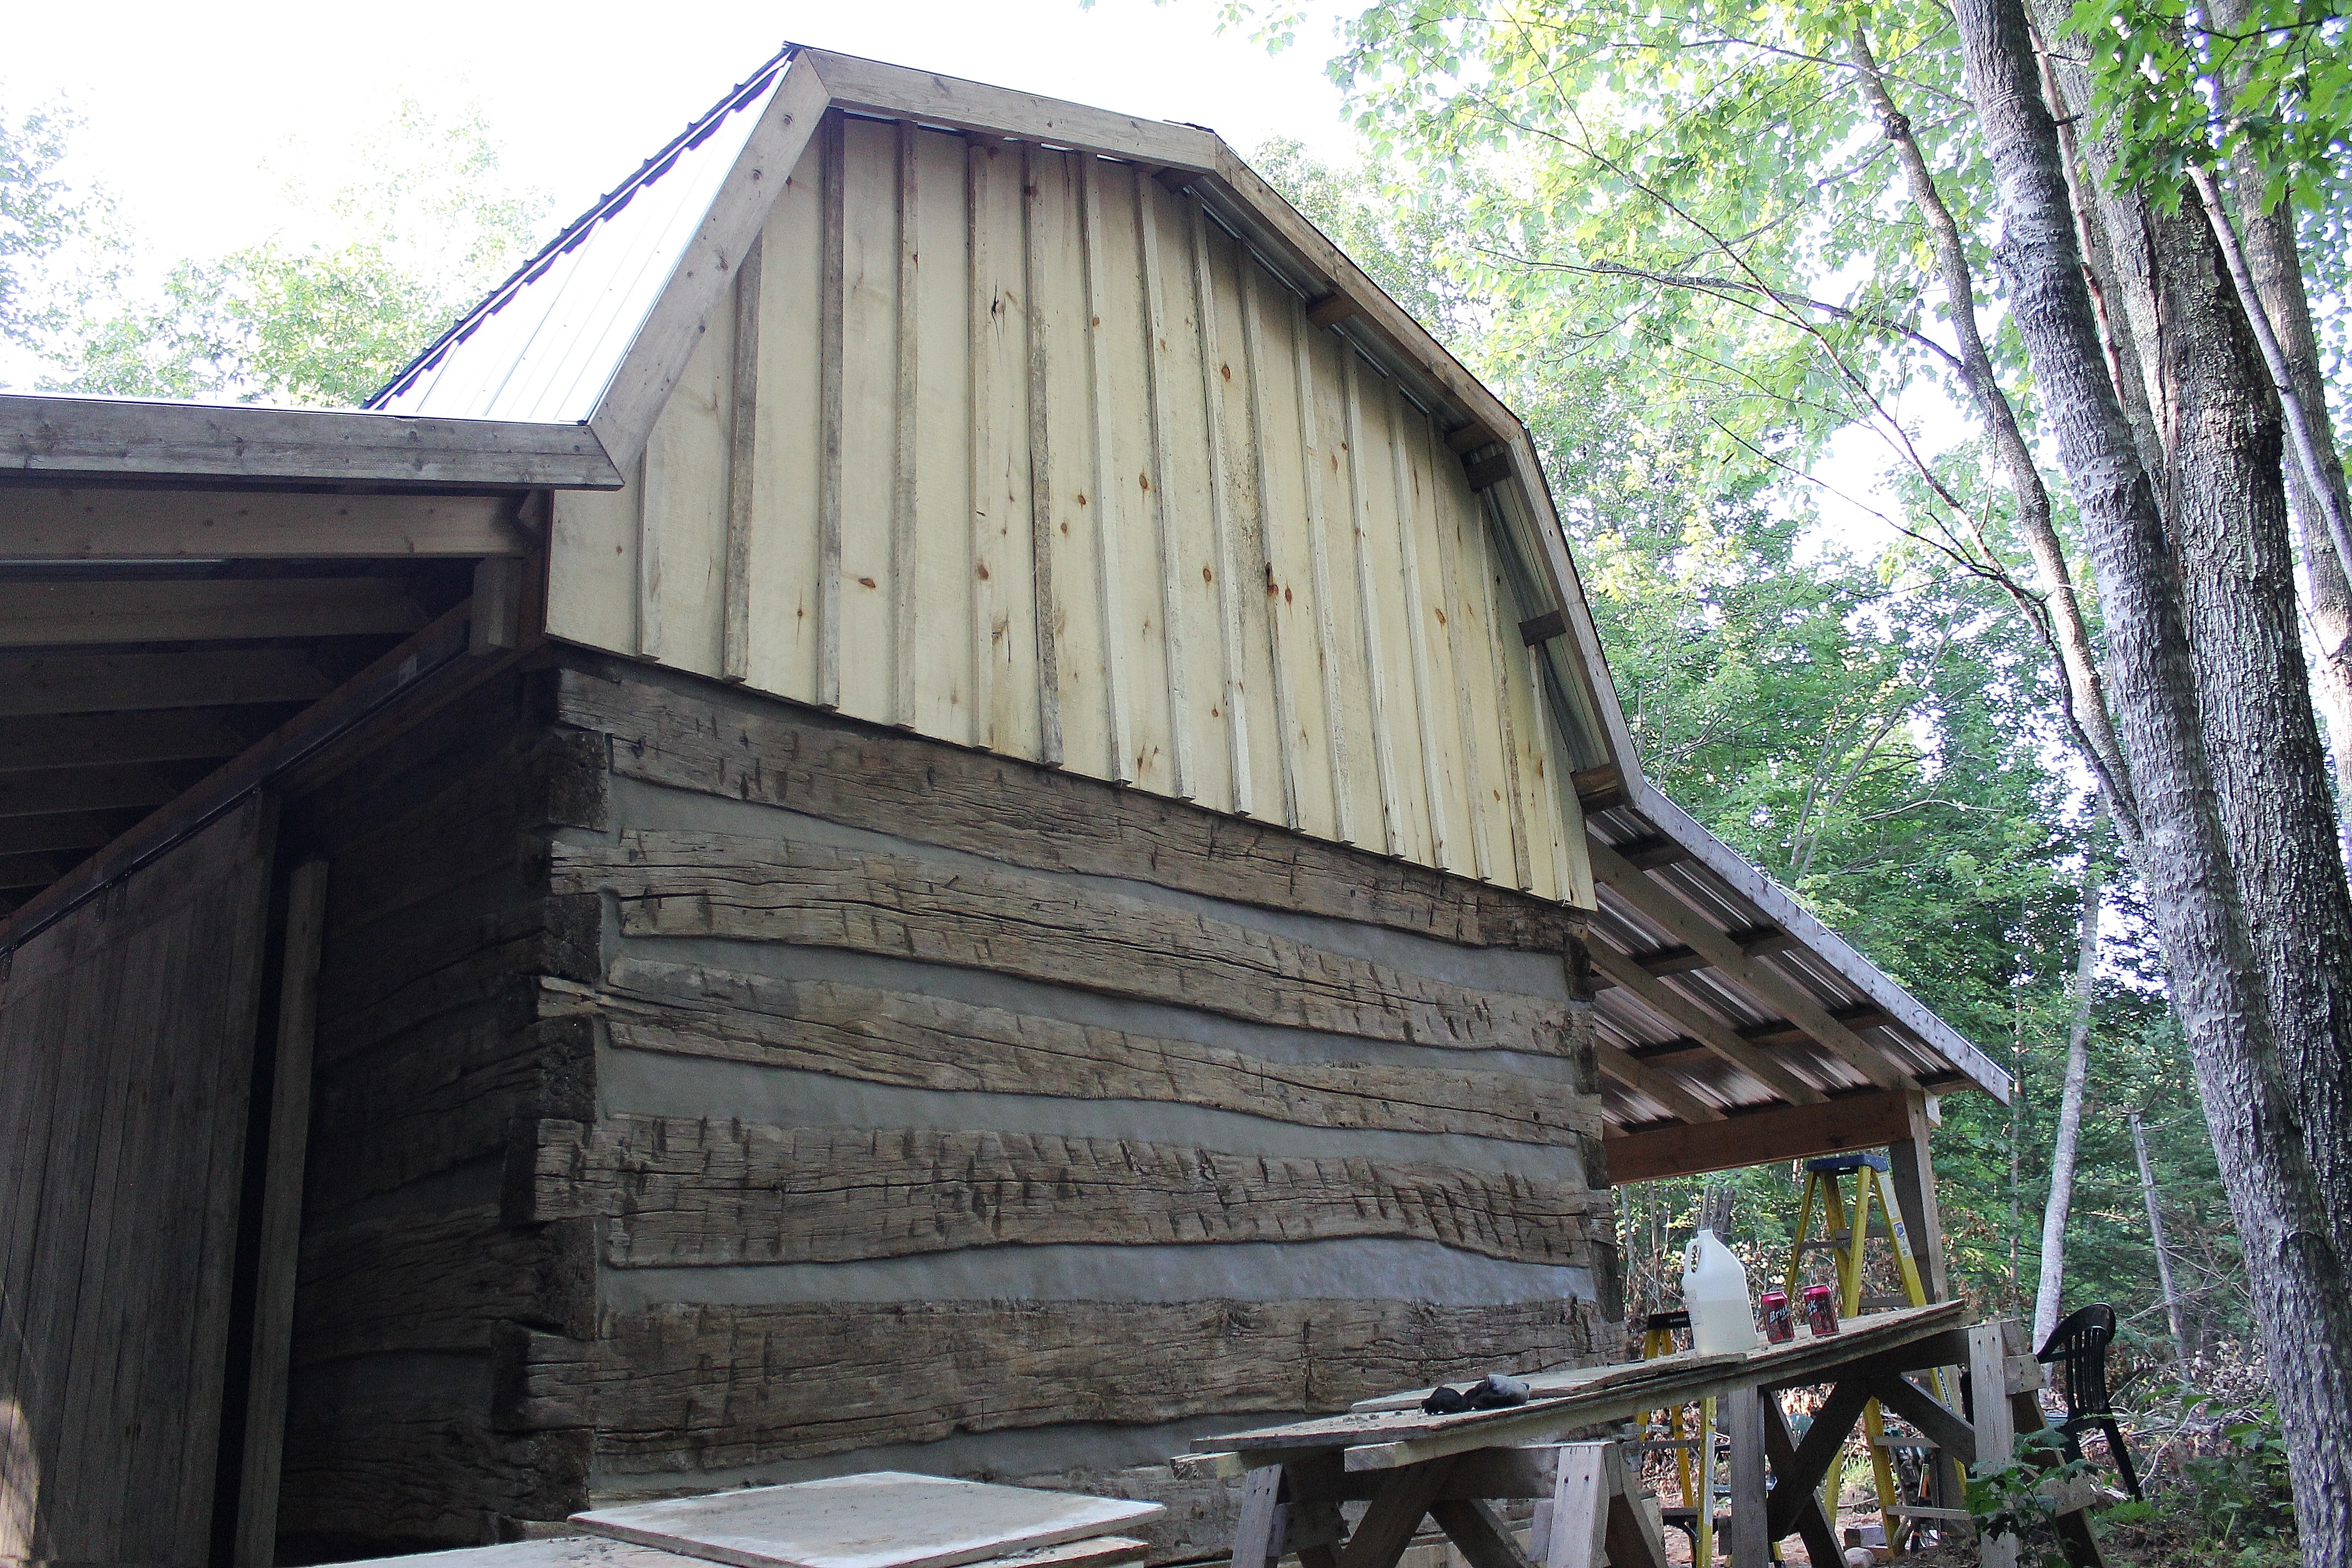
We worked our way around the cabin, sticking to the shade as the day wore on and avoiding the heat of the sunshine as it dried the mortar in our wake. By the end of the day the most challenging side of the cabin looked like this:
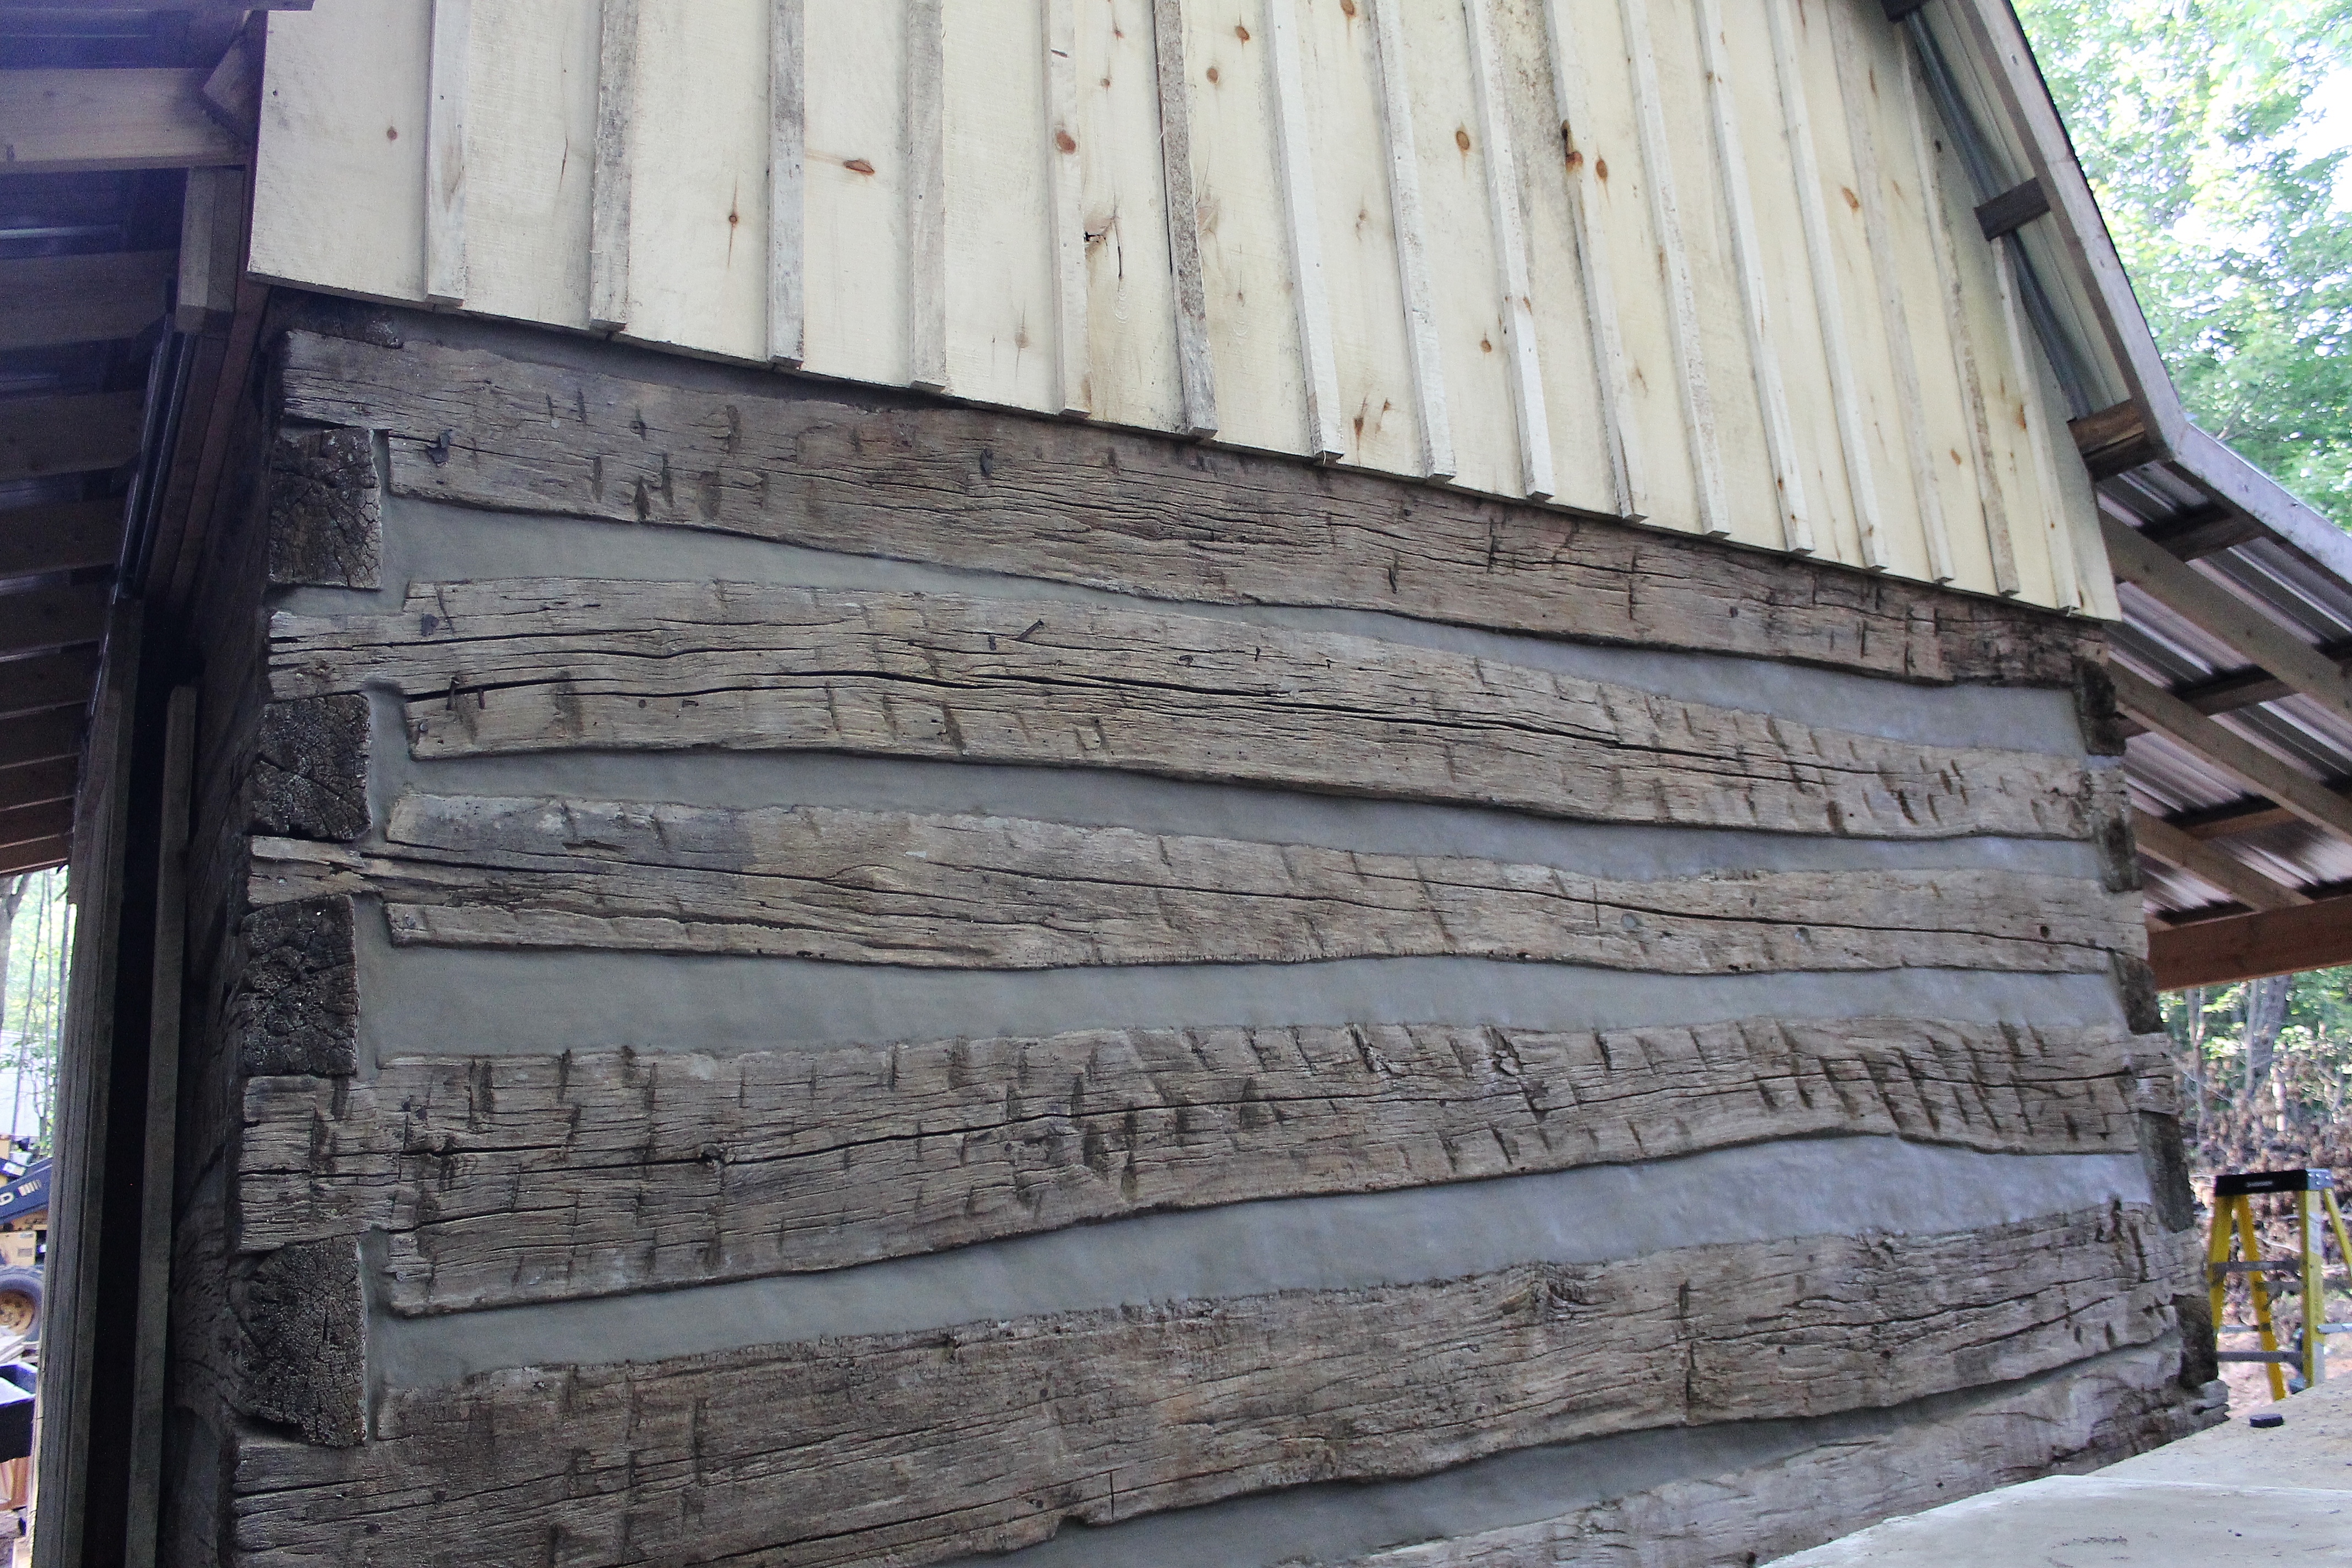
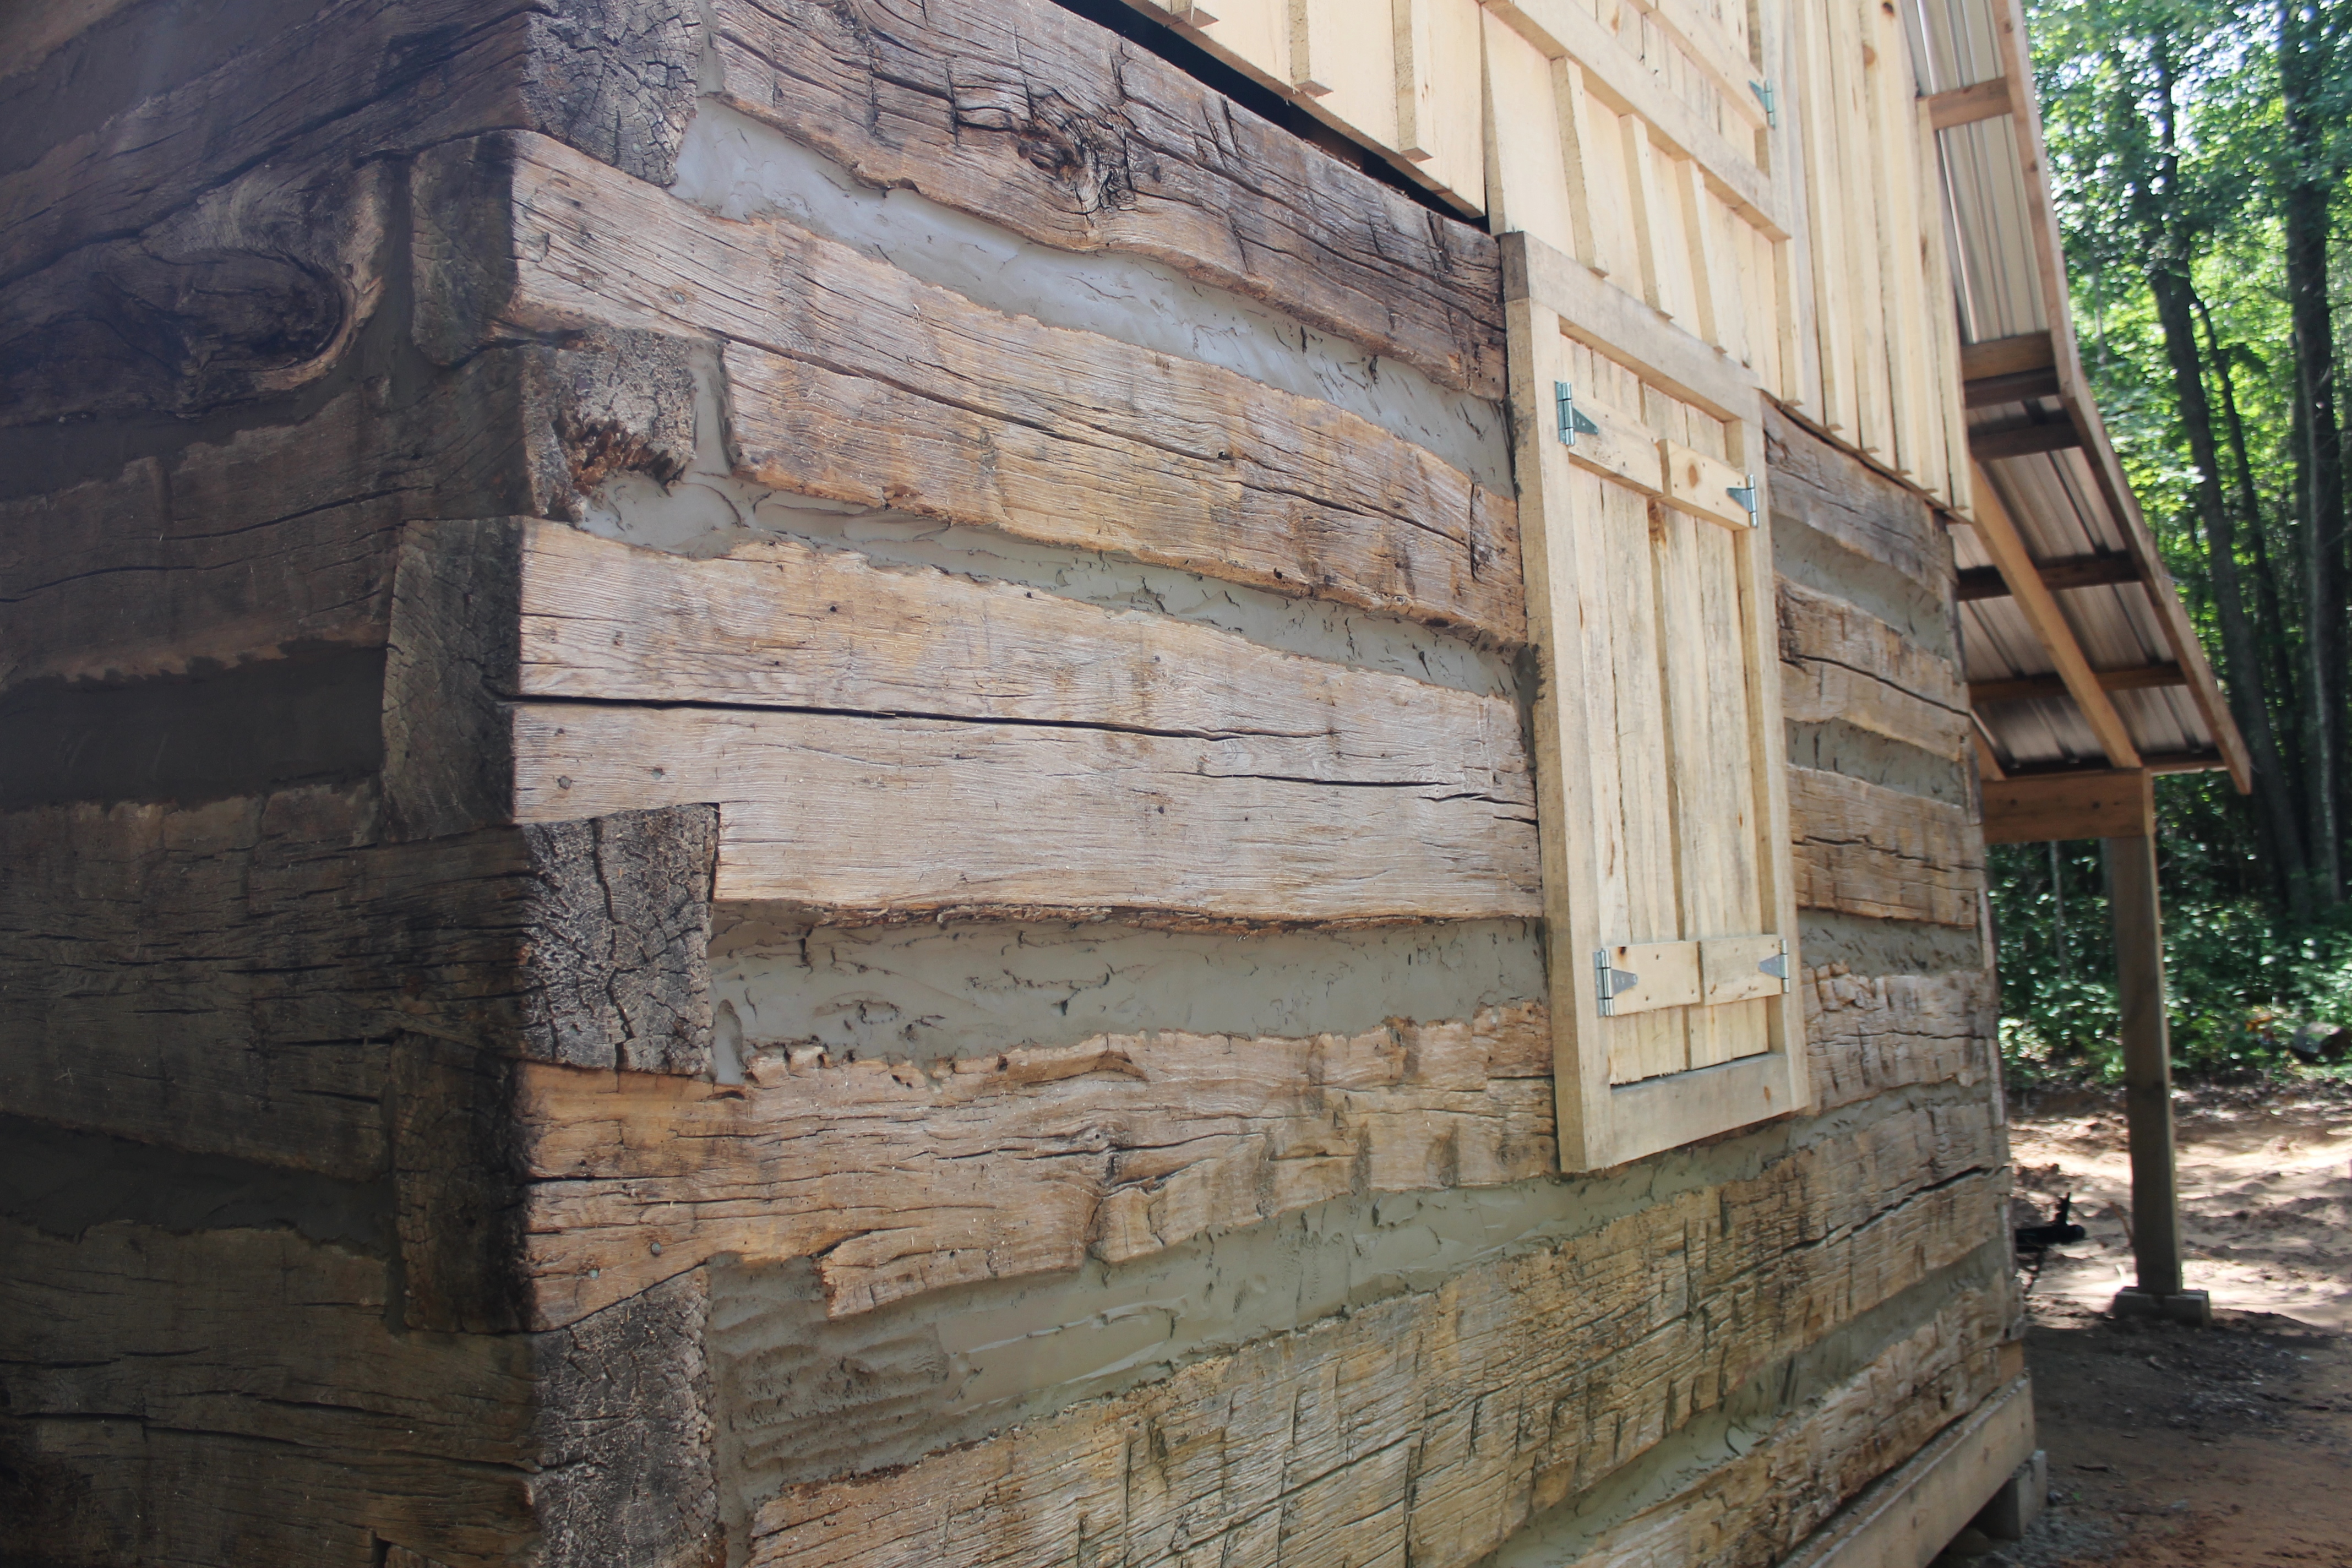
And the end result of the front of the cabin, after several sweeps through with the trowel:

The beauty of being able to preserve and reuse those old sturdy logs, that have survived over a century and a half, is an amazing accomplishment. The new loft area, the shutters and the barn doors will hopefully age to a pleasing weathered grey with time, complimenting the rest of the structure. By adding the chinking, and applying it correctly, these logs could last another 100 years! A truly satisfying thought after a day of hard work!
Leave a Reply